Class hours: 9:40 – 2:05
Mr. Bohmann
wbohmann@ewsd.org
Today’s Notes
- Today is an EHS A Day
- Thursday: Dan A, Dan M, Isaac, Renzo, Owen WorkKeys testing at 10am. Arrive to classroom at 9:40 for attendance.
- Dan M. and Owen – SkillsUSA meeting tonight in the cafeteria @ 6pm.
- Carter – early release today – 1:30pm
9:40 Attendance
9:45 Unity – Quick Summary of Materials from Monday
Materials are used in conjunction with shaders. Most shaders come with a list of material parameters.
- Albedo is color or can be an image
- Metallic and Smoothness refer to how metal like an object is and how much light refraction
- Normal Maps can be used to make a surface look like it has a texture or bumps when light hits it
- Height Maps are used like a normal map and will give additional definition to a surface
- Occlusion Map is used to provide which areas of a model should receive high or low indirect lighting that comes from light reflections
Textures are applied to objects using materials. Unity can import textures from most common image file formats.
A Shader is built in program that calculates the appropriate level of light, dark and color during the render of your scene. Basically how the pixels of the surface of the model should look.
Sites for textures:
9:50 Cinemachine – The Camera with Brains

Karting Game Build Out:
Now that you have your track and your environment terrain we’ll take some time to add in the necessary items to build out your game scene today and by the end of the day have a playable game with win and lose conditions.
Let’s start by adding a smart camera – called Cinemachine Virtual Camera
Cinemachine is a powerful camera that we can use to track our player (or Transform GameObject). There are more controls with the Cinemachine Virtual Camera than the main camera. They work together. So instead of writing a Camera Follow Script (like we did with then Endless Runner) we’ll use the Cinemachine add on from the Unity Registry.
Cinemachine is all about creating complex movements simple. Cinemachine does not replace your normal camera, instead it works on top of it. It is the brain for adding and controlling other cameras. We’ll start by adding the Cinemachine Brain to the Main Camera if it is not there already.
We’ll look at some basics – specifically Dead Zone and Soft Zone. For this game, the setup is at 0. But let’s play with it so we can consider how we might use this with other games. We’ll also look at offset and dampening.
The Dead Zone – when your character is inside, the camera will not move at all
The Soft Zone – is the area where the camera will begin to follow your character and it defines the edge to where the camera will go
Damping will reduce the speed by which it tracks the character
With Cinemachine you can create multiple cameras and set up cut shots. However, we won’t tackle that today. Let’s just start with some basics. Here is a nice set of reference tutorials about using Cinemachine
There are multiple Game Modes with this pre-shipped game project.
The default game mode is: Time Limit.
Let’s change the game mode to Crash and see what’s involved by using the inspector and hierarchy.
Checklist of things to accomplish:
- add track
- add player
- add cinemachine camera and brain to Main Camera
- add a game mode and customize
- add game manager to handle the Win / Lose scene and HUD
- add event system to handle input controls
- add custom music
- add Post Processing Effects / Skybox
- add jumps and triggers – can you enable a celebration when the car intersects an object?
- add … whatever else we may want – including your .fbx files.
- add custom materials
The Info Menu, Win and lose menu need to get mapped to your level. Investigate and make those changes as necessary. Most likely you’ll want to change the messaging.
The Skybox is the horizon in your project. You can change and/or download versions from the asset store. You can also make your own in Photoshop!
We’ll publish our Karting Game on Friday before lunch. Have a working track / controls and test with a partner/neighbor. This needs to be complete by 11:45am on Friday for publishing!
10:35 Break
10:45 Lighting Basics in Unity
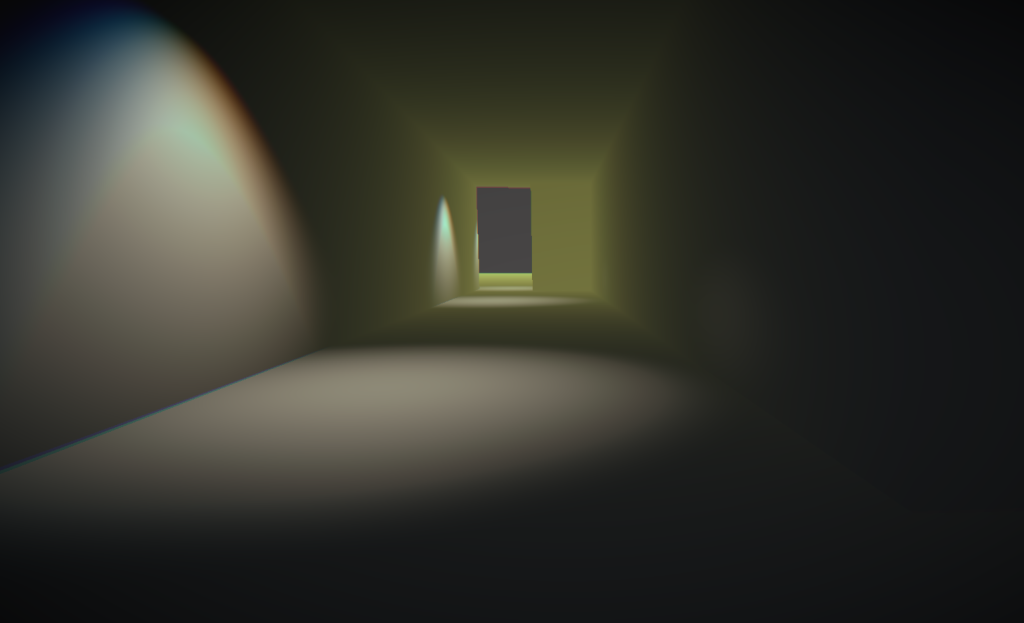
Lighting is a nice way to give your level, scene, interaction some more personality. There are several light types, let’s explore a few.
Directional Light is most like the Sun. You can change direction and rotation.
Point and Spot lights control the location, direction and rotation of lights.
and then there is Volume.
Volumes are a great way to add nice effects to your scene. We can create post processing effects globally or locally. Let’s look at some features.
Activity: Create a Room or series of rooms with different types of lights. Practice navigating through your rooms using Right Mouse button and the WASD keys. We’ll work until 11:15 just messing in a new scene.
11:15 CAWD 2 Final Project

Our final CAWD2 project of the year will be your very own game. During the next three weeks you will use this space and all of the equipment and resources you need to build a great game of your own. You may work in a team (up to 4 people) or you may work alone.
(disclaimer: if you are part of a team and are not fully subscribed, I will assign additional game dev work to you)
You will create one playable game in 2D or 3D using the Unity game engine.
Given the time you have, working prototypes are desirable.
There must be some kind of gameplay – think the games I made with you: pinball, lunar lander, endless runner, bunny ball and arkanoid. With each game we designed, we were able to quickly play with some objective and some win/lose conditions. Our games were prototypes, but they had lots of possibilities.
| Date | Week | Deliverable | Software Development Cycle |
|---|---|---|---|
| May 8th – 13th | One | Project Intro, Game idea generation, pre-planning | Planning |
| May 16th – 20th | Two | Game Design Document, Asset creation / Coding | Analysis / Design |
| May 23rd – May 27th | Three | GUI, Movement, Core Mechanics | Design / Implementation |
| May 31st – Jun 3rd | Four | Prototype with game play | Testing/Maintenance / Publishing |
| June 6th | June 6th Game Jam |
In the process of building your game, you will use a Trello board to track and share your progress. Each week there will be updates from you or your game team on the status of your deliverable.
All Games must be complete for grading on Monday, June 6th. We will have an official game jam and invite others to enjoy our games too.
This Week Deliverables:
- Are you on a team or working solo – email me with details by lunch on Friday
- Trello board shared with me (one Trello board per game)
- Game Design Document – rough draft (due by Monday)
Work Time…
12:15 Lunch

12:45 Focus on Literacy

1:05 Mask Break

1:15 Production Time & Guided Support
Week 34 Agency is now assigned. Due Monday, May 16th
Overdue work – yes there is much of it out there