Class hours: 9:40 – 2:05
Mr. Bohmann
wbohmann@ewsd.org
Today’s Notes
- Today is an EHS B Day
- May 3rd CVU students do not have school (CVU is off), there is no transportation but if you can get here, we’d gladly welcome you.
- Recognition Night is June 9th – end of school!
- Grades for Quarter 4 close on June 3rd – that’s a Friday.
- Web Professional Certification Exam will be June 7th/8th. Don’t worry, we’ll study, you’ll pass
- Congratulations to the Vermont Highway Safety Alliance contest winners:
- Sponsor’s Choice Award – Dan Airoldi
- 1st Place – Jack Mahar
- There were 53 entries and 8 judges
9:40 Attendance
9:45 Unity – Scripting Collision Events
Yesterday we used the Unity physics engine to create realistic collisions between objects.
Collisions are an important part of gameplay. If the player shoots a target, your game might update a score, or if the player hits an obstacle, he or she might lose some health, or if there is a goal or a basket, the player should be rewarded! This game logic requires more than just the physics engine – you also need to write some scripts.
Besides collisions, there are other event driven programming:
- Player clicks on a button
- Timer countdown reaches zero
- Player health reaches zero
- Player wins the game
- …and of course, a collision between objects!
OnCollisionEnter2D
As soon as you add a Collider 2D component to your game object, Unity can run a specific function every time a collision occurs with that object. OnCollisionEnter2D() function can be added to your script.
When a function is called, it is possible to give that function some useful data. The function can then use that data to perform a task. The data is listed inside the function parentheses right after the function name. For our example, Collision2D otherObject is the parameter. The first part (“Collision2D”) shows the type of data and the second part (“otherObject”) is the local name for that piece of data that we can use inside our function. Of course we could use the name “pizza” as our local name, but that doesn’t make much sense.
Once you add the OnCollisionEnter2D() function to your script and attach that script to a game object with a collider, the function will be called each time a new collision is detected with another object that also has a collider.
void OnCollisionEnter2D(Collision2D otherObject) OnTriggerEnter2D
So far, all of our collisions have resulted in some real-world reaction from the objects that hit each other. Beach balls bounce and bowling pins go flying. However, you may want to detect collisions in cases where there should be no real-world physics reaction. Like when a ball crosses the goal line in soccer or your car jumps or crosses over a powerup. In those case you want to trigger an event.
With “Is Trigger” checked, your collider will detect collisions but game objects will not be part of the game physics when a collision happens. You will get an event-driven function call that you can use to run game logic, but the two objects will pass through each other on the screen.
void OnTriggerEnter2D(Collider2D otherObject)10:35 Break
10:45 Simple Pinball Game
Pinball is a classic stand-up arcade game and one that I played a lot growing up. A steel ball is shot onto a playing surface and bounces between bumpers and other gadgets, scoring points. The player tries to keep the ball in play with flippers or paddles at the bottom. Making a Pinball game is a great chance to show off the physics engine in Unity and some of the skills you worked on earlier this week.
Create a New 2D scene (called) PinBall
Project Details
For our game, a ball will drop from the top of the screen to start the game. As it falls, it will bounce off a series of bumpers on the screen. The player will move a paddle to the left and right at the bottom of the screen to prevent the ball from falling down the “hole” at the bottom of the screen. Once the ball falls down the hole, the game is over.
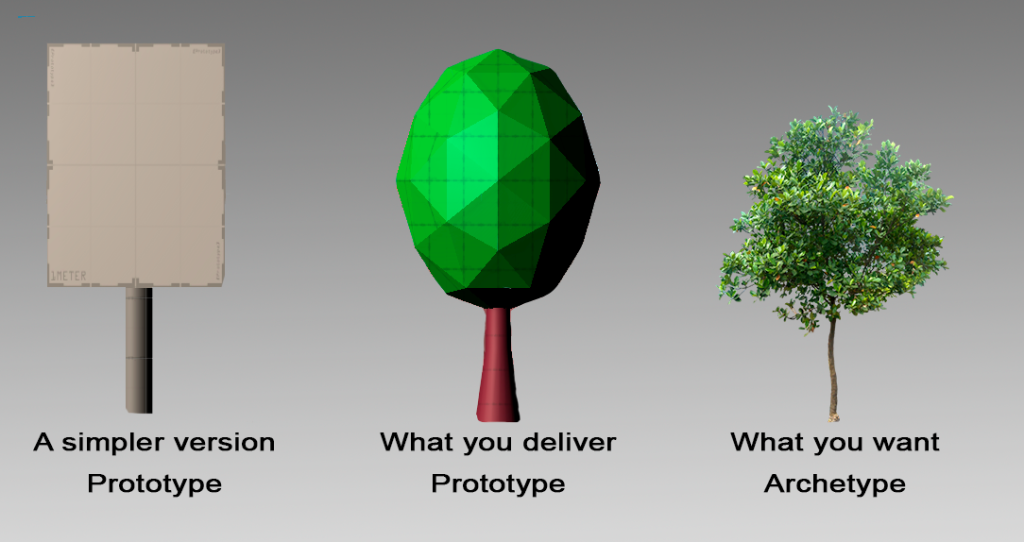
Let’s create a simple prototype. Later we an add our own look to customize our game. Let’s just get the mechanics working. A minimum viable product is what we are after. For reference, I’ve created my own basic prototype. You can copy or create your own.
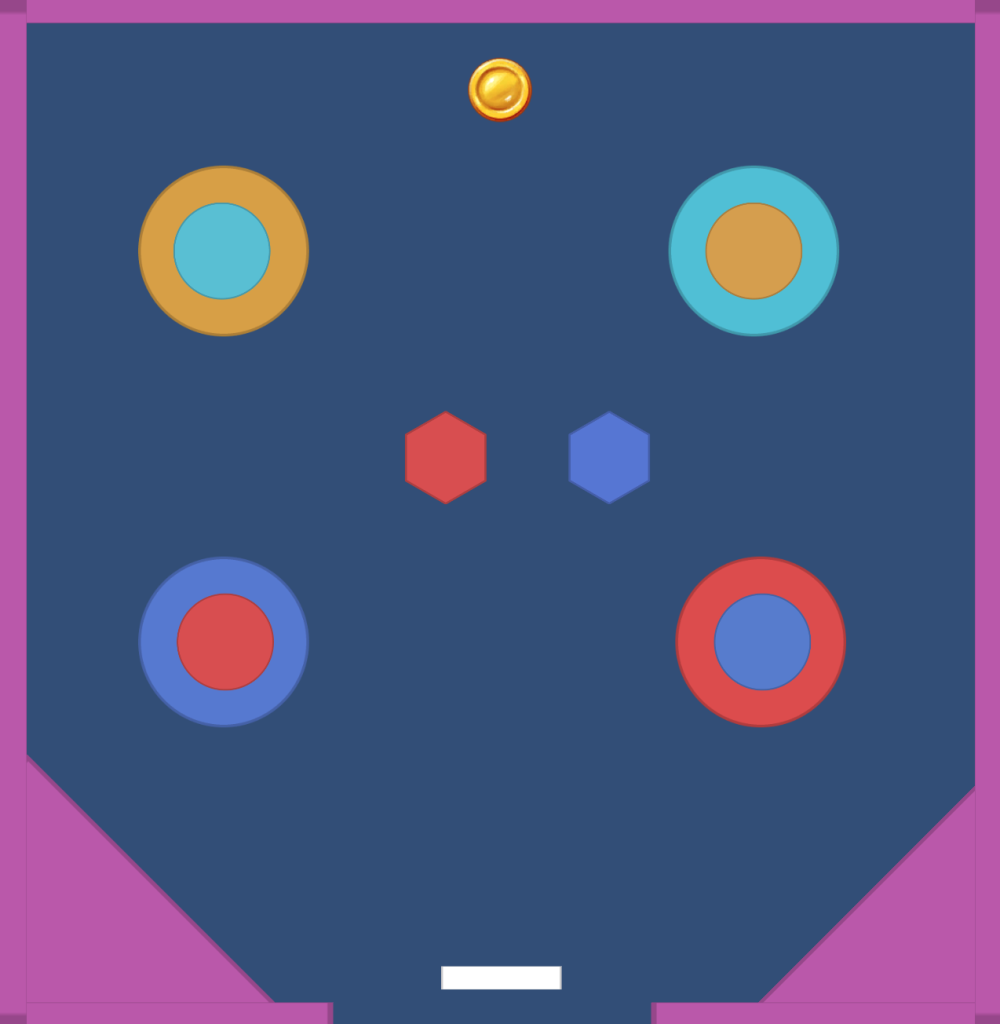
- Create a Movement Script for your player so that when you use the A or D key, your paddle moves around
- Add RigidBody 2D to your pinball
- Use physics materials (that you create) to manage your bumpers
- PlayTest your game
11:45 Karting Game Track
By now you likely have a game track and you can play your game. Let’s look at how easy it is to add .fbx objects from Blender into your game. Don’t worry about materials. We’ll cover that on tomorrow.
Your Task:
Model 3 Objects that can go into your karting game. Don’t use any materials. Just focus on modeling. What kinds of models would you find around your track?
12:15 Lunch

12:45 Focus on Literacy

1:05 Mask Break
1:15 Production Time & Guided Support
- Karting custom track build – Due Friday with 3 Modeled Objects
- Career Exploration – Game Careers due Friday
- Week 32 Agency Project – Due May 2nd
- Past Due work – check PowerSchool. P4 closes on Friday.