Class Hours: 9:40 – 2:05
Mr. Cronin
Notes
- Thursday!
- Some Blender underwater lighting examples:
9:40 Attendance and Article
9:45 Coral Organization for Collaboration
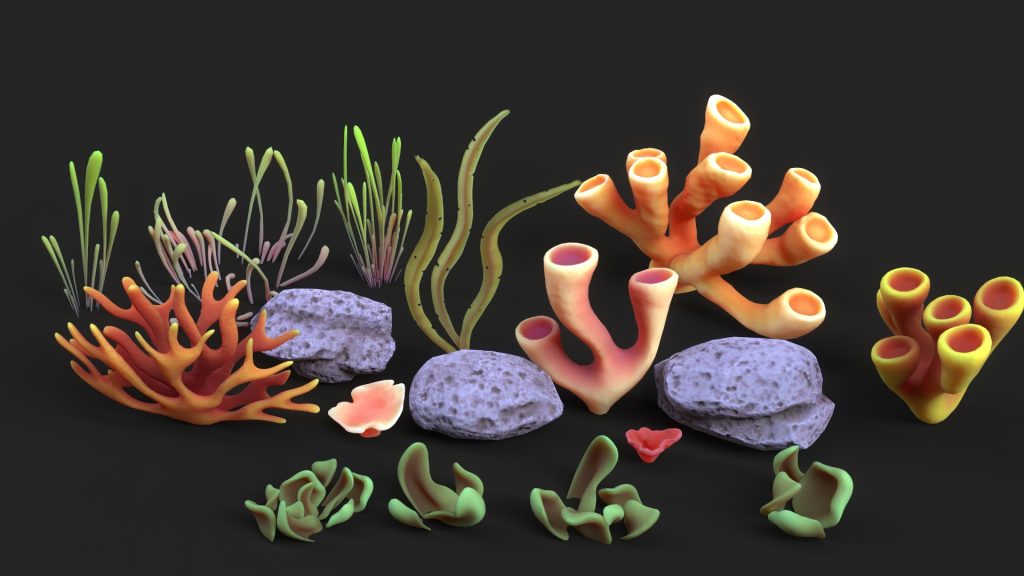
As part of our Coral Reef animation pre-production we are going to be sharing our 3 Corals that we have created. The goal is we share our coral assets in order to create a dense, rich, diverse underwater environment.
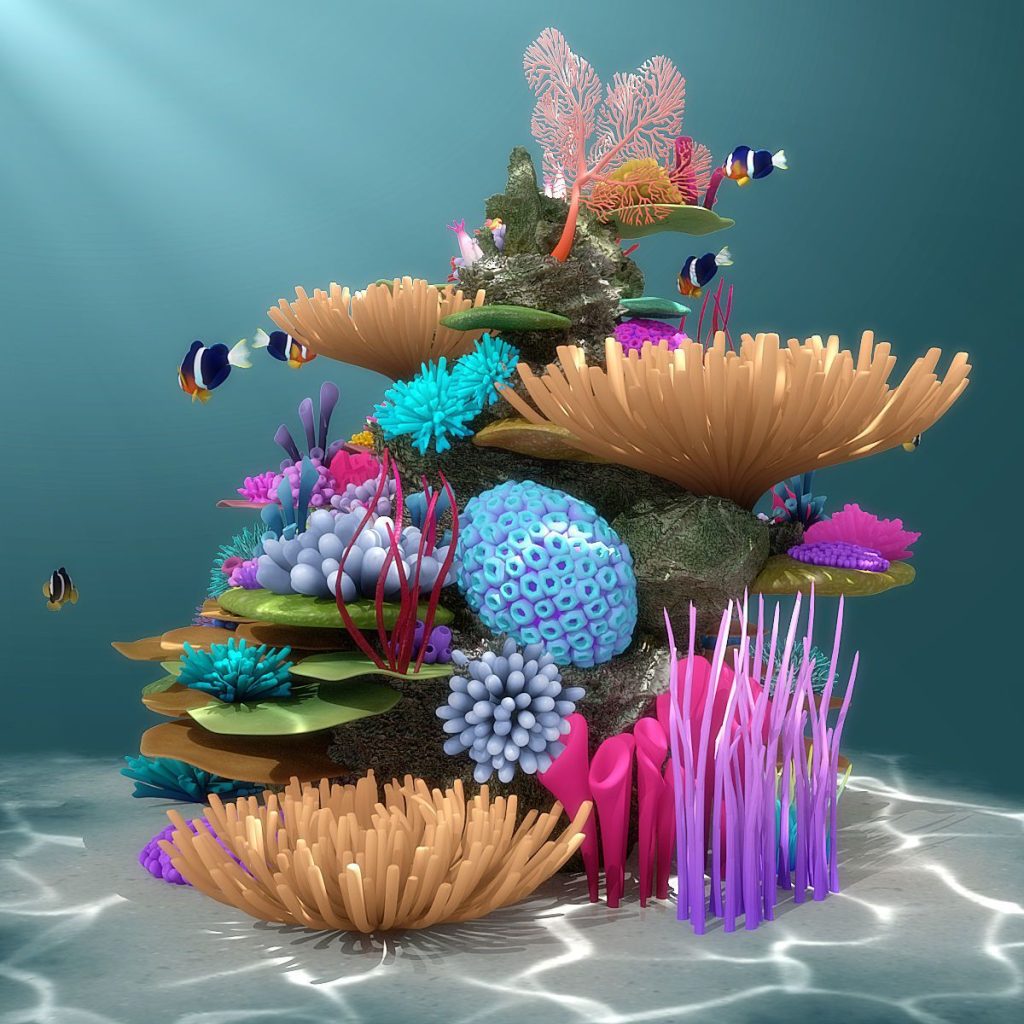
We are going to share as a class today. If you were working independently and needed help with assets you would have to go online and find Coral Reef asset packs if you didn’t want to build each and every element on your own.
First I am going to demo the process of separating the corals using an example file, organizing the assets (Blender and any texture maps) and setting up for collaboration.
10:05 Asset Organization of your work
- Separate your 3 corals to their own blender file (one file for all 3 corals, get rid of the fish). Save as “lastNameCorals.blend“.
- Create a render of your 3 corals as if you were attempting to sell your work. This would cost you $49 as an example. Save your file as “lastNameCoralsRender.jpg“.
- Create a folder in the “corals” with your last name. In this folder upload:
- “lastNameCorals.blend“
- “lastNameCoralsRender.jpg“
- Any texture map / texture painted asset. If you textured painted all 3 of your corals, you are going to upload the three texture maps.
- Place a copy of “lastNameCoralsRender.jpg“ outside the folder so that we can see at a glance everyone’s work and go shopping – this means we don’t have to in-out-in-out of folders all the time. We can see the Corals at glance. This is the same image used twice.
I need this done before English so we can start after when we go shopping and build our Coral Reef Environment.
10:35 Morning Break (10 minutes)

- 10 Minutes break – you have to exit the room.
- When the door near the TV is open, you are welcome to come back in.
10:45 English

11:35 Coral Reef Creation

Our CAWD project this week is going to be building a Coral Reef. In the next few weeks we will be creating a story for our animation, rigging our fish, and producing a “complete” production with storyboarding, sound editing, etc.
Today and Friday you are building your world for the animation to take place.
On the public drive is a folder called “corals”. Inside you will find imagery of all the corals that have been created by the class for this project. You are free to use everyone corals so your reef can look dense and diverse, as the image above. There is no minimum or maximum, but I will say that if you choose to only use 1 or 2 types of coral your reef will look repetitive and artificial. How many different corals are in the above image?
I also recommend creating some “stone” with basic organic shapes (metaballs?) for your corals to attach to if you want to go higher “up” on your reef. These stone bases can be the foundations to attach the corals.
When you go Coral “shopping” you will copy the .blend file as well as the texture maps to your own “week_17” folder, and you will then append them into your work.
Once you have copied the file to your drive, it is yours to edit and revise. Fix any issues, or tweak the model and texture as you desire.
Save your Blender file with a logical file name for use throughout the month.
Create 3 render of your reef, please note the camera angle specifics:
- “(lastName)CoralSandView.jpg” – low angle, sand view, looking up at your reef.
- “(lastName)CoralBirdsEyeView.jpg” – high angle, looking down, over the reef.
- “(lastName)CoralFishView.jpg” – mid height, mid reef, as if we were the camera in your animation.
Extra Credit Opportunity – underwater lighting
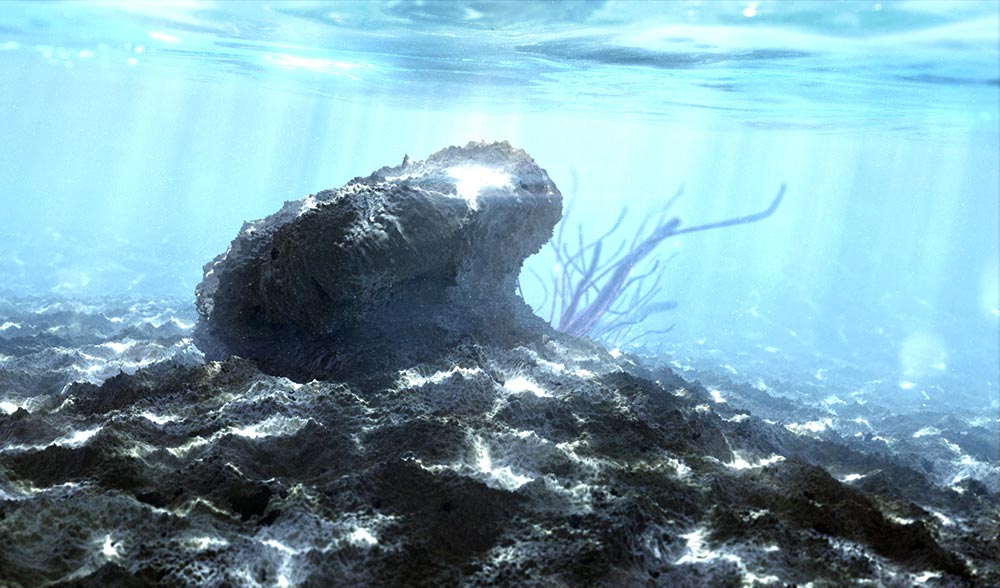
If students would like to earn extra credit applied toward this weeks Coral Project, they can independently learn how to create an underwater lighting effect as in the render above.
If would like the extra credit here is the workflow:
- Learn how to do it independently
- Apply it to an extra version of your 2nd render and call it “(lastName)CoralFishViewUnderwater.jpg”. Keep the same camera angle so we can see the before / after, no underwater / underwater. This is the mid height, fish view. This will be your 4th render for this project.
- Teach the class how to create the effect in a 5-10 minute presentation where you lead teach from the lead machine. Can be done on simple spheres and Suzanne, I just want you to show the process. Interested students will present Tuesday of next week.
This extra credit opportunity would help students who wish to push their work and their grades, as well as expose the class to a number of different lighting techniques to create a realistic underwater look and style. Students would also practice presenting and being leaders in CAWD.
12:15 Lunch (30 Minutes)
- No food in the room / eat in the Cafe.
- You are welcome to return to the room when you have finished eating and work / hang out.
12:45 Attendance and Article
12:50 A Gentleman in Moscow
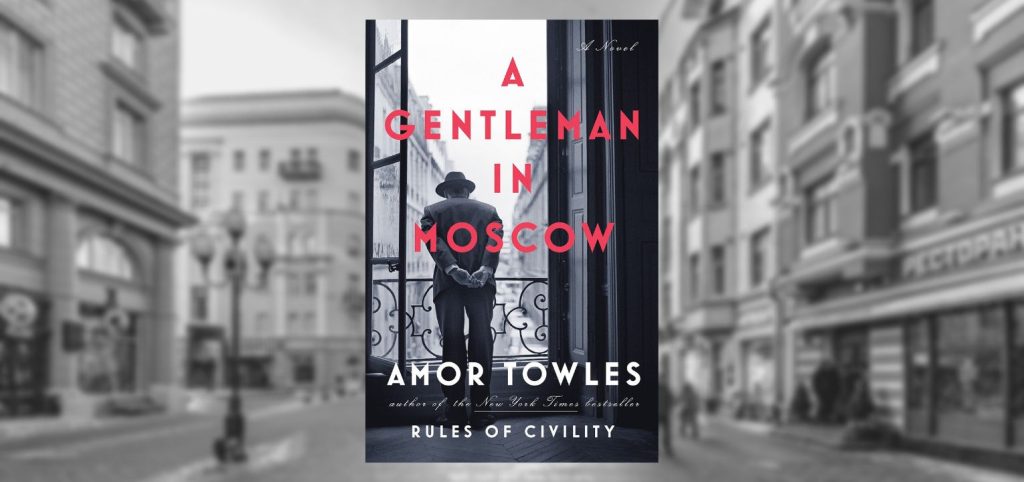
- Follow along as I read; lose yourself in a story for a bit.
- One of the strengths of this book are “beautifully rendered scenes“. You will be creating art based off of the text. Listen attentively.
1:10 Afternoon Break (10 minutes)

- 10 Minutes break – you have to exit the room.
- When the door near the TV is open, you are welcome to come back in.
1:20 Afternoon Production

- Design Homework 17 / Birds eye view of city
- “lastNameDH17.jpg”
- Coral Reef Creation
- “(lastName)CoralSandView.jpg” – low angle, sand view, looking up at your reef.
- “(lastName)CoralBirdsEyeView.jpg” – high angle, looking down, over the reef.
- “(lastName)CoralFishView.jpg” – mid height, mid reef, as if we were the camera in your animation.
Remember the extra credit opportunity!
1:55 Dailies
2:00 Dismissal
