Class hours: 9:40 – 2:05
Mr. Bohmann
wbohmann@ewsd.org
Week Thirty Five
Today’s Notes
- Today is an EHS B Day
- WorkKeys Test – Wednesday – May 24th
- Finn
- Lance
- Eric
- Matt
- May 25th SkillsUSA Test – Study Guide – 10am in Conference Room
- May 31st – Portfolio – Ryan 1-2pm (look for email from Ms. Wilson)
- June 12th – CAWD Goes to the movies
- June 13th – Web Professionals Test
- June 14th – Game Day
- June 15th – Last Day, Recognition Night
9:40 Monday Mail

9:45 Quick AM Sprint
9:55 5 Principles of Game Design – Dissecting Your Game

Reverse Alphabetical Order
The dropbox for projects is in Google Classroom.
When presenting: Three Questions to respond to:
- What is your game
- How does or does not your game tackle the 5 core principles of good game design
- Select 1 principle that really stands out to you
Core Principles of Good Game Design (and level design)
- Design your game around a core mechanic
- Make your games easier at the start and increasingly more difficult
- Create Options & Different Views (change up the scenery & Balanced gameplay)
- Feedback and Rewards
- Meaningful Core Mission
10:35 Break

10:45 English with Mx. Yopp

11:30 CAWD Final Project
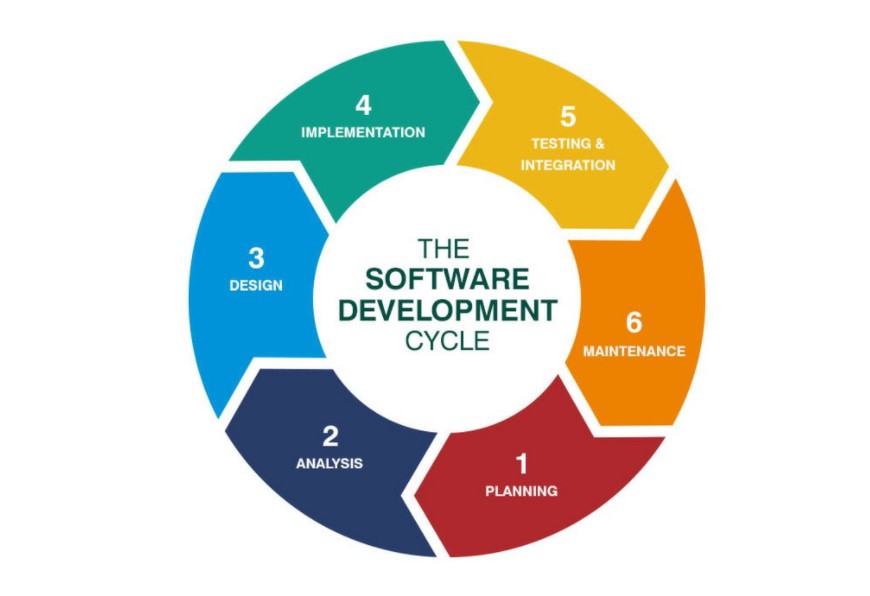
| Date | Week | Deliverable | Software Development Cycle |
|---|---|---|---|
Game idea generation, pre-planning | Planning | ||
| Analysis / Design | |||
| May 22nd – May 26th | Three | GUI, Movement, Core Mechanics, Coding Goal: (your player should be moving in your world, You have a start screen and credits screen and your core mechanic is working. | Design / Implementation |
| May 3th – Jun 2nd | Four | Prototype with game play | Testing/Maintenance / Publishing/Evaluation |
| June 7th -8th | Game Jam | Evaluation |
This week you are going to take your Game Design Document and your Trello planner and begin the Design and Implementation stage. You should be into coding your game mechanic if not done already, adding design elements and some game play!

The design phase is where requirements are transformed into concrete, detailed plans to help you write code. Given certain requirements, there could be many possible approaches to meeting those requirements. A design document will describe exactly how the program will be written, including details such as:
- How your player needs to move
- What kinds of input and output need to be displayed on the screen
- How many levels / design need to be created to challenge the player
- How to show your win / lose conditions
The Implementation phase begins once the program requirements and design are clearly understood and documented. It’s at this point where you can begin to write the code to meet those requirements. The design document provides guidance on exactly how to create the game, so you should reference what you wrote.
Most of the projects we programmed in class started at the implementation phase because the requirements and design were already determined by me ahead of time. I took time in my lessons to go through the planning and design phases.
5 Minute Scrum Meetings / Update Trello Boards
Remember a good meeting is quick and on target. What am I working on today, What help do I need. Those are the questions you should be responding to in your group or individually.
Enemy AI

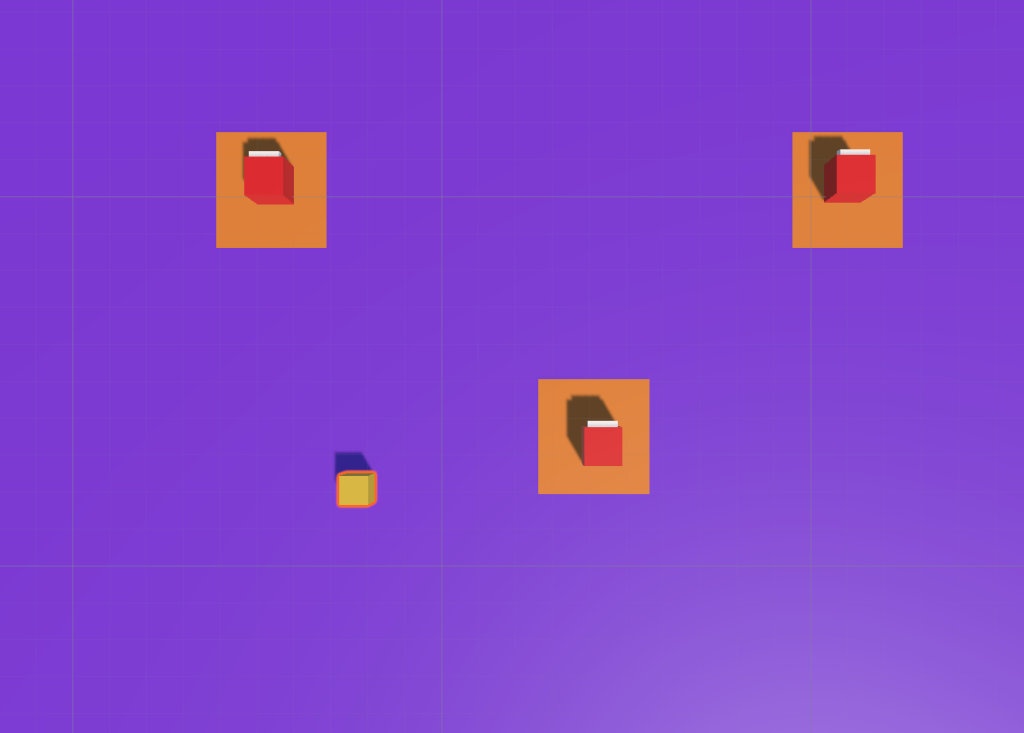
Now, for those of you with some enemy AI, I’ve created a little demo with some well commented code. I had some fun with this over the weekend.
I’ll take about 10 minutes to talk about what the code is doing, how it works and it might be something you can add to your game.
There are two blocks of code – one is for basic player movement (no physics) and the other is for the enemy AI to chase the player.
using System.Collections;
using System.Collections.Generic;
using UnityEngine;

public class PlayerMovement : MonoBehaviour
{

    public float speed;

    // Start is called before the first frame update
    void Start()
    {

    }

    // Update is called once per frame
    void Update()
    {
        float moveX = Input.GetAxis("Horizontal") * speed * Time.deltaTime;
        float moveY = Input.GetAxis("Vertical") * speed * Time.deltaTime;

        transform.Translate(moveX, 0, moveY);

    }
}
Now for the enemy code – which you can place on your enemy.
using System.Collections;
using System.Collections.Generic;
using UnityEngine;

public class EnemyAI : MonoBehaviour
{

    Transform player;  //variable to access the player
    [SerializeField]   //makes the variable private but accessible in the editor
    float enemySpeed, dis;  //you can call more than one variable at a time on one line
    Vector3 startPos; //this registers the players position at the game start


    void Start()
    {
        player = GameObject.FindGameObjectWithTag("Player").transform;  //this registers the players position at the game start
        startPos = transform.position;  // this registers the enemy's position at game start
    }


    void Update()
    {
        //the dis variable stores the distance constantly of the player and the enemy
        dis = Vector3.Distance(transform.position, player.position);
        if (dis <= 4)  //if distance is less than 4 world units - chase the player
        {
            Chase();
        }

        if (dis >= 4)  //if distance is greater than 4 units - the enemy goes back home
        {
            GoHome();
        }
    }

    void Chase()
    {
        transform.LookAt(player); //this will make the AI look at the player - very cool
        transform.Translate(0, 0, enemySpeed * Time.deltaTime);  // enemy moving on Z axis
    }

    void GoHome()
    {
        transform.LookAt(startPos); //this will make the AI look for where they started
        transform.position = Vector3.Lerp(transform.position, startPos, .002f);
        //Lerp means from position a to position b over an amount of time

    }
}
12:15 Lunch

12:45 Independent Reading

1:10 Break

1:20 Independent Project Worktime of Individual Support
- Overdue Work
- Game Design Document
- Dissect Your Favorite Game