Class hours: 9:40 – 2:05
Mr. Bohmann
wbohmann@ewsd.org
Week Six
Today’s Notes
- Today is an EHS B Day and CTE Red Day
- Link to the Vermont Foliage Report – great site!
- No School Friday, October 7th & Monday, October 10th
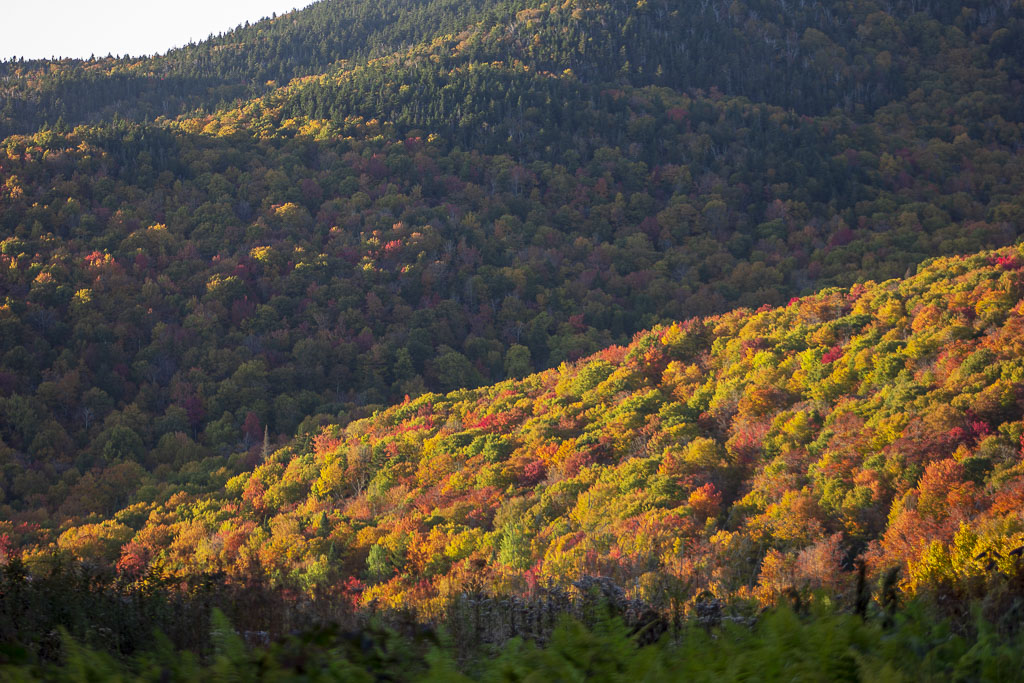
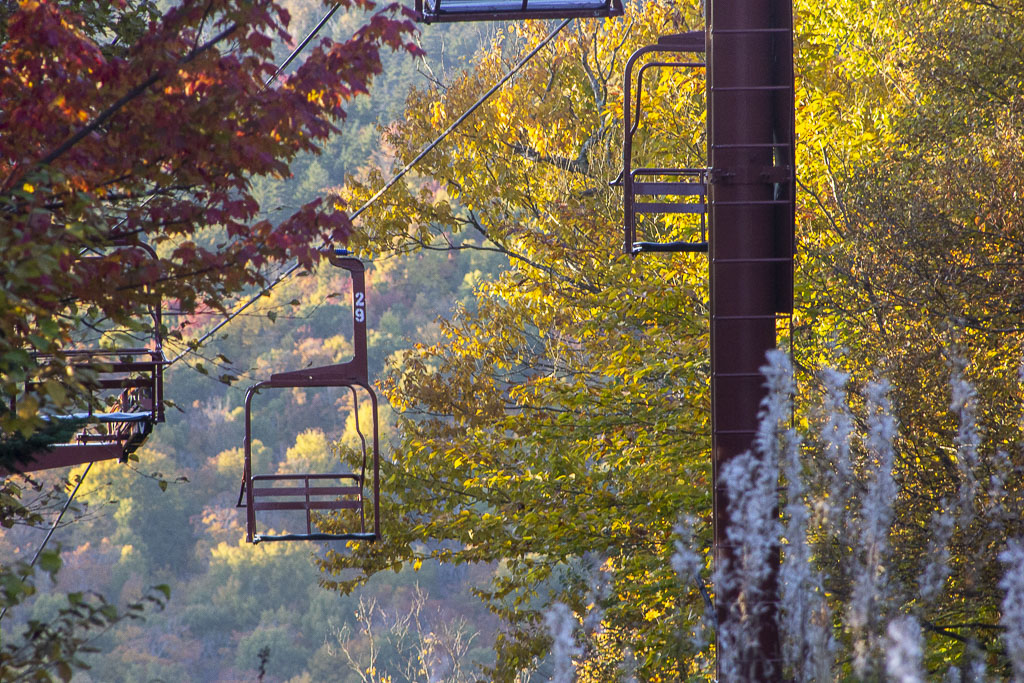
- LTA Photo Assignment – Peak Foliage! Bring your cameras home
- Open House is tonight. Invite your parents, stop by. 6-7:30pm.
- Catamount Family Center Visitor Sign in – Let’s do this now (for the town to track usage)
- FYI There is a Port-O at Catamount

9:40 Attendance
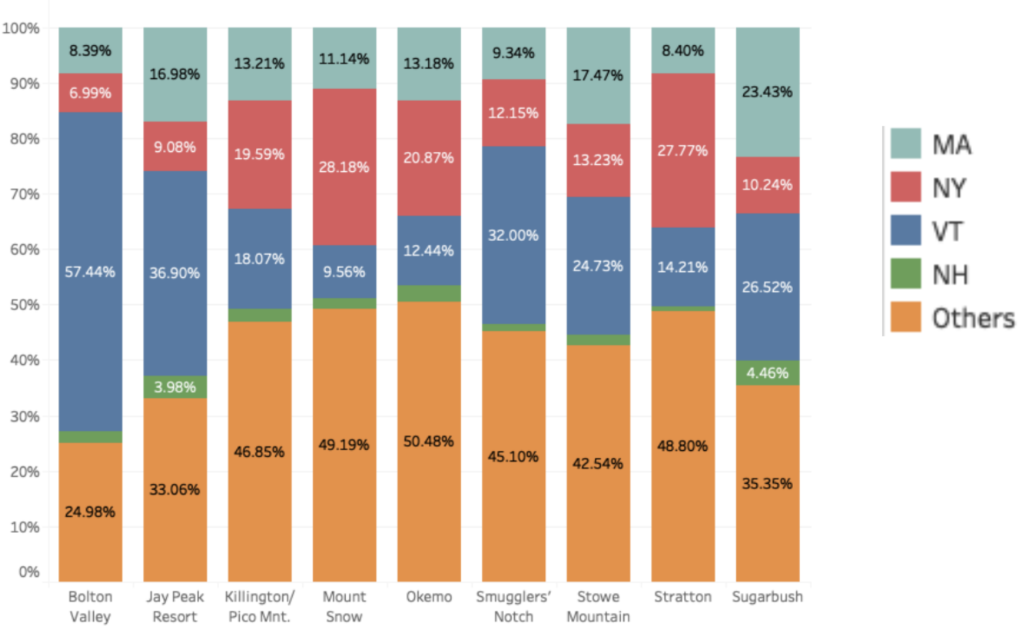
9:45 Graph of the Week
Ski Visits from December 27, 2019 through January 19, 2020

What do you notice?Wonder?Impact?
Google Classroom for Week 6 Graph of the Week worksheet.
10:00 Manual Mode Review –
Today looks like a great day for capturing some fall foliage at Catamount in Williston.
Some things to consider today:
- What kinds of shots do you want to capture? Having a plan helps
- What types of composition are you after? blurred background, portrait orientation….
- What is the light doing? That has a big impact on our success.
so….
Follow these tips when setting ISO

- Set your ISO by pressing the ISO button on the top of your camera. Then use the wheel to choose an ISO setting. Press the ISO button again when you have made your selection.
- If you are in a well-lit situation (outside on a sunny day) choose 100 or 200.
- If you are indoors, or if it is cloudy or darker out, use a slightly higher ISO, like 400 or 800.
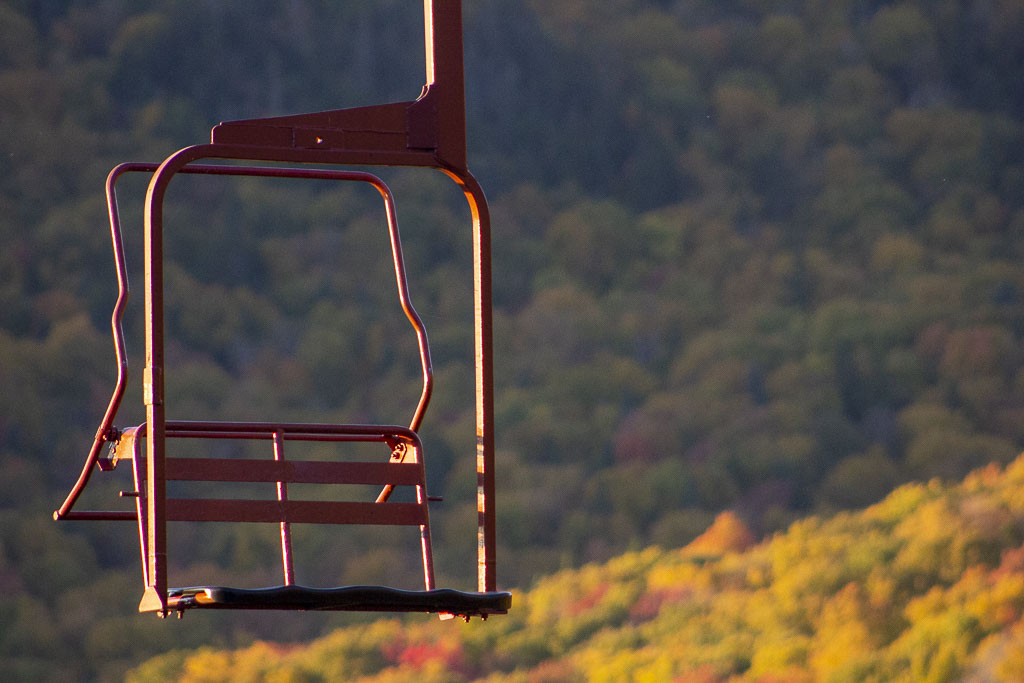
- If you can help it, stay away from the highest ISOs (like 3200 and 6400), as they will produce “noise” in your image. (if you look in my image at the top of the dayplan – you can see the noise!
- When in doubt, you can set it to AUTO, but be aware that your camera may select a very high ISO, thus giving you noise and potentially ruining an image – which is what I set my camera to last evening.
- For today’s shoot, I am going to work with ISO set to Auto to start, then play around.
Follow these tips when setting Aperture

- Set your aperture in manual mode is by pressing the “Av” button on the back of your
- camera and rotating the wheel simultaneously.
- What aperture should you use? Use a wide-open aperture (small f #) if you want a shallow depth of field or if you need to let in a lot of light. Use a smaller aperture (larger f #) if you want a larger depth of field or don’t need to let in as much light. A small aperture is good for landscapes!
Follow these tips when setting Shutter Speed

- To set your shutter speed, all you need to do is rotate your wheel when in manual mode.
- If your exposure index is indicating that you are UNDEREXPOSED, decrease your shutter to a SLOWER speed.
- If your exposure index is indicating that you are OVEREXPOSED, increase your shutter to a FASTER speed.
- KEEP IN MIND: Don’t shoot slower than 1/60 without a tripod, and if you are shooting a subject that is moving or may move, expect motion blur.
- If it is too dark (underexposed) and you do not want to lower your shutter speed any lower (do to blur), adjust something else (wider aperture or higher ISO).
10:15 Sweatshirt Design Sprint

10:30 Leave for Field Trip / 10:45 – 11:45 On Location Camera Shoot

Pack your cameras, SD cards and cases. We’ll be heading to Catamount Family Center in Williston today. The Town of Williston now owns the community forest. We’ll walk to a few spots and try to capture some fall color.
When we return, sort through your photos and edit / improve any shots that you want to keep. Your long term assignment has some required images. Update your Trello board as needed.
SD Card – be sure to clean up your SD card.
12:15 Lunch

12:45 Photoshop’s Video Timeline – Maybe useful?
Let’s make an actual video from clips using the Photoshop timeline. I can think of better tools, but since it’s in there, lets test the limits. Sometimes this can be just the right tool for the job. For most people, this might be all they need.
Before you begin, put video clips, images, and audio files in one folder. I have a sample for you.
1. Load files into stack (File>Scripts>Load Files into Stack). It loads them as layers or another way is to click on the layer group and Add Media once you open the Timeline in Step Two.
2. Show Timeline (Window>Timeline). Then select all layers, go to Timeline menu at left of any one clip and choose “New Video Group from clips.” Then drag and drop them on the timeline to re-arrange.
3. Trim clips—drag from either end
4. Add Transitions—fade in or out from icon in Timeline. Drag the transition from the menu to a spot between clips.
5. Add Background Music (Audio Track). To trim, position playhead and click Scissors. Then delete trimmed portion.
6. Add Text and Titles—drag Type layer to top of Layers panel to make it overlay (OR, in timeline from Video Group 1 menu, choose “New Video Group” and move it up to that Video Group)
7. Use Photoshop Like Always – change any clip with effects at bottom of Layers panel (choose a clip in Layers panel to change whole clip)
Export (Render Video)—from Timeline Options menu at top right of timeline. Default is probably OK, but you can choose from presets.
1:10 Break

1:20 20% Production Time & Guided Support
20% Project – Due Tuesday, October 11th
Improve, edit photos from today’s field trip.
1:50 Clean and Dailies
For Dailies let’s see one of your very best photos from today’s shoot at Catamount.
2:05 Dismissal

