Class hours: 9:40 – 2:05
Mr. Bohmann
wbohmann@ewsd.org
Week Twenty Three
Today’s Notes
- Happy Valentine’s Day
- Today is an EHS B Day
9:45
9:50 Working in 2D – Blender
What is 2D animation?
Well, you probably know and definitely have seen 2D animation. A more formal definition is that 2D animation is the art of creating movement in a two-dimensional space. This includes characters, creatures, FX and backgrounds. The illusion of movement happens when individual drawings are sequenced together – like we did thaumatrope.
Over the next week we’re going to explore the 2D interface in Blender, get familiar with the grease pencil in both 3D and 2D workspaces, do some inking and some general doodling while at the same time exploring the 12 principles of animation.
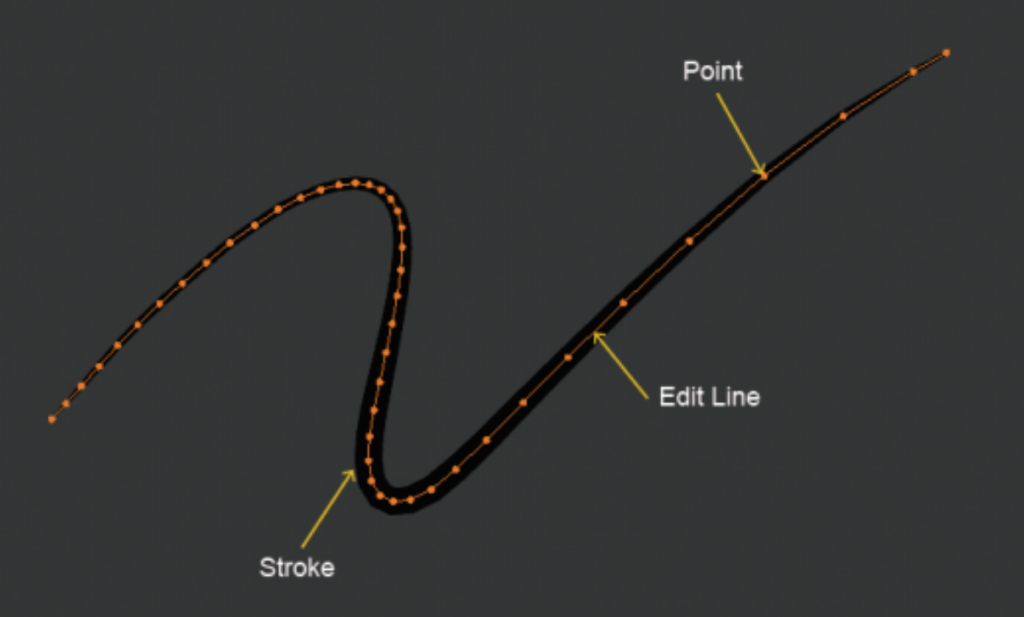
Some key things to keep in mind with the grease pencil are in the editing tab – points, edit lines and strokes.
Like Photoshop, layers is an important part of using the grease pencil and the 2D workspace. We’ll explore:
- Two dimensional drawing in a three dimensional workspace practice Helper tools – drawing plane, layers, materials
- Sculpting the grease pencil
- drawing in edit mode
- types of erasers
- Scissors and editing strokes
- vertex painting vs. material painting
Points
The main element used in editing Grease Pencil objects are points. Points represent a single point in 3D space.
Each point stores all the properties that dene the nal appearance of the strokes as its location, thickness, alpha, weight and UV rotation for textures.
Edit Lines
Points are always connected by a straight line, which you see when you are editing in Edit Mode or when you look at a stroke in wireframe view. They are invisible on the rendered image and are used to construct the nal stroke.
Strokes
The stroke is the rendered image of the points and edit lines
Other terms and functions we’ll explore:
layers, onion skinning, modiers, visual effects, materials and animation
The Blender Grease Pencil workspace works around the concept of Layers and Materials.
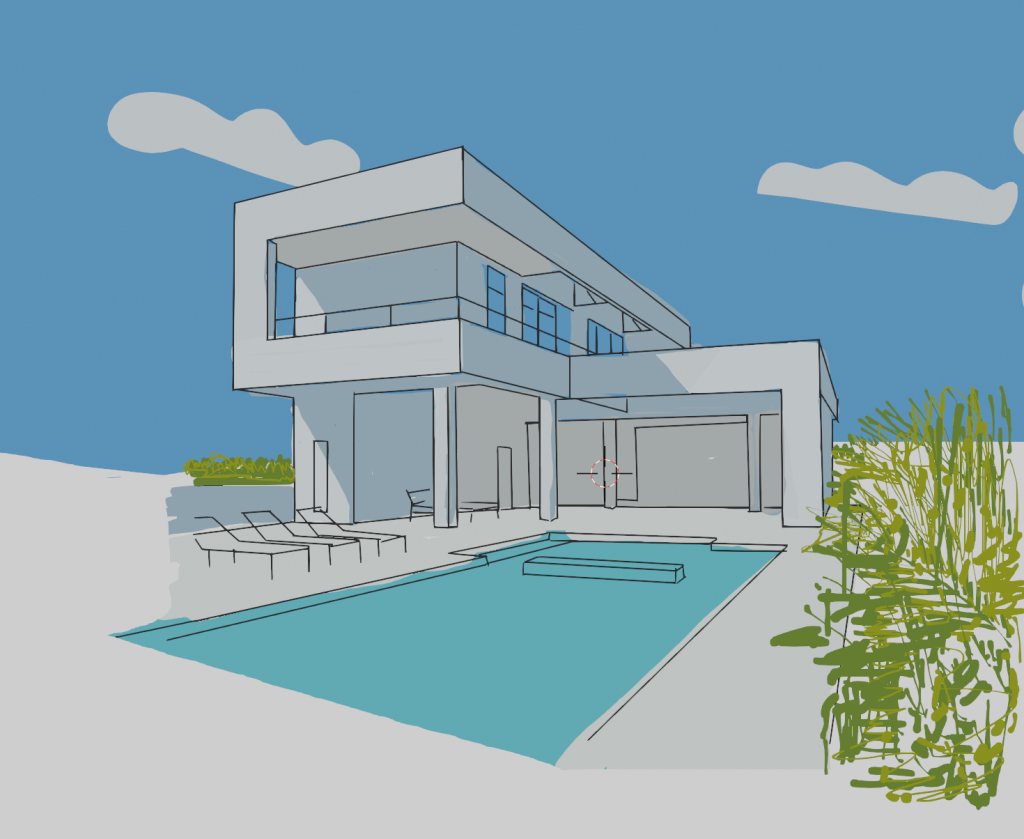
If you want to practice work in orthographic view (#1 on the keypad) and bring in a reference drawing. Here is a link to a sample modern house that I used to create the image at the top of the dayplan.
The goal is to create multiple materials and layers so you could do architectural sketch much like we’d share with a client (if we were architects or designers).
10:35 Break

10:45 English with Mx. Yopp

11:30 Killbox and Respawn

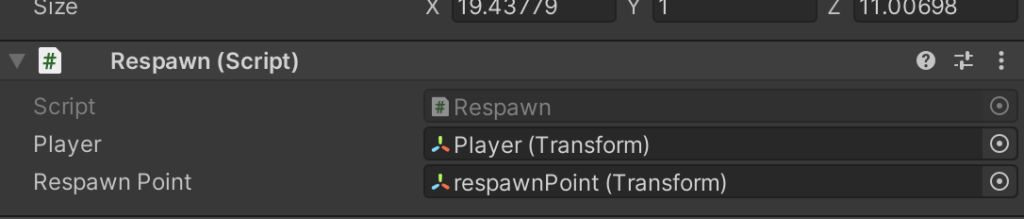
Let’s create a new script that will allow us to add a killbox and a respawn point in case we miss a platform and want to try again. It is annoying having to press play each time.
For this we are going to use a new method called OnTriggerEnter(Collider other)
We’ll need a box collider for the killbox and add the script to respawn to it. We then just have to plug in our player and respawn point. Our killbox will be an empty with a box collider on it. In the image above I’ve rendered a killbox in red so you can see it (but we won’t see ours). It must be set to trigger to make it work.
using System.Collections;
using System.Collections.Generic;
using UnityEngine;

public class Respawn : MonoBehaviour
{

    public Transform player;
    public Transform respawnPoint;

    private void OnTriggerEnter(Collider other)
    {
        player.transform.SetPositionAndRotation(respawnPoint.transform.position, respawnPoint.transform.rotation);
    }
}
12:00 Game Day / Updates from CAWD SLC students
Let’s think about our upcoming game day!
12:15 Lunch

12:45 Literacy in Practice

1:10 Break
1:20 20% Production Time & Guided Support
- PSA Asset Modeling
- PSA Storyboard
- 20%