Class hours: 9:40 – 2:05
Mr. Bohmann
wbohmann@ewsd.org
Week Thirty Three
Today’s Notes
- Today is an EHS A Day
- 20% & Book Covers
- Ryan
- Garrett
- Emmit
- Lance
- SkillsUSA Participant meeting this evening 5:30pm (Finn, Hayden, Emma, Garrett)
- WorkKeys Testing – report here by 10am
- 5/17 (Math Test) Matt, Tom
- 5/24 (WorkPlace Documents Test) Finn, Matt, Eric, Lance
- Final Project Details tomorrow….
9:45 The Game Lifecyle
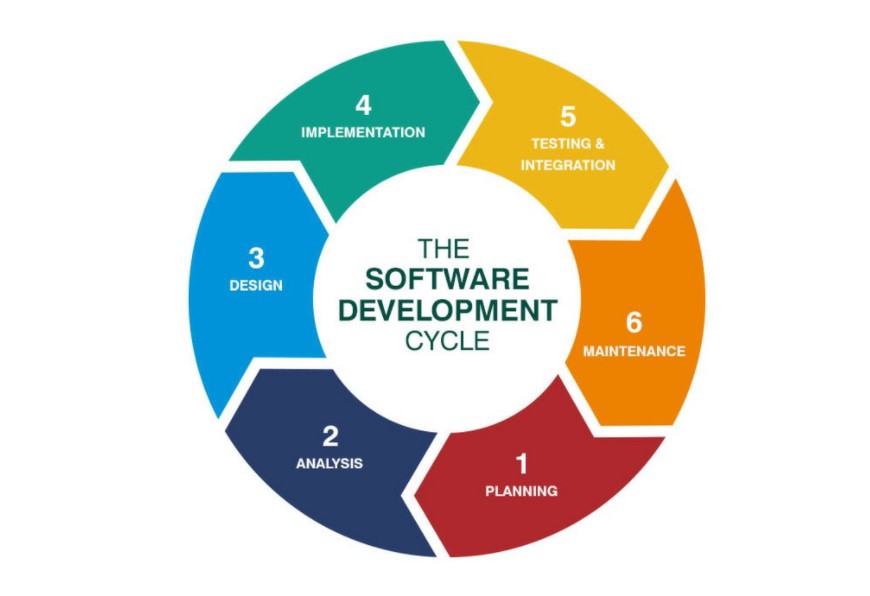
The development cycle for software is designed to help bring your ideas to reality. There are many types of development cycles (ADDIE, Waterfall, Spiral, Agile etc…). Some companies subscribe to one or more cycles to complete their projects. Whichever you learn / use, you will find that there are similarities among them.
The purpose is to work through an iterative process (design, implement, test) to get the best product. Remember the ET game? Not too much iterative design and the result is the Worst Video Game ever award.
The visual above outlines a very popular development cycle. Google “Game Development Cycles” or something close to that. Look at the image results….
Planning: brainstorming, storyboarding, discussing, writing and idea generating – who does what work, what work needs to get done, KanBan and Trello type boarding
- Brainstorming
- Prototyping / Storyboarding
- Game Proposal (Game Design Document) usually lives in this stage
- Feedback/Discussion with others to improve planning
Analysis: What will the game/player do. What are the goals in this stage, level, prototype. What assets and elements are needed for this project cycle. List all of the features of the game. Do you need music, sounds, art, what types to make your game authentic
Design: For some this is the fun part (or not). Sketching, coding, creating, developing the parts related to this development cycle. For example, one development cycle may be just on the player. So how big is the player, what does it do, look like, move, game mechanic. Describe what you code needs to do.
Implementation: Write and create the code / level / etc…described by your design so you have something to test at the next stage.
Testing: This is where the minimum viable product can be delivered and we can try out with users to find out if the other stages are represented here. By testing, we can save a lot of development time. Run your program and test all features to make sure they work.
Maintenance: If you find problems, you need to return to earlier stages to correct them, and then re-test. Debugging, updating, recording user feedback

9:55 The Game Design Document
A game design document (GDD) is a software design document that serves as a blueprint from which your game is to be built. While your game may change during development, the GDD serves as a guide for you and others on your design/development team.
A GDD is a good way to map out your vision for your game.
What to include on your GDD? Well, here is a very nice example of a Game Design Document – Silent Hill
To prepare for your last major assignment of the year (making your own game!), you are going to pull together a Game Design Document. I recommend Google Docs. This means that your game will require a GDD.
The following is a suggested template (at minimum):
Name of the Game (or Working Title)
Team Members or just you
Elevator Pitch (One sentence briefly but concisely describing your game)
Example: Metro2033 is an FPS survival game set in the ruins of Moscow following nuclear war.
Description/Story
A one /two paragraph synopsis of the story of the game.
Core Gameplay
Describe how the game is played. Be specific and describe the features
Core Game Mechanics
List your core game mechanics and include details for each and how they work
Game Elements
Describe your world and the objects in it
Characters
List your characters and their names
Assets
What types of assets will make up your game
Sound
What types of sounds / sound effects will you have
Animation
What kinds of things will be animation
Player Controls – list them
Win Conditions – Describe them
Lose Conditions – Describe them
10:15 Quick Tour of ProBuilder Tools & First Person Standard Asset
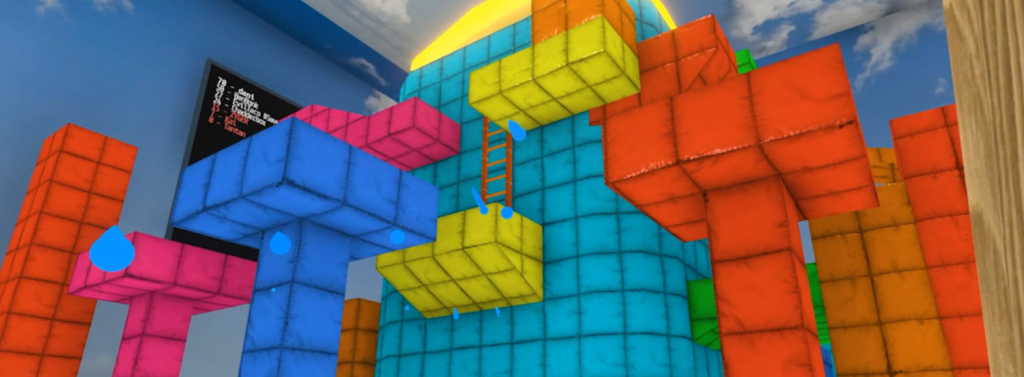
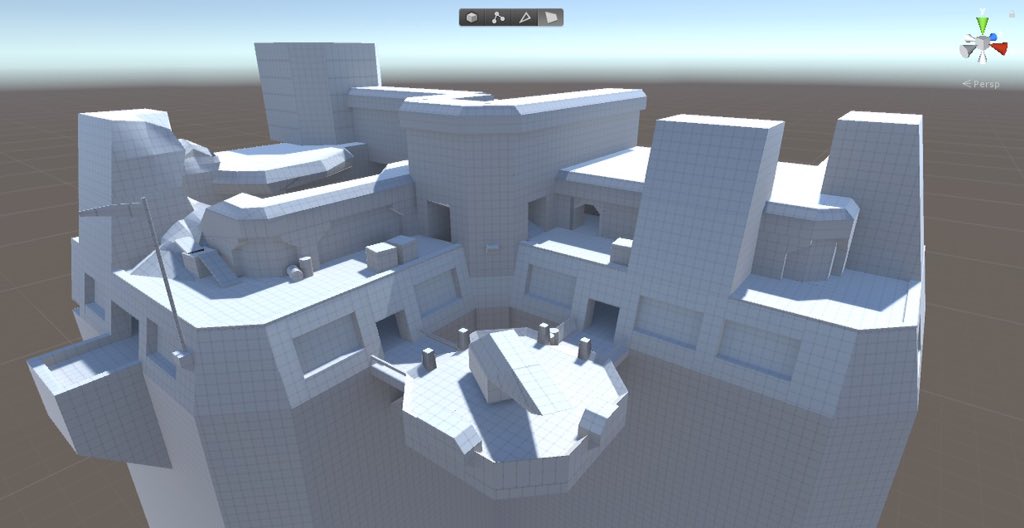
Build, edit, and texture custom geometry in Unity using ProBuilder for in-scene level design, prototyping, blocking and setting up game environments. Many game devs also use the ProBuilder tools for production games. You’ve seen it in Crab Game.
Let’s take a spin through the tool.
10:35 Break

10:45 English with Mx. Yopp
11:30 Materials in Unity
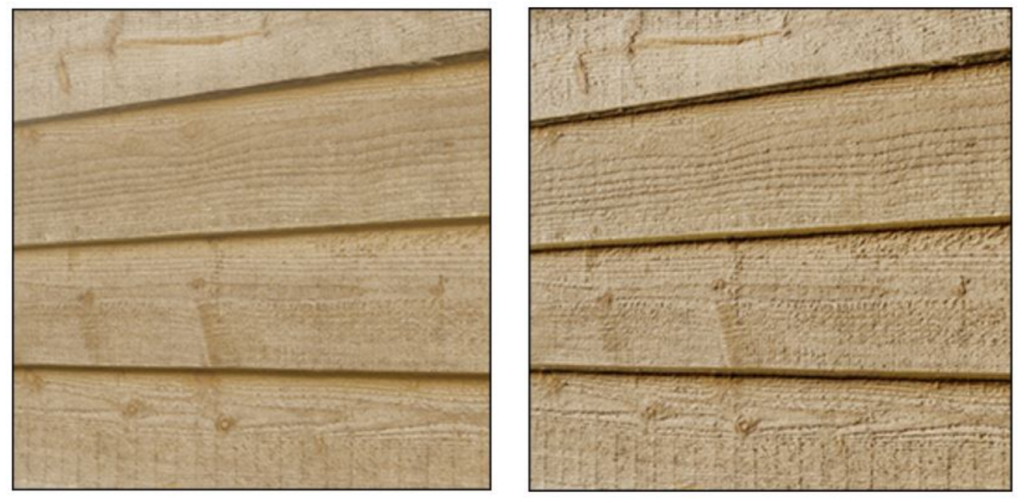
(on Right) which looks sharp and 3 Dimensional especially in the light
Let’s look at how to create and use materials, which can be used to add colors, patterns, and surface textures to objects in your game. Materials determine how the surface of a model will be rendered.
A Reference Link to Making Materials
Normal Maps or Texture Maps are special kinds of image files that can control how bumpy or smooth a surface inside a scene can look when light interacts with it. There are many different types of maps that can be applied to an object to improve the realism of that object.
PBR stands for Physical Based Rendering. Unity, Unreal, Substance Painter and Blender use PBR workflows. If you want to read a really good article to learn more about PBR texturing and the host of different maps (like albedo, normal, specular, etc….) read this article.

By default (and depending what type of project you load) most materials are assigned to the Standard Shader. A Shader is built in program that calculates the appropriate level of light, dark and color during the render of your scene. Basically how the pixels of the surface of the model should look.
Unity has other built in shaders:
- FX: Lighting and glass effects.
- GUI and UI For user interface graphics.
- Mobile: Simplified high-performance shader for mobile devices.
- Nature: For trees and terrain
- Particles: Particle system effects.
- Skybox For rendering background environments behind all geometry
- Sprites For use with the 2D sprite system
- Unlit: For rendering that entirely bypasses all light & shadowing
- Legacy: The large collection of older shaders which were superseded by the Standard Shader
Materials are used in conjunction with shaders. Most shaders come with a list of material parameters.
- Albedo is color or can be an image
- Metallic and Smoothness refer to how metal like an object is and how much light refraction
- Normal Maps can be used to make a surface look like it has a texture or bumps when light hits it
- Height Maps are used like a normal map and will give additional definition to a surface, The map itself is a greyscale Texture that stores height data for an object. Each pixel stores the height difference perpendicular to the face that pixel represents.
- Occlusion Map is a greyscale image, with white indicating areas that should receive full indirect lighting, and black indicating no indirect lighting.
Textures are applied to objects using materials. Unity can import textures from most common image file formats.
Sites for textures:
Activity: Using ProBuilder Tools Make a Level
- Create a level with walls, stairs and obstacles – try out all the different shapes or make custom ones
- Make your own materials to make your level more interesting
- Take a screenshot or OBS run through of your level
- Drop in Google Classroom
- Due Friday
12:15 Lunch

12:45 Independent Reading

1:10 Break

1:20 Independent Project Worktime of Individual Support
- Level Design with ProBuilder
- 20% for this week