Class hours: 9:40 – 2:05
Mr. Bohmann
wbohmann@ewsd.org
Week Two
Today’s Notes
- Today is an EHS B Day
- Parking Permits – on the front page of the CTE website
- CCV Class begins this Friday – keep an eye on your email for communication from CCV
- Today is a CTE Red Day
- Illustrator Project – Zoo should now be complete and turned in
9:40 Attendance
9:45 Monday Mail (on a Tuesday!) – let’s see what everyone is saying….

Every Monday (or in this case Tuesday) for five minutes you are going to check your email for any updates, new mail, etc… The school and professionals in the workplace use email (generally) as a primary tool for communication. Delete or archive email that you do not need anymore. We are going to practice keeping a clean inbox and responding and staying up to date on communications from the school, colleges and colleagues.
You can also set up filters for your email, unsubscribe from email lists and customize your inbox.
9:55 Developing your Personal Brand

Sure, you know brands, McDonalds, Super Mario, Discord, Coke. What do each of the brands have in common – their logos, products and services represent their brand.
Before we jump into our logos, let’s look at some principles of logo design. If there is one term you should take away, that is the Theory of Design known as Gestalt.
Gestalt is a noun. Defined as “an organized whole that is perceived more than the sum of its parts”
A good logo is not just a logo, but rather a brand mark. This means that all of the visual elements help to define the brand. Look at the logo above – probably a teacher!
Some common Gestalt design principles we’ll look at:
Proximity – When individual elements are very close to each other, the human brain perceives them as a whole, in a different shape. Example Example 2
Closure – use of negative space – the human brain has a tendency to seek out patterns, and if the right amount of information is presented, the brain will use it to complete the pattern Example
Similarity – if the individual elements share some kind of similar traits, the human brain will organize them in a group and perceive them as a whole. Example
Figure/Ground – using the positive space and negative space relationship in design to create a visual hierarchy. Example
Continuity – principle that elements that are similarly aligned will be perceived as a whole. Example
Order/Symmetry – the goal is to create a sense of order so the brain is not lost in creating a relationship
Example Example2
Have you ever considered what your brand is? When you interact with others in person, online and through social media an image of you is build up over time. Colleges and employers have access and time to learn about you even before they meet you. If you don’t have a brand, they will decide for you. What will your brand say about you?
Ok, some deep thinking time….
The goal is to create a custom logo that you can use on your email signature, personal webpage, letterhead and any other print and digital media that will represent you and showcase your work.
The best way to start is by picking up a sketchbook and just drawing. So that’s what you’ll do.
Sketch out six (6) designs. Use pencil, colored pencils, markers – Up to you.
Create the first iterations of your logo. The size does not matter, just getting ideas down is the most important.
On Thursday of this week each of you will display your logos and we’ll walk around and help each other narrow down their designs.
10:35 Break

10:45 English with Mx. Yopp
Today is the first day of Literacy with Mx. Yopp. This class is every Monday and Tuesday in CAWD 2. Lit is a separate grade in the gradebook.

11:35 Photography – Abstract
Link to Photography Terms & Concepts
Photography has the power to isolate a fragment of a composition and turn it into art and to freeze shapes and images to take on new meaning far different from their original intent.

The goal of today’s lesson is to build confidence and familiarity with your new camera, while also practicing framing shots that isolate an element or color to create an interesting abstract.
The easiest approach to abstract photography is the close up shot. Close-ups remove the context of what is in the viewfinder as well as emphasizes the texture and graphic elements.
Focal Length is also important.
Focal Length is the space from the camera sensor to the lens. This measurement is measured in millimeters.
- Wide Lens – 35mm
- Normal Lens – 50mm
- Telephoto Lens – 75-300mm
Why does the Focal Length Matter? Well, focal length will help you:
- Determine your Field of View. When you change the focal length, the field of view will change. More or less will show in the viewfinder.
- Perspective – Objects behind an image will be compressed with longer focal length
- Depth of Field is affected by focal length
- shallow DOF – small or narrow area is in focus
- long DOF – more in focus
To control focal length, let’s learn about Aperture Priority mode.
Remember, in Aperture Priority mode, you have control over the Focal Length which is referred to as the lense field of view. Cheat Sheet

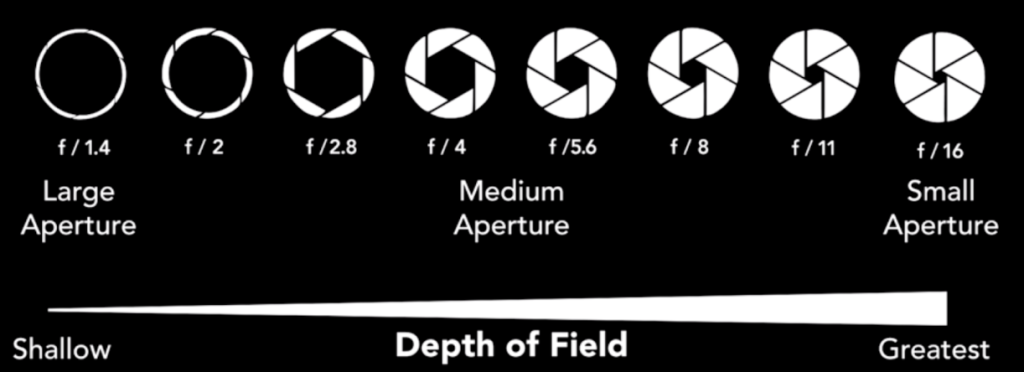
A small f-stop number (f2) means a small depth of field and large f-stop number (f22) means a large depth of field.,
Because we are shooting close up in most cases, a large depth of field (large f-stop number) is not necessary. However, testing out longer focal length may provide some good effects.
Focal Length is measured in Millimeters and it represents the distance from the center of the camera’s lens to the sensor of the camera body. The longer the distance, the longer the lens, and the longer the zoom.
Activity, we’ll head out as a group to the front courtyard. Find and shoot at least 12 subjects that will serve as your abstracts. Look at different angles. To get 12 good shots you might need to take 60.
Don’t worry, you won’t run out of film!
Assignment: Select your favorite 5 photographs. Place each image on a Google Slide (5 slides total). Record the meta data somewhere on each slide (shutter speed, f/stop, focal distance). If you need to improve a photo, feel free to take to your favorite image editing program. Upload slideshow to the assignment drop on Google Classroom.
Filename: Abstract Slideshow
12:15 Lunch

12:45 Exploring Depth of Field using Blender
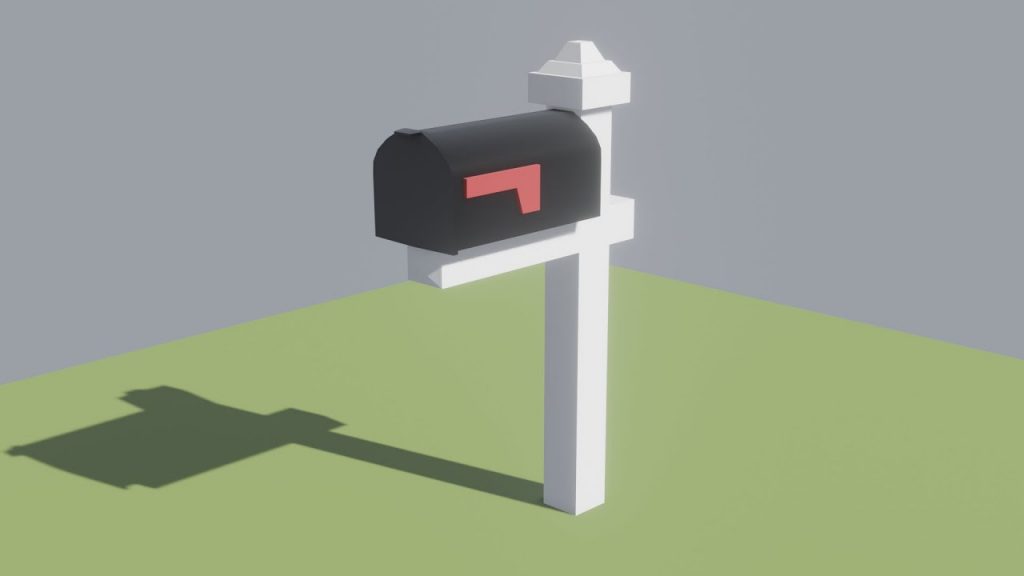
A really good way to get an understanding of focal length, depth of field and f/stops is to set up a model in Blender and play with all the the camera settings to see how things work.
If you have not been in Blender for awhile, no worries. I’ll take you through, it will be like riding a bike.
1:05 Mask Break
