Class hours: 10:05 – 2:45
Mr. Bohmann | wbohmann@ewsd.org
10:05 Today’s Notes & Attendance
SkillsUSA Test – Study Guide – 10:10am in Conference Room on May 30th
SkillsUSA – Game Team – afternoon meeting Today
10:10 Multiple Scenes Continued…
On Tuesday we made multiple space scenes and then used a script to link our scenes together through a trigger event. Can you think of some scenes you might want to trigger?
To review
Unity scripts uses a built-in object called the SceneManager to load and unload scenes. Any script that wants to use the SceneManager should first place the following “using” statement at the top of the source file, near the other “using” statements. This adds the SceneManagement library
using UnityEngine.SceneManagement; //place at the top of your scriptNow, when your script wants to change from one scene to another, it can simply call the SceneManager.LoadScene() function and pass in the name of the new scene inside your parenthesis.
When you call LoadScene() with just a scene name, as we have demonstrated, you are using single mode.
In additive mode, it is possible to load and display multiple scenes at once. Each scene may contribute something to the set of visible objects and overall gameplay. To use additive mode, simply add a LoadSceneMode.Additive parameter after the scene name in a call to LoadScene().
SceneManager.LoadScene (nextScene, LoadSceneMode.Additive);You can have multiple scenes loaded in additive mode, but only one of those scenes is active at a time. Let’s experiment. However, you may notice some problems – like lots of spaceship and black holes and many cameras and background in the hierarchy.
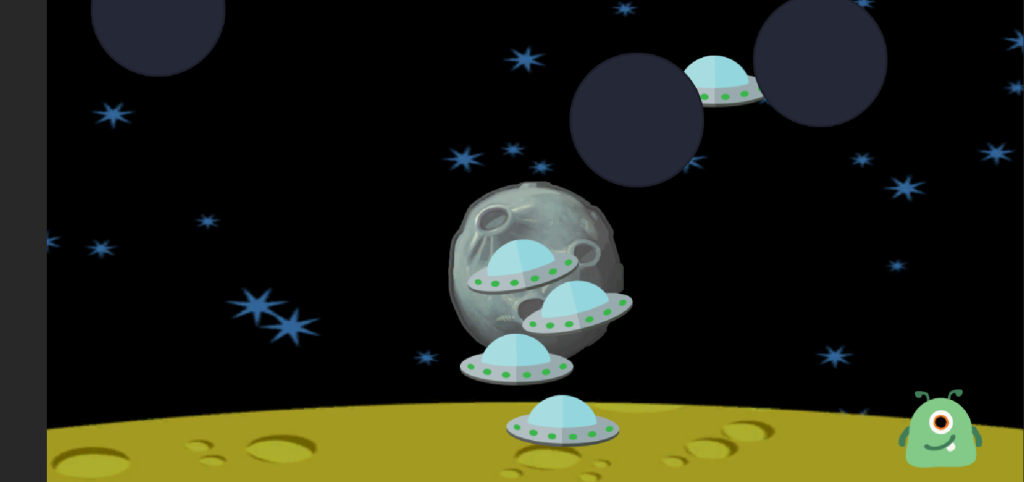
In Single scene mode each time a new scene loads, the previous scene and all of the objects are destroyed. But most games will need to track information like player health, score, inventory, etc…
There are several ways you can save data across multiple scenes
- Using the Unity GameObject.DontDestroyOnLoad() function
- Use the C# “static” keyword in front of class level variables that you want to keep
- Write data to a file or database
- Use the additive mode when loading new scenes. Design one scene as a “manager” that will always be present and hold all of the game’s long-term data and objects (Like score and health, etc…)
Loading Additive Scenes
One strategy is to keep one scene open – called the manager scene and then offload and onload new scenes through-out the game. This way, some gameObjects can remain part of every scene.
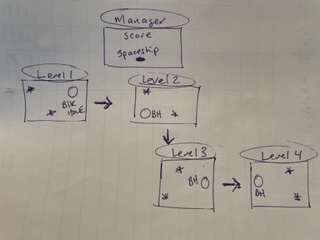
Let’s reconfigure our Scenes to take advantage of this approach.
- Create a New Level and Name it “Manager”
- add your spaceship PreFab
- On your other levels, remove the camera and the spaceship
- Check your Build Settings to make sure everything is looking good and your new Manager Scene has been added
Now, when the game starts with the manager scene, we need some logic on an object within the manager to automatically load the first level in additive mode. The player character from the manager scene will combine with the space scene for exactly the same look and feel.
//Controller Script for the Manager Scene
using System.Collections;
using System.Collections.Generic;
using UnityEngine;
using UnityEngine.SceneManagement;

public class Controller : MonoBehaviour
{
    public string nextScene; // Variable so we can type in the first scene to load

    void Start()
    {
        SceneManager.LoadScene(nextScene, LoadSceneMode.Additive);
    }


}Next, when the player character enters a black hole, the old level/scene will be unloaded and the new scene/level will be loaded in additive mode. This keeps the manager scene loaded throughout the game, and we will only have one copy of our player object that survives from level to level!
//Transition Script placed on the black hole for managing levels changes
public class BlackHole : MonoBehaviour
{
    public string nextLevel;
    public string currentLevel;


    private void OnTriggerEnter2D(Collider2D collision)
    {
        SceneManager.LoadScene(nextLevel, LoadSceneMode.Additive);
        SceneManager.UnloadSceneAsync(currentLevel);

    }
}
Not only can we store long-term data on the player character or other objects within the manager, but we can use knowledge of which black hole was entered on the old scene to position the player character just outside the matching black hole in the new scene. This extra attention to detail makes the game flow more naturally. Let’s try…
10:50 Break

11:00 Game Studio Work Session
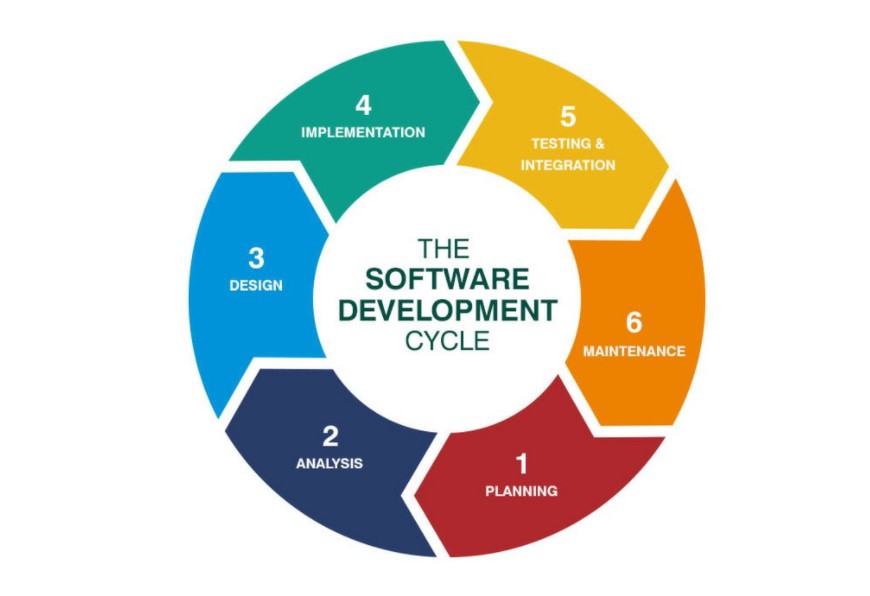
My lesson notes on basic player movement in 2D. You’ll find some information of how to make your player flip in both directions. This Code is intended for side scrollers and does not include jumping. If you didn’t want the player to move up and down – you could remove the vertical code. Full code.
My lesson notes on player jumping in 2D. This code is added to the player script. The notes describe the process of what the code is doing.
My code on camera smoothing and tracking. Place this code on your camera and fill in the variables as needed. This provides some 2D camera offset on the x axis and some smoothing when the player changes direction.
Thinking of adding a checkpoint in your game. You’ll need an object for your checkpoint. Then you can review my notes and code on handling checkpoints and apply to your game.
Fall detection and respawn for player. Notes and code included. This same code could be used and adapted for a killzone.
My code and notes for Player Movement for a dungeon crawler. You should add RIgidBody2D to your player. Change gravity to 0 and freeze rotation on Z. If you add the camera as a child of the player, you can have a basic player follow. This script would be good for a tilemap level.
Rollerball Camera Code for 3D scene with camera offset
11:55 Web Professionals Test Prep

12:25 – 12:55 Lunch

12:55 Independent Reading

1:20 Break

1:30 Dissect Your Favorite Video Game

Josh, Aiden, Finn, Miah, Kevin, Brodey, Philip and Nick
When presenting: Three Questions to respond to:
- What is your game
- How does or does not your game tackle the 5 core principles of good game design
- Select 1 principle that really stands out to you
Core Principles of Good Game Design (and level design)
- Design your game around a core mechanic
- Make your games easier at the start and increasingly more difficult
- Create Options & Different Views (change up the scenery & Balanced gameplay)
- Feedback and Rewards
- Meaningful Core Mission
2:10 Production Time and Guided Support
2:40 Dailies

Dailies can be placed in the CAWD2 Dailies Folder on the CAWD2 Public Folders drive