Class hours: 10:05 – 2:45
Mr. Bohmann | wbohmann@ewsd.org
10:05 Today’s Notes & Attendance
Week 32
SkillsUSA meeting tonight – 6pm in the cafeteria. If you are going to Atlanta (Josh, Miah, Alex) you should attend this meeting with a parent. The state director will be in attendance and all of the information about what to expect will be presented. Bring your questions. I will be there too.
DCM Bookjacket Contest – we’ll be voting today
10:10 Working with Sprites
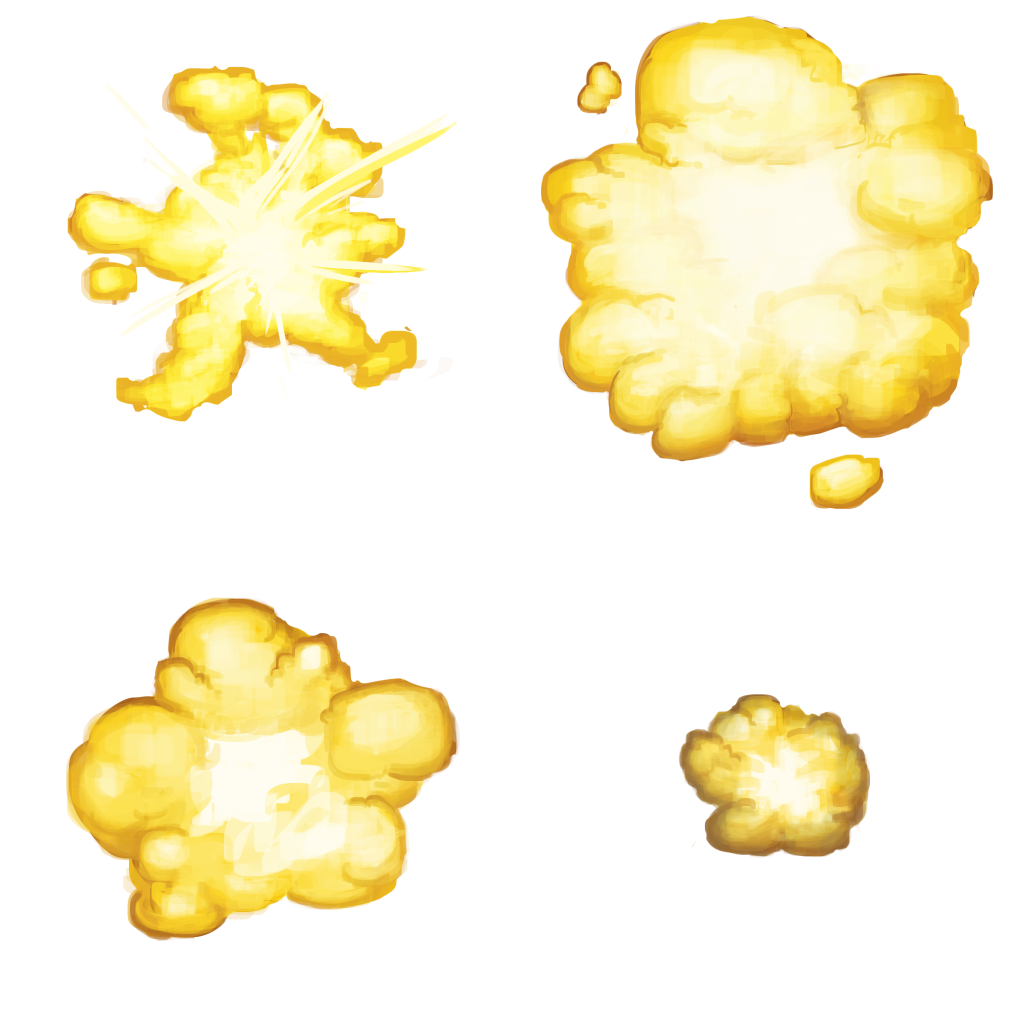
Sprites are simple 2D objects that have graphical images (called textures) on them. Unity uses sprites by default when the engine is in 2D mode. When viewed in 3D space, sprites will appear to be paper-thin, because they have no Z-width
Sprites can be made using a variety of programs. Photoshop & Illustrator is a great place to make your custom sprites. In addition, Photoshop (if set up well) can be really handy for making animated sprite sheets and for viewing animations by placing layers in the photoshop video editor(Timeline) window.
Why sprite sheets? Simply, importing multiple sprites into Unity with a sprite sheet cuts down on file size and reduces heavy resource allocation. Imagine if you had a tiles for a side scroller and all of the tiles were imported as individual sprites? You’d have tons of files and a lot of space allocated for wasted pixels.
Setting up Photoshop
We’ll do a little math (math is fun).
- Create a new document
- Set width to 160 and height to 32 (be sure to choose pixels)
- We are going to make 5 columns, with height of 32px
- Now, lets add some math = 32*5
- If we did a 10 column sheet with rows we’d have some multiplying to do
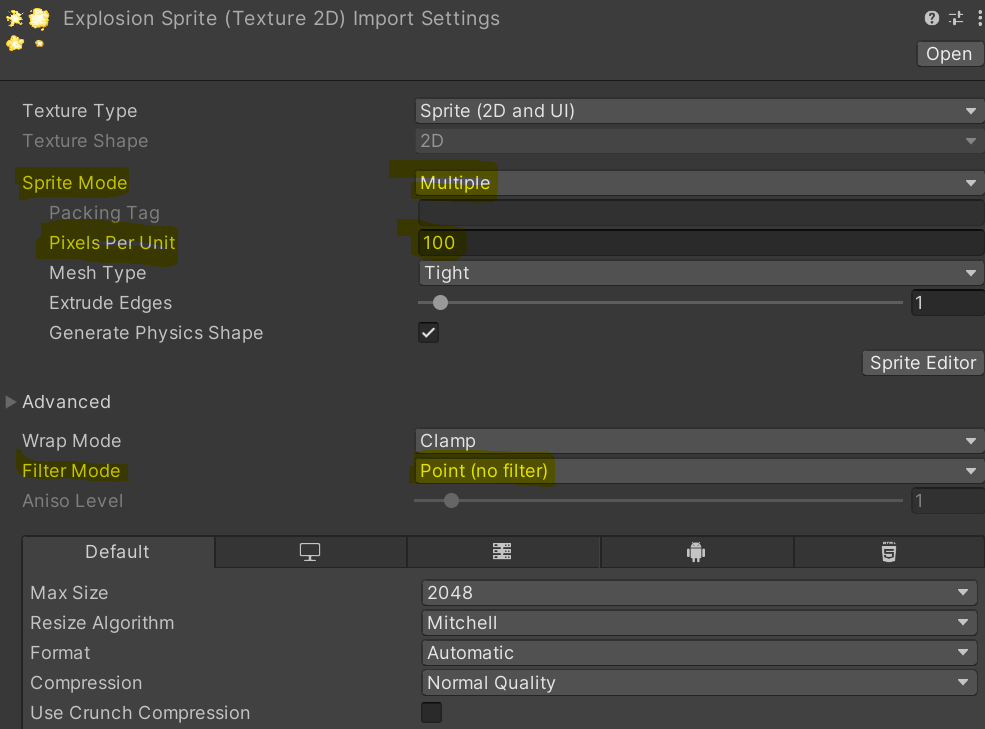
- Pixels per unit can be set at 8 / 32 / 64 / 100 / 128 /256
- Pixels per unit in Unity is how many pixels the sprite corresponds to one unit in your game world
- So that means the smaller the number, the larger the sprite. We’ll set ours to 32 even though the default is 100 for Unity
- Set Background to transparent

Next
- Preferences – Guides, Grids, Slices
- Set Grid to 32 pixels with 4 subdivisions
- Preferences / General – change Image Interpolation to Nearest Neighbor instead of Bicubic
- Go to View – set Show to show the grid
- Add a new layer for each box (new sprite)
- Add color to your background layer (layer1) to help you see your pixels (be sure to uncheck so you don’t export at the end)
- Build your sprites
When Exporting – be sure to…
- Export as PNG – 24
- Quality is set to Nearest Neighbor
- Give it a good name
Importing Sprites to Unity is easy. Import new asset into a Sprites folder. In order to use the sprites, we’ll need to let Unity know we have a sprite sheet and not a multiple sprite. Then we’ll go to the sprite editor and slice the sprites. We’ll do this together.
Let’s take a look at a short cut to making sprites in Photoshop using Unsplash. We’ll start by finding an image of a ball.
- Download Image
- Duplicate Background Layer – then delete background layer
- Remove Background from photo
- Posterize – Under Adjustments
- Change Image size to the correct canvas size
- Merge Layers and rename
- Copy Layer to your sprite sheet
Activity: Create a 5 sprite, Sprite Sheet. Theme of your choosing. Upload your sprite sheet png to Google Classroom. Then, import your sprite sheet into the Game Programming project in a new scene.
10:50 Break

11:00 English with Mx. Yopp

English is cancelled but there is an assignment. Here is what we are going to do. After break we will go to Mx. Yopp’s classroom and get your books. You have a reading assignment in your for your book. You should all be at page 63 by end of today. Page 87 by Monday.
- Get books from classroom
- Go to library and vote on the DCM book covers
- Find a comfortable spot to read Hitchhiker’s Guide to the Galaxy
- Leave library and return to the CAWD2 Classroom
11:40 Breakout – Game Building – Independent Game Build
Do you remember what my favorite Arcade game is? It’s Arkanoid!

We’ve got enough skills to create a nice little breakout game – or at least a minimal viable product to see how everything works.
You’ll need to make some sprites. Photoshop is good for that. I think the original game the sprites 16 pixels for blocks and 32 pixels for the paddle.
Create a New Scene called BreakOut in the Game Programming project
Sprite Assets we need to create: Ball, colored blocks, paddle, border
Physics Material (Bouncy) for the Ball
For the paddle we are going to use a Polygon Collider and make the collider a little uneven so ball bounces with some randomness
Code you need to create:
- Movement Script for Paddle (you know how to do this – look at PinBall)
- Collision Script to Destroy Blocks (Example)
- A Ball Script (see code snippet below)
PreFabs will make our life easier by creating one for each block to include:
- Correct Scale
- Box Collider 2D
- Collision Script
Background Image – here is one you can use
using System.Collections;
using System.Collections.Generic;
using UnityEngine;

public class Ball : MonoBehaviour
{
    // Movement Speed
    public float speed = 10.0f;

    // Use this for initialization
    void Start()
    {
        GetComponent<Rigidbody2D>().velocity = Vector2.up * speed;

    }
}
This code is going to use a Vector to move the ball up at the start of the game. We can use the speed variable to change the speed of the ball.
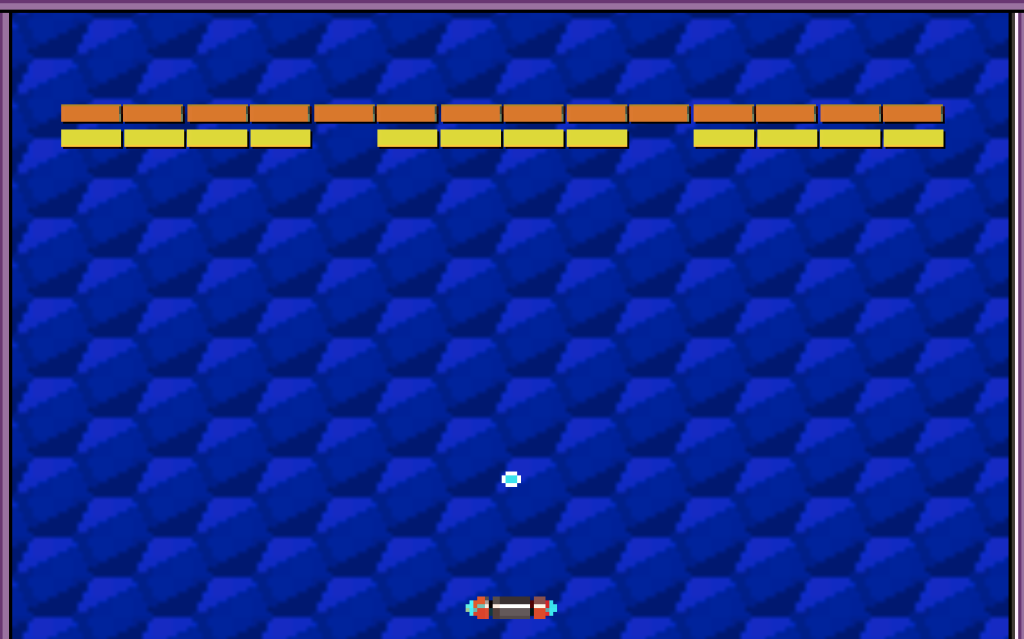
Build, Play Test
Your Breakout Game will be due on Wednesday, May 8th.
12:25 – 12:55 Lunch
12:55 Independent Reading

1:20 Break

1:30 Design Challenge

1:55 Production Time and Guided Support
- One Button Game proposal – past due
- SpriteSheet – due Tomorrow
- Exploring Game Careers – Due Friday
- Breakout Game – Due next Wednesday
2:40 Dailies

Dailies can be placed in the CAWD2 Dailies Folder on the CAWD2 Public Folders drive