Class hours: 10:05 – 2:45
Mr. Bohmann | wbohmann@ewsd.org
10:05 Today’s Notes & Attendance
Tuesday – Week Twenty Two
Feb. 14th: St. Leadership presents a Valentines day photo booth, candy and crafts outside the auditorium dring B and C lunch.
Mid Quarter is February 23rd – that’s in less than 3 weeks!
VSAC Scholarships / Grants – Vermont Student Assistance Corporation has an extensive list of scholarships and grants that you should apply for. For example – most of your towns have a Rotary Club (Business Club) – they give out money to college bound seniors every year. (My daughter won the Williston one a couple years ago). It’s free money, you just have to put in a little work with an application.
NTHS Nominees – Welcome Assembly tomorrow – Students who have been nominated for NTHS will have a meeting in the auditorium at 10:30 am. You will then be dismissed back to program.
A quick review from yesterday…
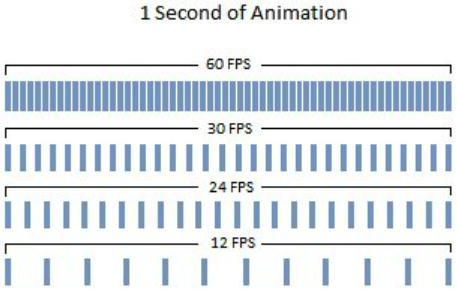
Keyframing is a fundamental skill in animation. To make a sequence have motion, objects move through frames – 24 frames by traditional animation standards all the way up to 60 fps (frames per second) for multimedia presentations. Most modern animations are 60 FPS.
Points of action, rise, fall, speed, direction all happen between the keyframes. A keyframe is a location on a timeline which marks the beginning or end of a transition.
Running: Yesterday we animated on the 1s at 24 fps for a fast run cycle that cycled twice. If you want to slow your runner down, animated your keyframes on the 2’s and you will get one complete cycle (right and left)
Walking: we did a nice confident walk on the 3s. If you want to slow your character down, consider changing to 4s or 6s. You might have to adjust your poses accordingly.
Want to see the difference between 15fps and 60fps – Check this out
When we do the PSA video for the Vermont Highway Safety Alliance we’ll switch to 30 FPS for a nice smooth animation
10:15 Camera – Creating a Basic Camera Rig & Markers with Multiple Cameras

The Camera after-all is the viewport to any model, render and animation you create. Over the next couple of weeks, we wil explore more features of the camera and many of the settings you can configure.
One skill set you should really have is setting up a basic camera rig. Here is a basic and versatile way to set up a camera rig for tracking shots in Blender. We will be using an empty and parenting the camera to an empty and then having that empty follow a path using object constraints.
We’ll Need:
- Path (we can use a circle)
- Mesh (we can use a cube or Suzanne or anything really)
- Camera
- Empty
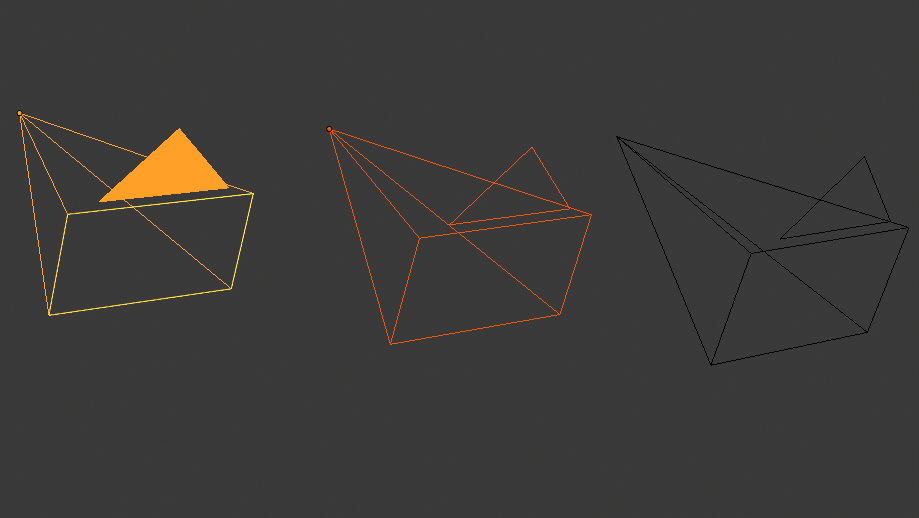
For our second camera activity let’s consider how we might handle multiple cameras. You could set up 2, 3 or 4 cameras and render each animation from each camera, or you can step up your camera game and use the Bind to Camera by creating Markers in your timeline. The keystroke you’ll need to remember is CTRL+B. We’ll tackle this together with some simple animations.
10:50 Break

11:00 English with Mx. Yopp

11:50 Short Modeling Worksession
Vermont Highway Safety Alliance
In preparation for the Highway Safety Alliance – let’s take a purposeful 30 minutes to finish the Pre Production planning.
To start and for today: Divide paper or sketchbook into 6 squares. Use five of those squares to sketch out your asset pack. Put your name and any other details (design info, color ideas, aesthetic your after) in the 6th square.
This Paper 5 pack will be your pre-production planning. When I see your sketches, I’ll approve you to move your designs into production models. Jerry, Ariel, Logan, Josh, Richard, Finn, John, Brodey are all done with Pre-Production planning. You may begin modeling.
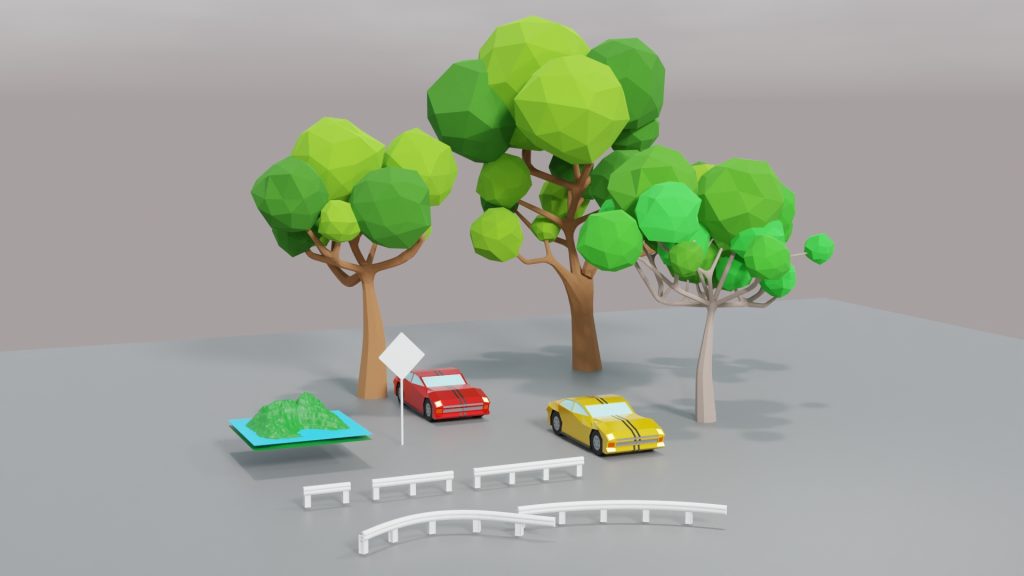
Each of you will be responsible for creating five assets that will be modeled in Blender. Everyone will be responsible for a road sign and a car (you can go so many ways here – from cartoony to high level detail)
All of us will have access to the models. What we make will be for you and the community. Assets will go in the community folder. Assets in the community folder will not have materials/textures. So, do not put any textures on the community models. More on modeling requirements later….
12:25 – 12:55 Lunch
12:55 Independent Reading

1:20 Break

1:30 Design Challenge

1:55 Production Time and Guided Support
- Pre-Production – on paper of PSA assets
- Original Character Model
- Moods Project
2:40 Dailies

Dailies can be placed in the CAWD2 Dailies Folder on the CAWD2 Public Folders drive