Class hours: 10:05 – 2:45
Mr. Bohmann | wbohmann@ewsd.org
10:05 Today’s Notes & Attendance
Week 33
Glad to be back
MultiCultural Festival being held on May 10th 5-8pm in Essex Gymnasium
MMAG meeting on Wednesday
I have a SkillsUSA nationals planning meeting at noon today. So information on game publishing below may be pushed depending on some details today.
10:10 SceneManager & Multiple Scenes
Scene Build in Settings – Let’s look at
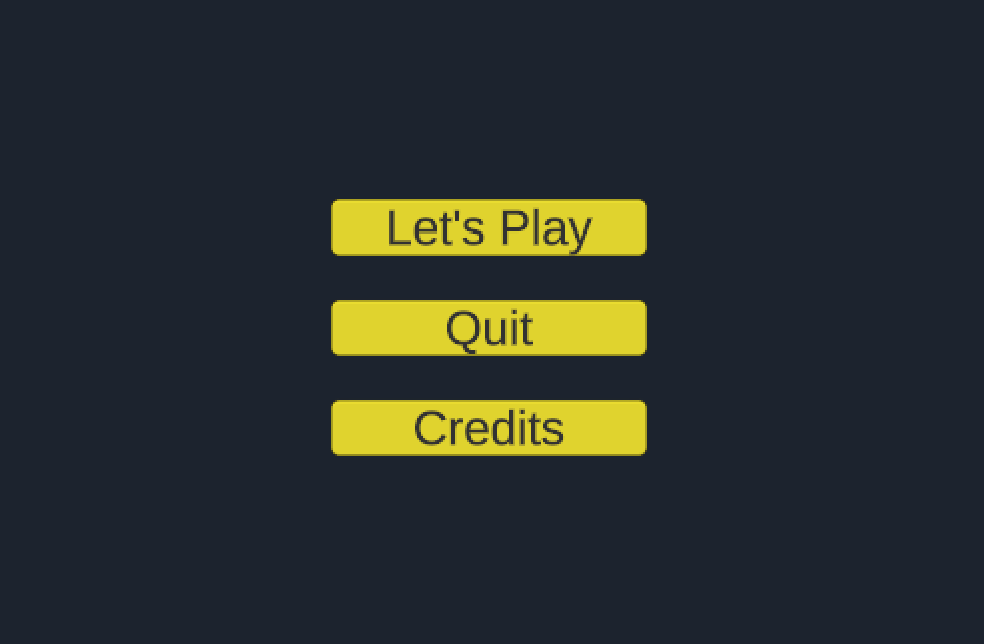
Games will commonly start on a home or title scene that is shown before gameplay begins. Home screens often include some graphics, display the name of the game and offer the player a chance to configure some game settings. When the player is ready to start, he or she will click on a button to begin the game.
A settings screen may ask the user to enter a player name and adjust other settings like volume and difficulty level. Once the player has selected all of their options, they can usually click on a button to return to the home screen or begin playing the game.
The Unity Canvas allows you to add buttons to your scenes very easily. To add a new button, just select “GameObject” from the top menu, then choose “UI” and then “Button“. This will place a basic gray button on your scene with the text “Button”
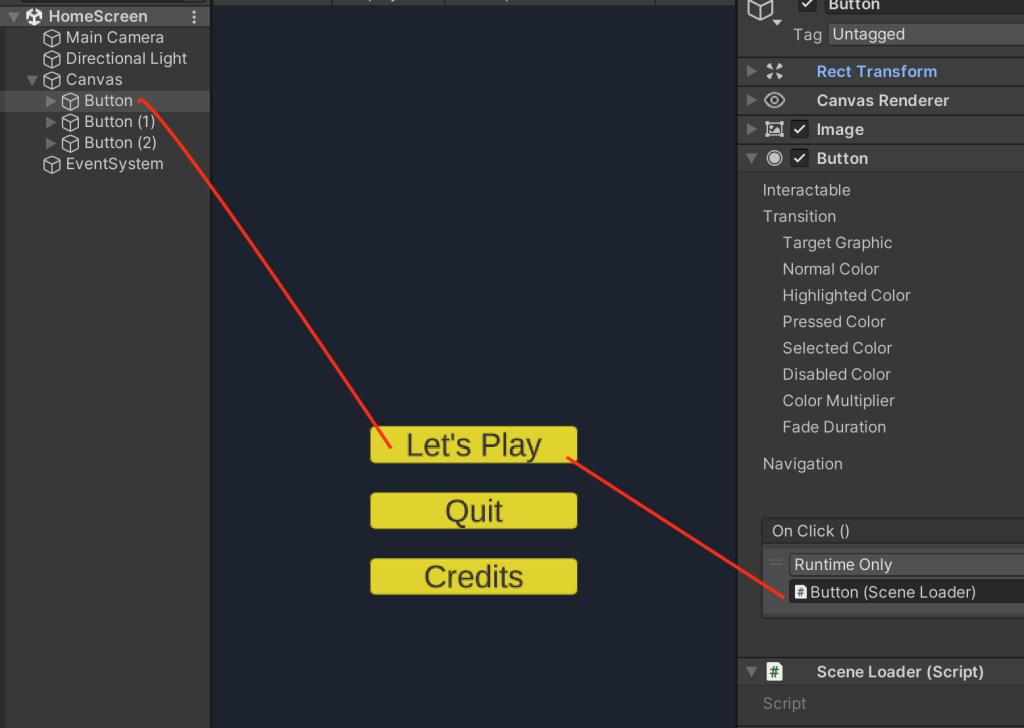
Let’s create a Home Screen (Scene) for our Arkanoid Game. This will also allow us to review how to set up buttons. We’ll need to create a SceneLoader Script because buttons are only useful if they perform some action when clicked by a player. We’ll attach this SceneLoader Script to each of our buttons that we create.
When a button is clicked, Unity can call one or more functions in response. To link your script functions to a button, click on the Button object in the Hierarchy. You will see an “OnClick” section in the Inspector panel. Initially, the list is empty, so your button won’t do anything.
Remember that you can attach a script to any GameObject, so your script function that handles a button click could be attached to the Button object itself, any other sprite on the screen, an empty controller object, and so on. In our example today, we have selected the button itself, named “PlayButton“.
Once you select a game object, the “Function” drop-down box will display a list of all the components on the object, including all scripts. In this example, we have attached a script called “ButtonClick” to the PlayButton object, and you can see that script in the list.
On our Arkanoid game, lets add a UI.
using System.Collections;
using System.Collections.Generic;
using UnityEngine;
using UnityEngine.SceneManagement; //needed if we are managing scenes!

public class SceneLoader : MonoBehaviour
{
    public void QuitGame()
    {
        Application.Quit();
        Debug.Log("Quit Game");
    }

    public void LoadGame()
    {
        SceneManager.LoadScene("YourSceneNameGoesHere");
        SceneManager.UnloadSceneAsync("HomeScreen or the name of your home screen");
    }

    public void LoadCredits()
    {
        SceneManager.LoadScene("YourSceneNameGoesHere");
        SceneManager.UnloadSceneAsync("HomeScreen or the name of your home screen");
    }
}
Exiting or Quitting a Game
There is one last important consideration when publishing a standalone game. How do players exit
the program? When running in the Unity IDE, you can easily start and stop the entire game by clicking
on the “Play” arrow button above the Game tab.
However, regular players won’t have that option and are limited to the UI options you have included within the game.
None of our little mini games we’ve made have included any sort of “exit” feature that players can use to stop the game. You will commonly want to include a button on some scene that will allow users to exit the game. When that button is clicked, call the Application.Quit() function to cause the game to exit.
// this function can be called by a button click event
public void QuitGame()
{
 // exit the game entirely if running as a standalone program
 Application.Quit();
}
10:50 Break

11:00 Literacy with Mx. Yopp

11:50 Game Publishing
Credit Scenes
In Unity it is very simple to create a rolling credit scene to honor yourself or your development team.
To create a credits scene, just create a new empty scene and add a UI Text object.
In the Text properties, add a line for each person to whom you want to give credit.
Then position the Text object so that the top of the text area is at the bottom of the scene. This means that the Text object is not visible when the scene first loads. You can then write a script to slowly move the text object up the screen.
void Update()
{
 transform.Translate(Vector3.up * Time.deltaTime * 50.0f);
}
//This simple line of code will move the whole UI Text object up the screen each time
//Update() is called, many times per second. You can adjust the speed by making the
//numeric value at the end (e.g. 0.7f) larger or smaller.
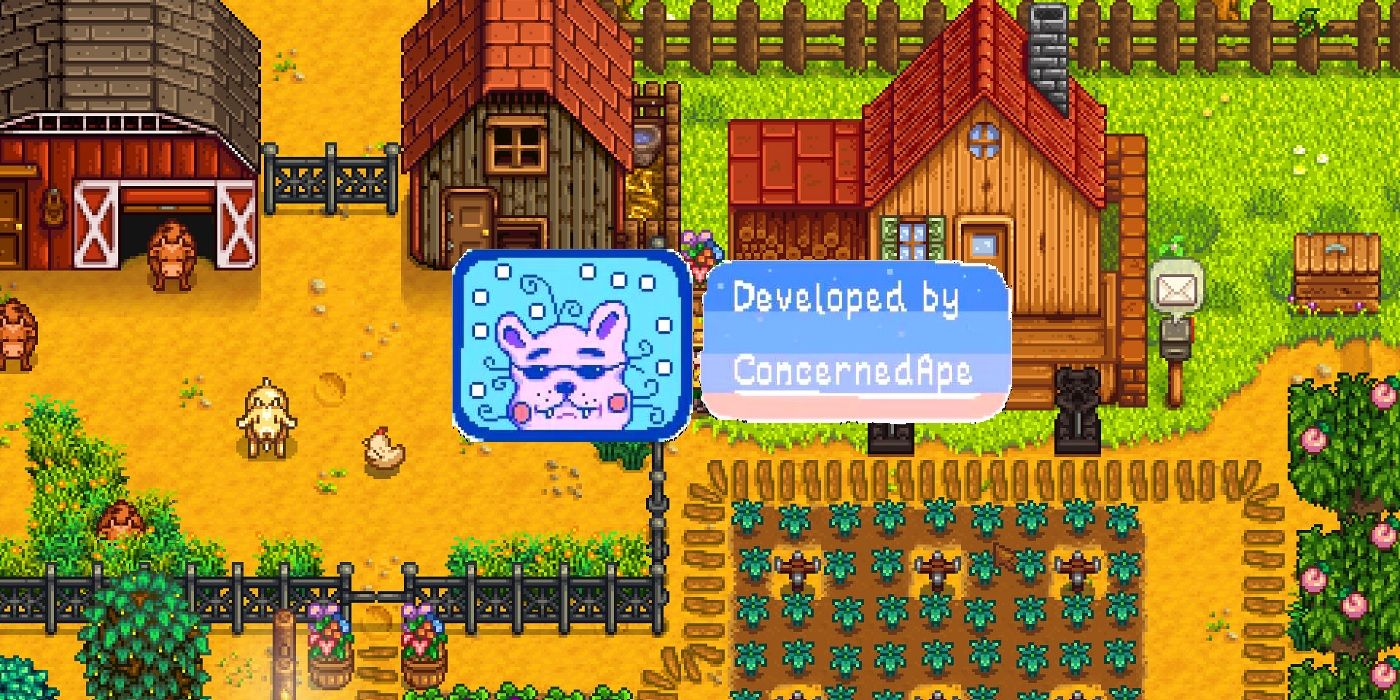
A splash screen is shown when a game first starts. Splash screens will usually display some combination of graphics and text to introduce the game or show author and publisher information. A splash screen can also be used to hide the time that it takes to initially load the game onto memory.
Unity has a default splash screen that is shown each time a Unity game is launched. The screen shows a “Made with Unity” graphic for a brief time. You will not see this screen until you have built your game for publication. Simmer.io is a publishing platform for WebGL builds (which Unity does well). if you published a game to that site you might have seen this splash screen.
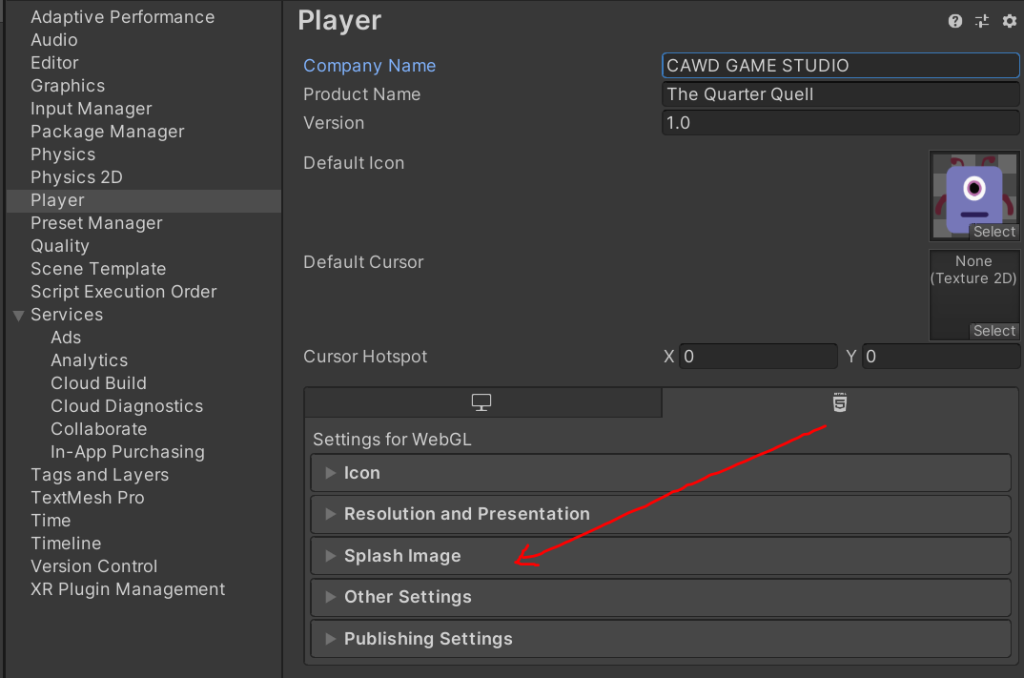
You don’t normally see the splash screen until you build a game for publication. However, you can click the “Preview” button under the Splash Screen panel to see how your splash screen will look within the Unity IDE.
Game Icons
Every Unity game program has a game icon. This image identifies your program on the player’s computer or device. By default, Unity creates a small version of their own logo as your game’s icon. You will want to customize this icon to better identify your game. If publishing on the WebGL format, you will likely not have the ability to customize in the Icon area. It will use your chosen default icon.
12:25 – 12:55 Lunch

12:55 Independent Reading

1:20 Break
1:30 Design Challenge

1:55 Production Time and Guided Support
Breakout Game due Wednesday
2:40 Dailies

Dailies can be placed in the CAWD2 Dailies Folder on the CAWD2 Public Folders drive