Class hours: 10:05 – 2:45
Mr. Bohmann | wbohmann@ewsd.org
10:05 Today’s Notes & Attendance
Today is a Wacky Wednesday
Call Backs: Ariel – Science (12:50pm)
WorkKeys testing for Ariel and Richard. Begins at 10:15am. M-Wing – Ms. Wilson’s Classroom
Friday – Favorite Chips Exchange: Do you have a favorite Chip? (Takis Feugo?) Want to share?
Unity – We are continuing to work in it today. Open the same project we’ve been working on. Make a new scene. Call it Lunar Lander.

10:10 One Button Game Assignment
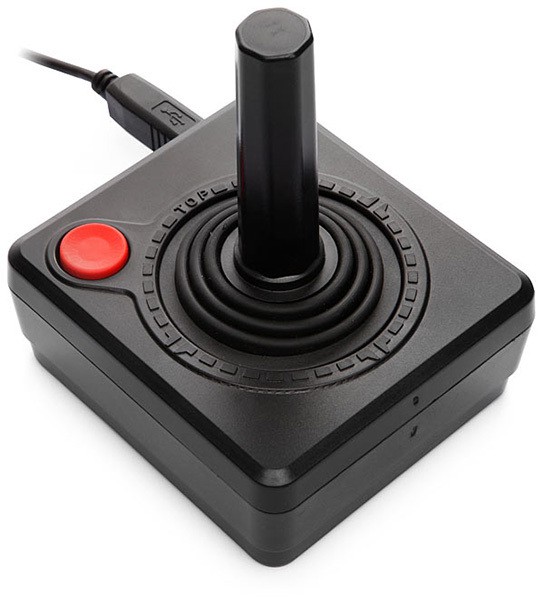
You work for a hard-core gaming company called CAWD Top Tier Inc. The sole purpose of the company is to make money by creating simple and addicting games. The Management wants ideas for a game that can only have one button as the main interaction.
Wild Metal Country is a vintage Rockstar game released in 1999 – Yes, before you were born. This is a classic one button game. In Wild Metal Country the firing of a projectile happens on the release of the button. This has an important effect on the player. They will know that once they have pressed down the button they are committed to firing at some point in the future (or jumping their tank in this game). With the added element of trajectory involved, there are the mechanics for a simple skill based game.
Your Task: Write a game proposal for your best one button game. Include:
- Game Title
- Game Genre
- Overview: the basics of the game
- Rules
- Setting
- Challenges
- Core Game Loop – what is the main thing you do (loot, bomb, snipe)
- Game Mechanics – what is the primary mechanic that feeds back to the loop
- Victory Conditions
Create your One Button Game Proposal on a Google Doc or Google Slide. You can organize your document as you see fit. Spelling, grammar and punctuation count! Have someone proofread your proposal. Make sure you have a complete and well thought out proposal.
Title it: CAWD Top Tier Games – One Button and Submit in Google Classroom. – Due Friday, End of Day! for full credit. Hand in on Monday, April 29th for less credit (aww…)
10:15 Unity Quiz and Review
Let’s take a little quiz for you to see what you’ve retained…
Read the questions carefully. If you finish, work quietly on ideas for your one button game assignment above.
10:50 Break

11:00 Let’s make a One Button Game together
and do some Flow Control….
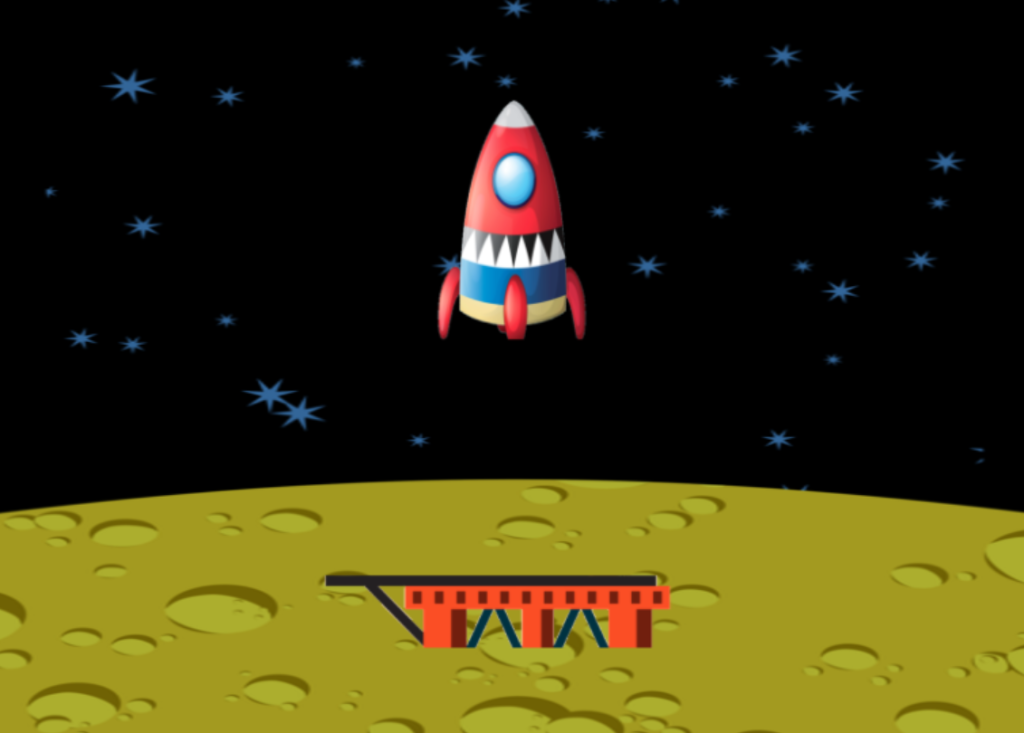
Let’s re-create a classic arcade game (LunarLander) and use our decision-making skills to script the game logic.
The object of the game is to keep the rocket from crashing into the landing platform. This game will be a single button game – we’ll use the up arrow key – that will provide thrust to the rocket.
Each time the rocket collides with the platform, we’ll program a message response that evaluates the condition of the landing/how hard the rocket touches down, like Crash or Smooth.
We are creating the core mechanics of the game. How would you scale this game?
Go to the FunSprites folder and copy down the three sprites in the picture above or you can use your shuttle from the Challenge we did the other day but do add the moon and lander.
We’ll build this game in the 2D Playground folder we’ve been working in – name the Game Scene – Lunar Lander
Activity Details:
- Create a new scene – Lunar Lander
- Organize your gameObjects with layers (background / foreground
- Add Colliders to the Lander and Platform
- Add Physics to your Lunar Lander
- Add a canvas
- Add a UI Text called MessageText and place at the top of the screen
- Add a LunerLander script to your rocket
- Add the Adding Unity TMPro library to your script
- Create a public Text variable called messageText (remember you are using new libraries(refresher)
- Create an OnCollisionEnter2d function
Each GameObject has one or more components such as a Transform, Rigidbody2D, Collider2D, and so on. You will find that scripting logic will often need to access these components to handle game features. The Transform object is always present, and you know that you can get to Transform properties and functions simply by using the “transform.” variable as shown below.
transform.Translate(0, Time.deltaTime, 0);However, it’s not as easy to reach other components that are optional. Not all sprites have a Rigidbody2D or Collider2D object attached. To reach these optional components, you need to call the GetComponent() function like this:
Rigidbody2D rb = GetComponent<Rigidbody2D> ();
//What we are doing is creating a variable called "rb" and it is a RigidBody2D variable
For our LunarLander game, we want to apply an upward thrust to the sprite when an up arrow key is pressed. For realistic movement, we don’t simply want to call transform.Translate() to move the ship upwards. Instead, we want a force to gradually counteract gravity and, if held down long enough, begin moving the ship up the screen. These realistic simulations are handled for us by the Unity physics engine. So, we simply need to get the Rigidbody2D component and call AddForce() to apply a directional force on the sprite. Unity’s Documentation is really helpful. AddForce is a method build into Unity.
rb.AddForce (new Vector2 (0.0F, Time.deltaTime * 650.0F)); The AddForce() function takes a single parameter – a new Vector2 object that contains the forces to be applied in the X and Y directions. We simply want an upwards thrust, so we use 0 for the X and we use a value of 650 multiplied by Time.deltaTime for the Y values. Of course, we are multiplying by Time.deltaTime in order to make the force the same no matter how fast your computer calls the Update() method.
Let’s clean up our code (refactoring)… by creating a function
void Thrust()
 {
     Rigidbody2D rb = GetComponent<Rigidbody2D>();
     rb.AddForce (new Vector2 (0.0F, Time.deltaTime * 650.0F));
 }
Let’s look at the OnCollisionEnter2D() Function
This function will be run when the lander touches the platform. The platform has a BoxCollider2D. The first statement declares a local variable called relativeVelocity. This variable gets a number from the Collision2D object. The Collision2D object contains a property called relativeVelocity that gives us the relative X and Y speeds between the two objects involved in the collision.
void OnCollisionEnter2D(Collision2D platform)
{
   // get the speed at which the lander
   // has hit the platform
   float relativeVelocity = platform.relativeVelocity.magnitude;
   Debug.Log ("relativeVelocity = " + relativeVelocity);

    // ??? add an if/else chain here that will display
   // CRASH if relativeVelocity is greater than 5
   // or SAFE otherwise ???
}
Final Code for your Reference
How about Particles – we can do that – how about adding Custom Fonts – yeah, we can do that too
- Custom Fonts with Text Mesh Pro:
Windows/Font Asset Creator/Upload a TruType Font/ Generate Font Atlas - You can get fonts from DaFont
public ParticleSystem smoke;
Quick Challenge – You have all of the necessary tools (examples) to complete the following challenge.
- Add a Lander Health Field or a Damage field on your UI canvas
- Create some variables at the class level:
- Create a Text type variable (we’ve done two of these already) to capture the damage or lander health
- Create an Int type variable for damage and initialize it to -1
- Add a nested If() statement inside of your Crash logic expression
- show damage text on your UI
- Show the lander health or damage score, which adds -1 each time you crash
- Add a custom font (go to DaFont) and add your TrueType Font to a Fonts folder in your Project
Bonus – Add a Game Over Message when your damage reaches -3
Super Bonus – reduce your damage by landing correctly.
11:55 Lunch

12:25 Independent Reading

12:50 Break

1:00 Production Time and Guided Support
- One Button Game Assignment
- Morning Code Help / Explanation
1:50 Dailies

Dailies can be placed in the CAWD2 Dailies Folder on the CAWD2 Public Folders drive