Class hours: 10:05 – 2:45
Mr. Bohmann | wbohmann@ewsd.org
10:05 Today’s Notes & Attendance
Today is a Wacky Wednesday
Call Backs:
10:30am – NTHS Nominees Welcome Assembly – meet in Auditorium
- Jerry
- Logan
- Josh
- Brodey
Colchester – early release at 11:20am – head to lunch & the bus leaves at 11:45am
Tomorrow we will be hosting 10 EHS visitors from 12:40-1:10
10:10 Animation Project – 3D – The PSA
Contest : #SafeDrivesSaveLivesVT – Deadline March 31st!
Hosted by the Vermont Highway Safety Alliance
Vermont Highway Safety Alliance’s Annual PSA Video Contest is open to high-school students with the goal of encouraging you, your friends and classmates to avoid distracted driving. Test your video skills, win prizes, and help make Vermont roads safer. I’ve told you how successful CAWD2 students have been in the past, so let’s see what you can do. Here’s a past winner from CAWD2
BTW – If you win you are not obligated to go to an awards ceremony, take a bow, receive a handshake from the President or have your picture on the latest Vermont Maple Syrup bottles.
What: Create a 25 second YouTube video on the dangers of distracted driving.
This is a PSA – Public Service Announcement.
The goal is to produce a video that will engage new drivers and highlight the dangers of distracted driving. We will make ours a 3D Animation.
Schedule & Details
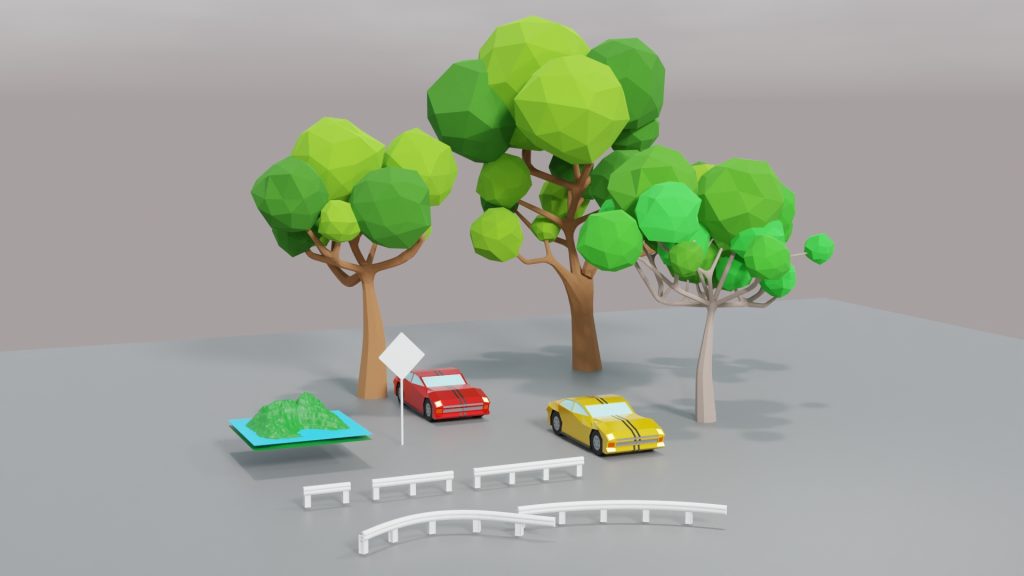
Each of you will be responsible for creating five assets that will be modeled in Blender. Everyone will be responsible for a road sign and a car (you can go so many ways here – from cartoony to high level detail)
Assets will be deposited in a community Google Folder – CAWD2 – SafeDrivesSaveLivesVT
Once assets are in the community folder, they are free for you to grab and use.
A quick note on your assets:
- models will be plain – no materials/textures
- Each asset will be accompanied by a jpeg of that asset (no materials) and blend file
- filename: lastname_modeltype.jpg example: Bohmann_StopSign.jpg
- filename: lastname_modeltype.blend example: Bohmann_StopSign.blend
- Finally, one jpg render of all five assets on a plane with materials
- filename: Bohmann_assets.jpg
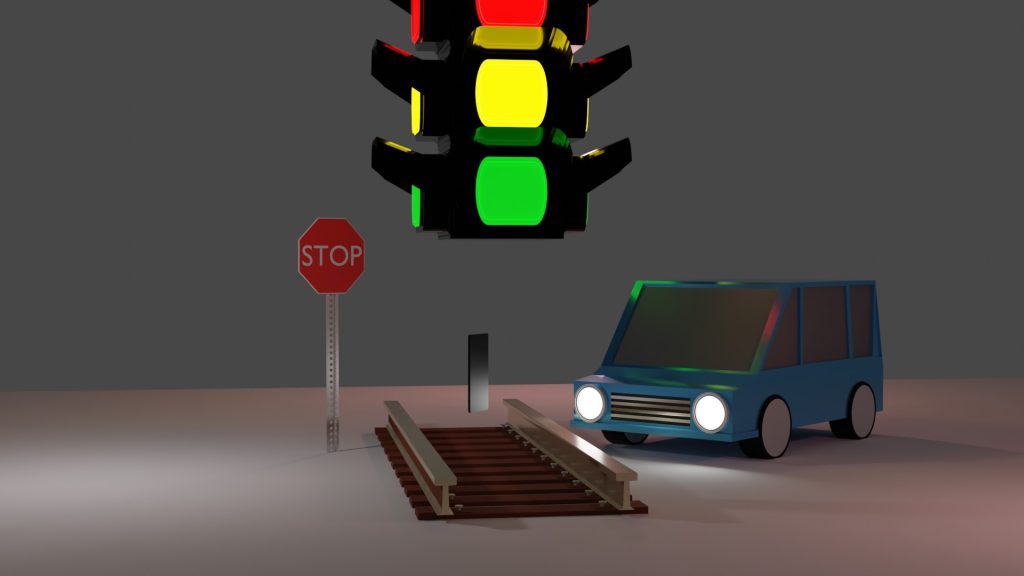
You will select items you need or want to build your animation. Once you take them, they are yours to modify and change. Don’t complain if you don’t like the modeling.
From the assets, you will assemble a PSA on the dangers of distracted driving. There are many stylistic approaches you can take for your PSA. Good PSA’s have three qualities in common:
- Gets the audience to pay attention
- Message is clear and easy to understand
- Message is supported by facts about the issue
The audience understands how others are affected by the issue -( the impact on others )
Our rough schedule
| Week 22 – February 7th – 9th |
| Intro to Project Asset Modeling Thinking Story ideas |
| Week 23 – Feb 12th – 16th |
| Discussing StoryArc and PSAs Storyboarding Asset Modeling Scene and set design |
| Week 24 – Feb 19th – 23rd |
| Character Rigging Camera Rigging / Set Up Sound Design First looks Showcase – This is your first major deadline- First Looks – Friday the 23rd |
| Week 25 – March 6th – 8th |
| Animatics (preliminary version of your project with sound) |
| Week 25 – March 13th – 16th |
| Lighting Second Looks and feedback |
| Week 26 – March 19th – 23rd – Publishing |
| Final Editing Publishing |
10:30 Camera Rig Add-Ons
What is a camera rig? A camera rig is any piece of equipment used to add a special feature or to enhance the functionality of your camera.
Times you might want a rig
- When you want to create interesting angles or action
- When you want to create smooth sliding motion
- When you are trying to capture movement or create movement
- When you want to track a shot as it moves through your scene
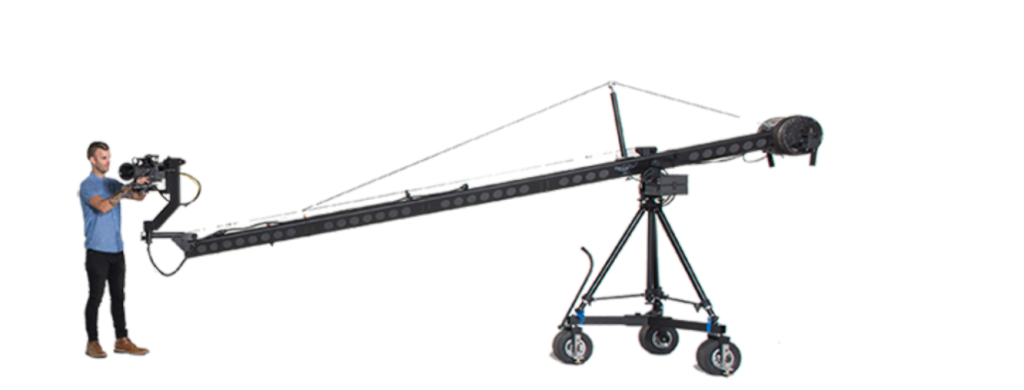
Blender ships with a Camera Rig Add-on which includes a lot of functionality and is easy to set up and use. You’ll get access to a dolly rig (a rig on a moveable dolly), crane rig (a rig on a boom – also called a jib) and 2D camera rig (which I have never used). The most useful of these is the dolly rig and yesterday we made our own version by placing a camera on a path. Let’s look at little closer at this Blender add-on.
10:50 Break

11:00 Texture Painting and Stenciling Graffiti
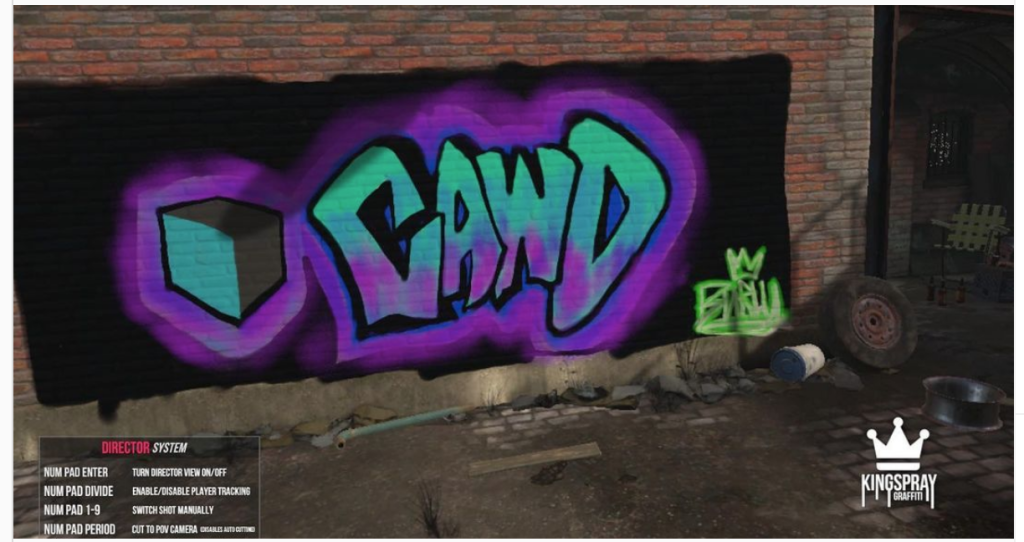
Let’s look at the workflow and process of texture painting and stenciling. Let’s start by reviewing texture painting and then introduce the stenciling workflow. You can get some nice stencils but they must be transparent to work well! This site – stickpng has some nice stencils to grab.
What’s more is there are additional options to add depth/height to your texturing and stenciling. Let’s play with that too.
The rough workflow….
| Texture Painting | Stenciling (similar but we change texture) |
|---|---|
| Make Mesh | Make Mesh |
| Go to Shading / make new image texture Any color is good. | Go to shading / image texture Black is a good choice |
| Link to Base Color | Link image to Base Color |
| Switch back to texture paint layout | Switch back to texture paint layout |
| Paint away as you like | Open Texture properties menu in properties or Open the Active Tools Menu – go to Texture |
| Add new texture and choose Add Image (pick out your stencil) | |
| Tips: 4096px, no Alpha, 32bit float | Change from tiled to clip |
| Go to Active Tools menu / Go to Texture dropdown | |
| Switch from tiled to stencil | |
| Choose White for your brush – for best results | |
| Right click to move, shift right click to scale / then paint |
For a Bonus, we can do the same process, but choose to add a height map.
Let’s tackle a graffiti wall based on your new skill set. To get started, we are going to need some image assets to help out: Some Suggestions….
- Brick Wall
- Rusty image
- Weeds
- Cawd Logo (in Public Folders)
- and any other paintable image texture you are after.
- A graffiti idea
Set up some nice lighting for a nice final image render. Drop in CAWD2 Dailies so we can see your graffiti creation.
11:55 Lunch
12:25 Independent Reading

12:50 Break

1:00 Production Time and Guided Support
- Pre-Production Modeling for PSA
- Original Character Model with IK controls
- Moods Project (with Mr. B’s Model)
1:50 Dailies

Dailies can be placed in the CAWD2 Dailies Folder on the CAWD2 Public Folders drive