Class hours: 10:05 – 2:45
Mr. Bohmann | wbohmann@ewsd.org
10:05 Today’s Notes & Attendance
Today is a CTE White Day – so we get out earlier and have earlier lunch
- Morning break at 10:50
- Lunch at 11:55
- Afternoon Break 1:20
- Call backs:
Open House tomorrow night – Stop by
Sweatshirt Sizes – Let’s get them recorded for our future CAWD merch
SD Cards – are you keeping them clean? Review and Delete (don’t forget naming)
CCV Canvas – what’s left
10:10 Photography – The Exposure Triangle
The three main pillars of exposure are Aperture, Shutter Speed and ISO. We’ve talked about the first two. Aperture and Shutter speed are physical mechanisms that allow you to control the light.
That means that when you take a picture there are three things that determine how light or how dark your image will be.
- Aperture – (how large or how narrow the aperture is will impact how much light passes through the lens (effect – blurred backgrounds and depth of field)
- Shutter Speed – (how fast or slow the shutter opens and closes – good for stopping or blurring action)
- ISO – the amount of light allowed to hit your camera’s sensor
Let’s review what we know:
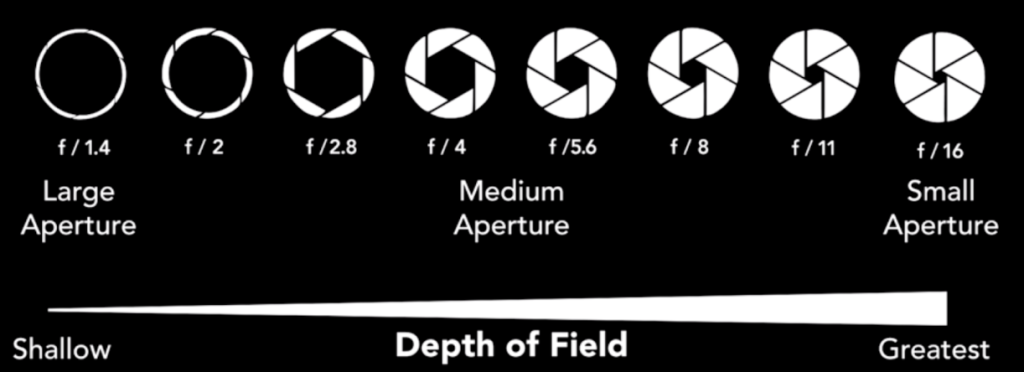
Small Aperture opening = less light
Large Aperture opening = a lot of light
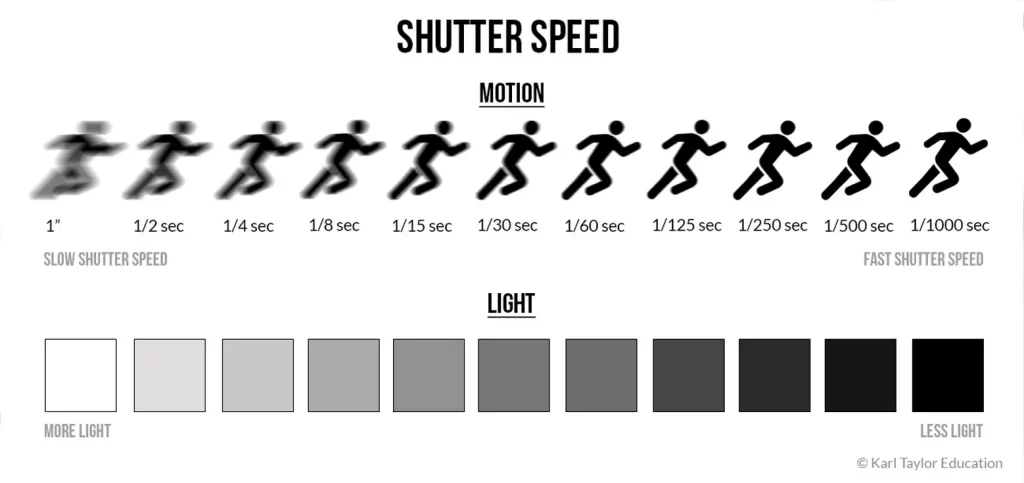
Fast Shutter Speed = less light
Slow Shutter = more light
ISO measures the light gathering speed of film. Back in the old days old timey images were exposed for a long period of time using long shutter speeds. With digital cameras the sensor is …well… more sensitive so we can shoot at faster shutter speeds and increase light through ISO.
That means that when you take a picture there are three things that determine how light or how dark your image will be.
- Aperture – (how large or how narrow the aperture is will impact how much light passes through the lens (effect – blurred backgrounds and depth of field)
- Shutter Speed – (how fast or slow the shutter opens and closes – good for stopping or blurring action)
- ISO – the amount of light allowed to hit your camera’s sensor
These three things together are referred to as the Exposure Triangle
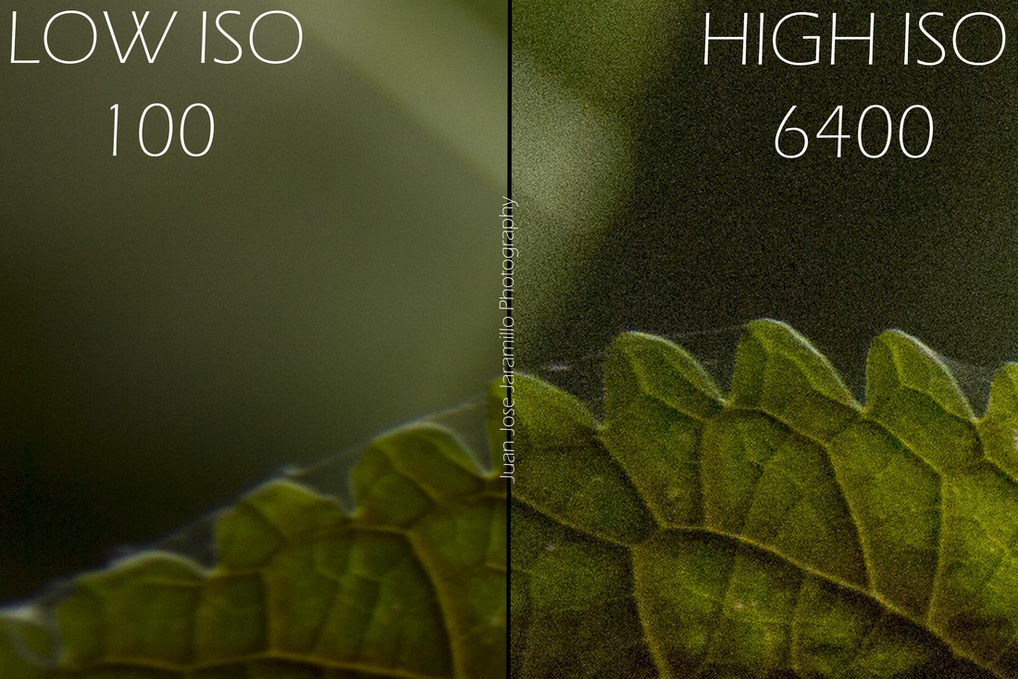
For the most part we have been shooting with Auto ISO. ISO records light levels across the sensor and charges each pixel with electrons to amplify the signal. ISO is simply how much amplification is applied. So if we need more light, we can increase the amplification.
This amplification comes with a cost though. The higher the levels, the noiser the image. Take a look…
Shutter Speed
Aperture
ISO
That’s it! If you know these three, then you know how the fundamentals of photography work!
Why, When and How to increase or decrease the ISO…. – Let’s practice I’ve got some shooting stations set up.
Take picture with ISO at lowest to auto setting.
Enduring Questions to ponder?
- What happened with our shutter speeds at low ISO settings?
- Why would a tripod be useful at low ISO settings?
- Why were the images at high ISO so bright?
- What changes did you notice with the shutter speed at different settings? Why would the camera change the shutter?
- Nighttime photography, why would higher ISO be useful
- If you are photographing a subject that is moving or the light is changing what ISO setting would make your life easier?
- Can you change the max ISO setting in your camera?
10:50 Break

11:00 Long Exposure Practice (rain day plan)
But first… taking your camera home. Some basics:
- Keep your camera safe
- Don’t store in a car or in hot place
- Keep all your camera equipment together
- Report anything missing or broken
- Don’t’ forget to bring to class if take it home – we use them everyday!
Low light means we need more light. So….
Small Aperture brings in more light!
but a small f stop means short depth of field
Adjusting ISO to higher number brings in more light!
but too high of ISO adds grain 10
Slow shutter speed brings in more light!
but chance of camera shake
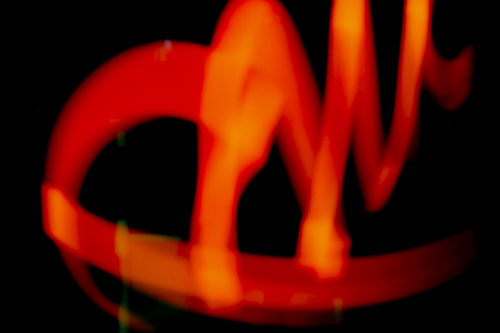
Let’s practice some long exposure work in class with some light painting. We’ll shoot in Shutter Priority Mode. Try some different shutter speeds!
11:55 – 12:25 Lunch
12:25 Independent Reading

1:20 Break

1:30 Design Challenge – Photo Editing
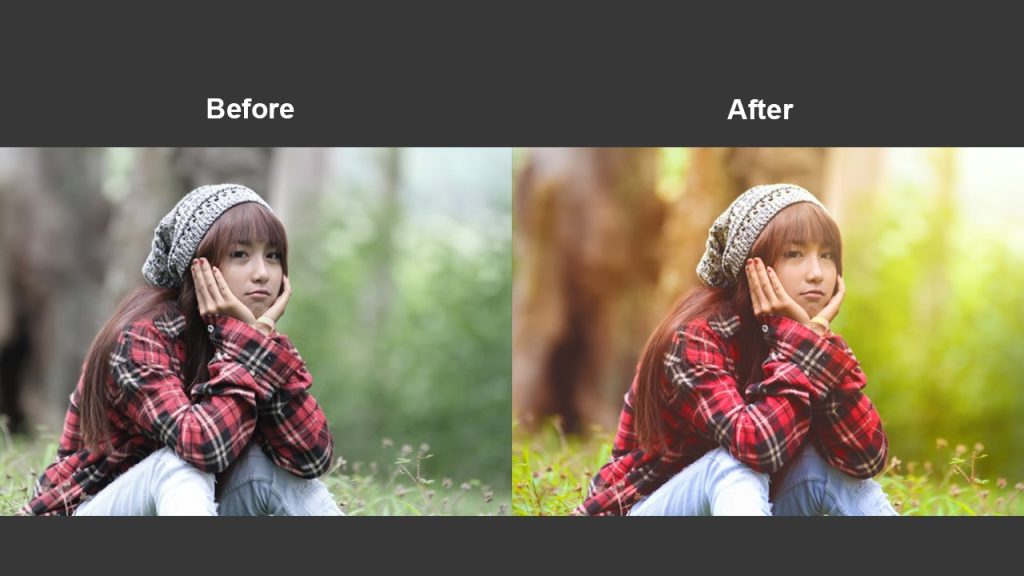
The power of shooting in RAW and adjusting your photos to create the jpeg you want
Using Camera Raw Program in Adobe Bridge– create two versions of the photos I provide you.
Your client is interested in seeing two different versions. One of those will end up on their living room wall (Yes really!, actually no not really).
Practice editing both sets of images. The images are in public folders.
Make a copy and place on your desktop before editing.
We’ll do a walk about as our dailies – so for Dailies choose one of the sets you worked on and display your two versions as final jpgs. For example, if you choose waterfall – create two different versions for us to see on your screen.
1:50 Dailies
