Class Hours: 10:05 – 2:40
Mr. Cronin
Notes
- Today we have visitors from Colchester High School. Students working with visitors from 10 – 10:30:
- Maxx
- Mallory
- Tomorrow we will be doing our SkillsUSA Kickoff! You will be forming your own partnerships! Make sure you have a partner and a competition in mind (Game Design, Animation, Web Design)
10:05 Attendance and Article (after visitors)
10:10 Mini Production Window (during visitors)

10:30 Web Design
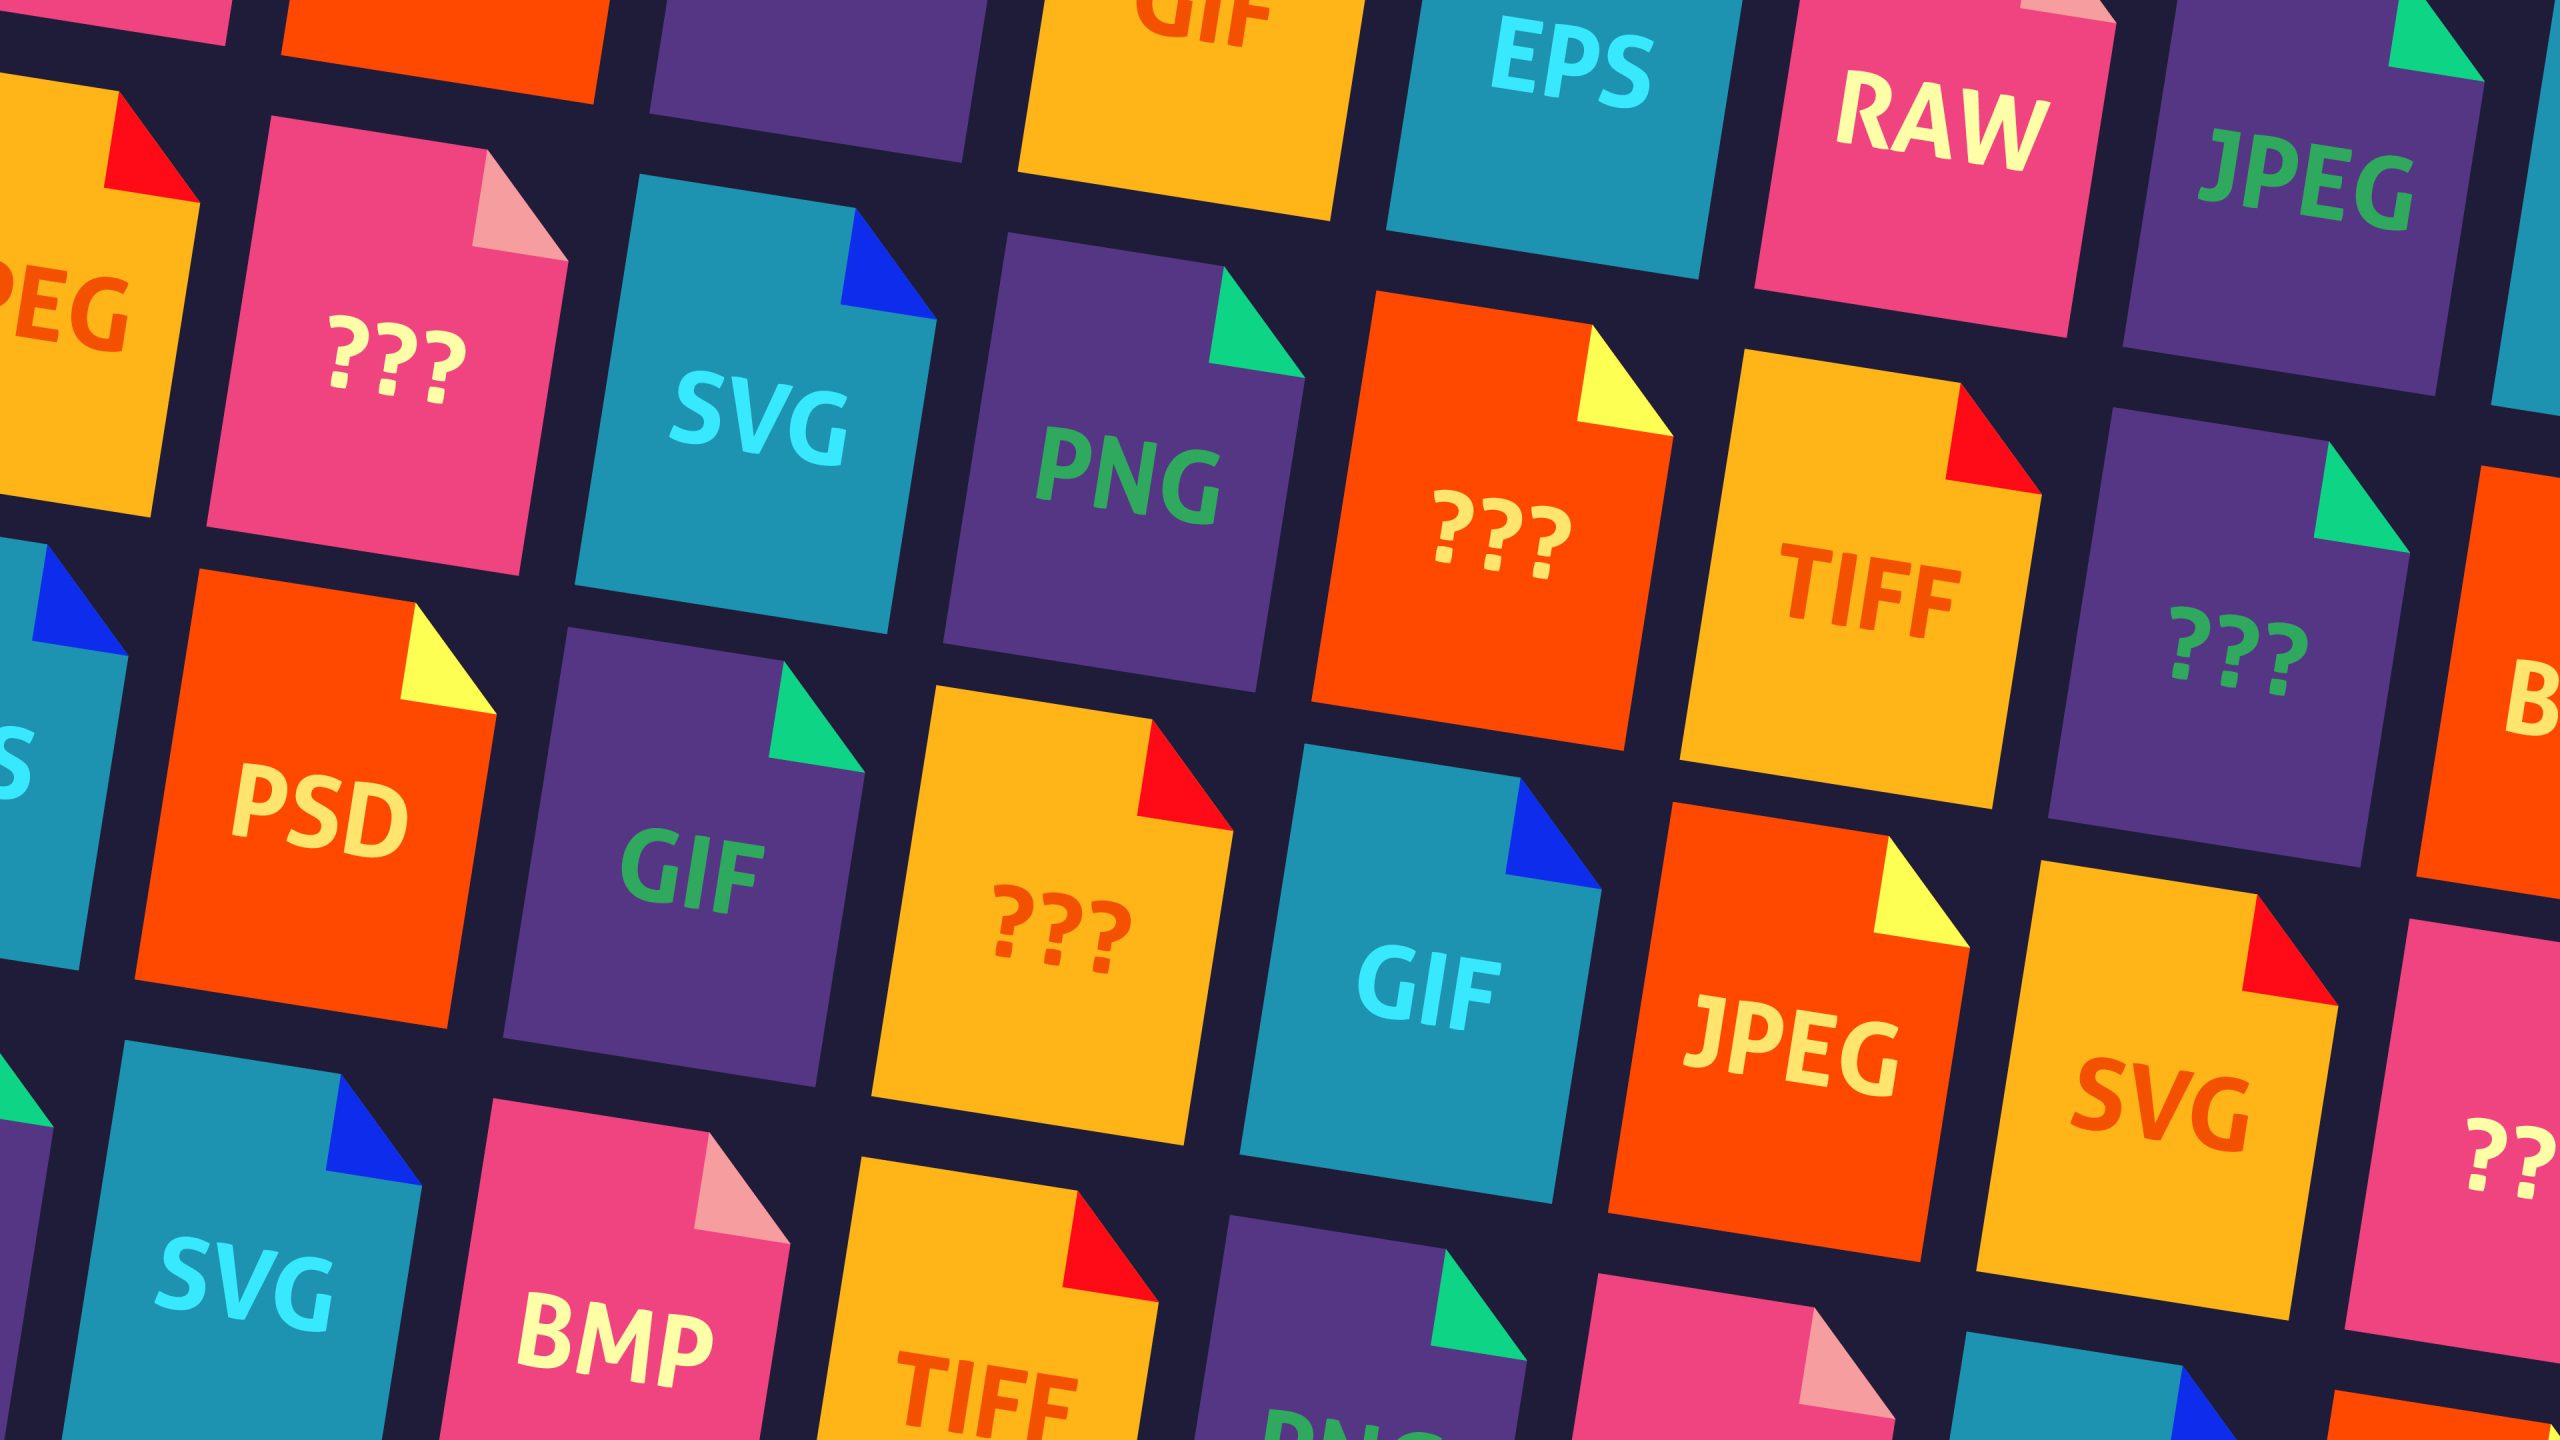
This week we are going to learn about and use some different image formats. There are a wide rage of formats to use depending on the needs of the project or client.
Lossy Compression
- Image gets smaller when we save as we discard data
Lossless Compression
- Image retains all data – can lead to larger file sizes
Animation
- Ability for the file to animate (move)
Transparency
- Ability for the image to have transparent elements (see through)
JPG – Joint Photographic Expert Group
- Lossy Compression
- Great for photos with many colors
- No animation
- No transparency
GIF – Graphic Interchange Format
- Lossless Compression
- Great for logos with few colors as it only has 256 colors
- Yes animation
- Yes transparency
PNG – Portable Network Graphics
- Lossless Compression
- Great for photos with many colors
- No animation
- Yes transparency
WebP – Web Picture
- Lossless AND Lossy Compression, you decide
- Great for photos with many colors
- Yes animation
- Yes transparency
- Newish format – isn’t fully interoperable (doesn’t work) with everything
SVG – Scalable Vector Graphic
- Lossless (as it is created each time used by web code)
- Great for logos with few colors
- Yes animation
- Yes transparency
PSD – Photoshop Document
- Lossless Compression
- Retains all layers and effects for future editing – big file
- For the most part used in Photoshop only to make web graphics
AI – Adobe Illustrator
- Lossless Compression
- Retains all layers and effects for future editing – big file
- For the most part used in Illustrator only to make web graphics
10:50 Morning Break (10 minutes)
11:00 Web Project: Formats
This week you are going to create a web project in which you create and download examples of different image formats.
Start by creating a folder called “formats” inside of “week_20“. Inside of this create an image called “formats.html“.
You will use headings, paragraphs and lists to take the information above for each format and display it on your page. Each format will have a subheading for the name of the format, and use of lists to present the characteristics. Use <strong> to make information bold where appropriate.
You don’t have to do PSD and AI – those are more of a reference than true “web graphics”.
For each format include 2 example images for that format. Once which you create (the top one), and one which you download (the bottom one). Save all images in a separate “images” folder inside the project folder. Organization.
Incorporate an external CSS file and use styles on the body and headings. Save your style.css file in a “css” folder inside your project folder. Organization.
11:35 DH20 Intro – back to the Monday Dayplan, I just forgot!
11:40 Milestone 3
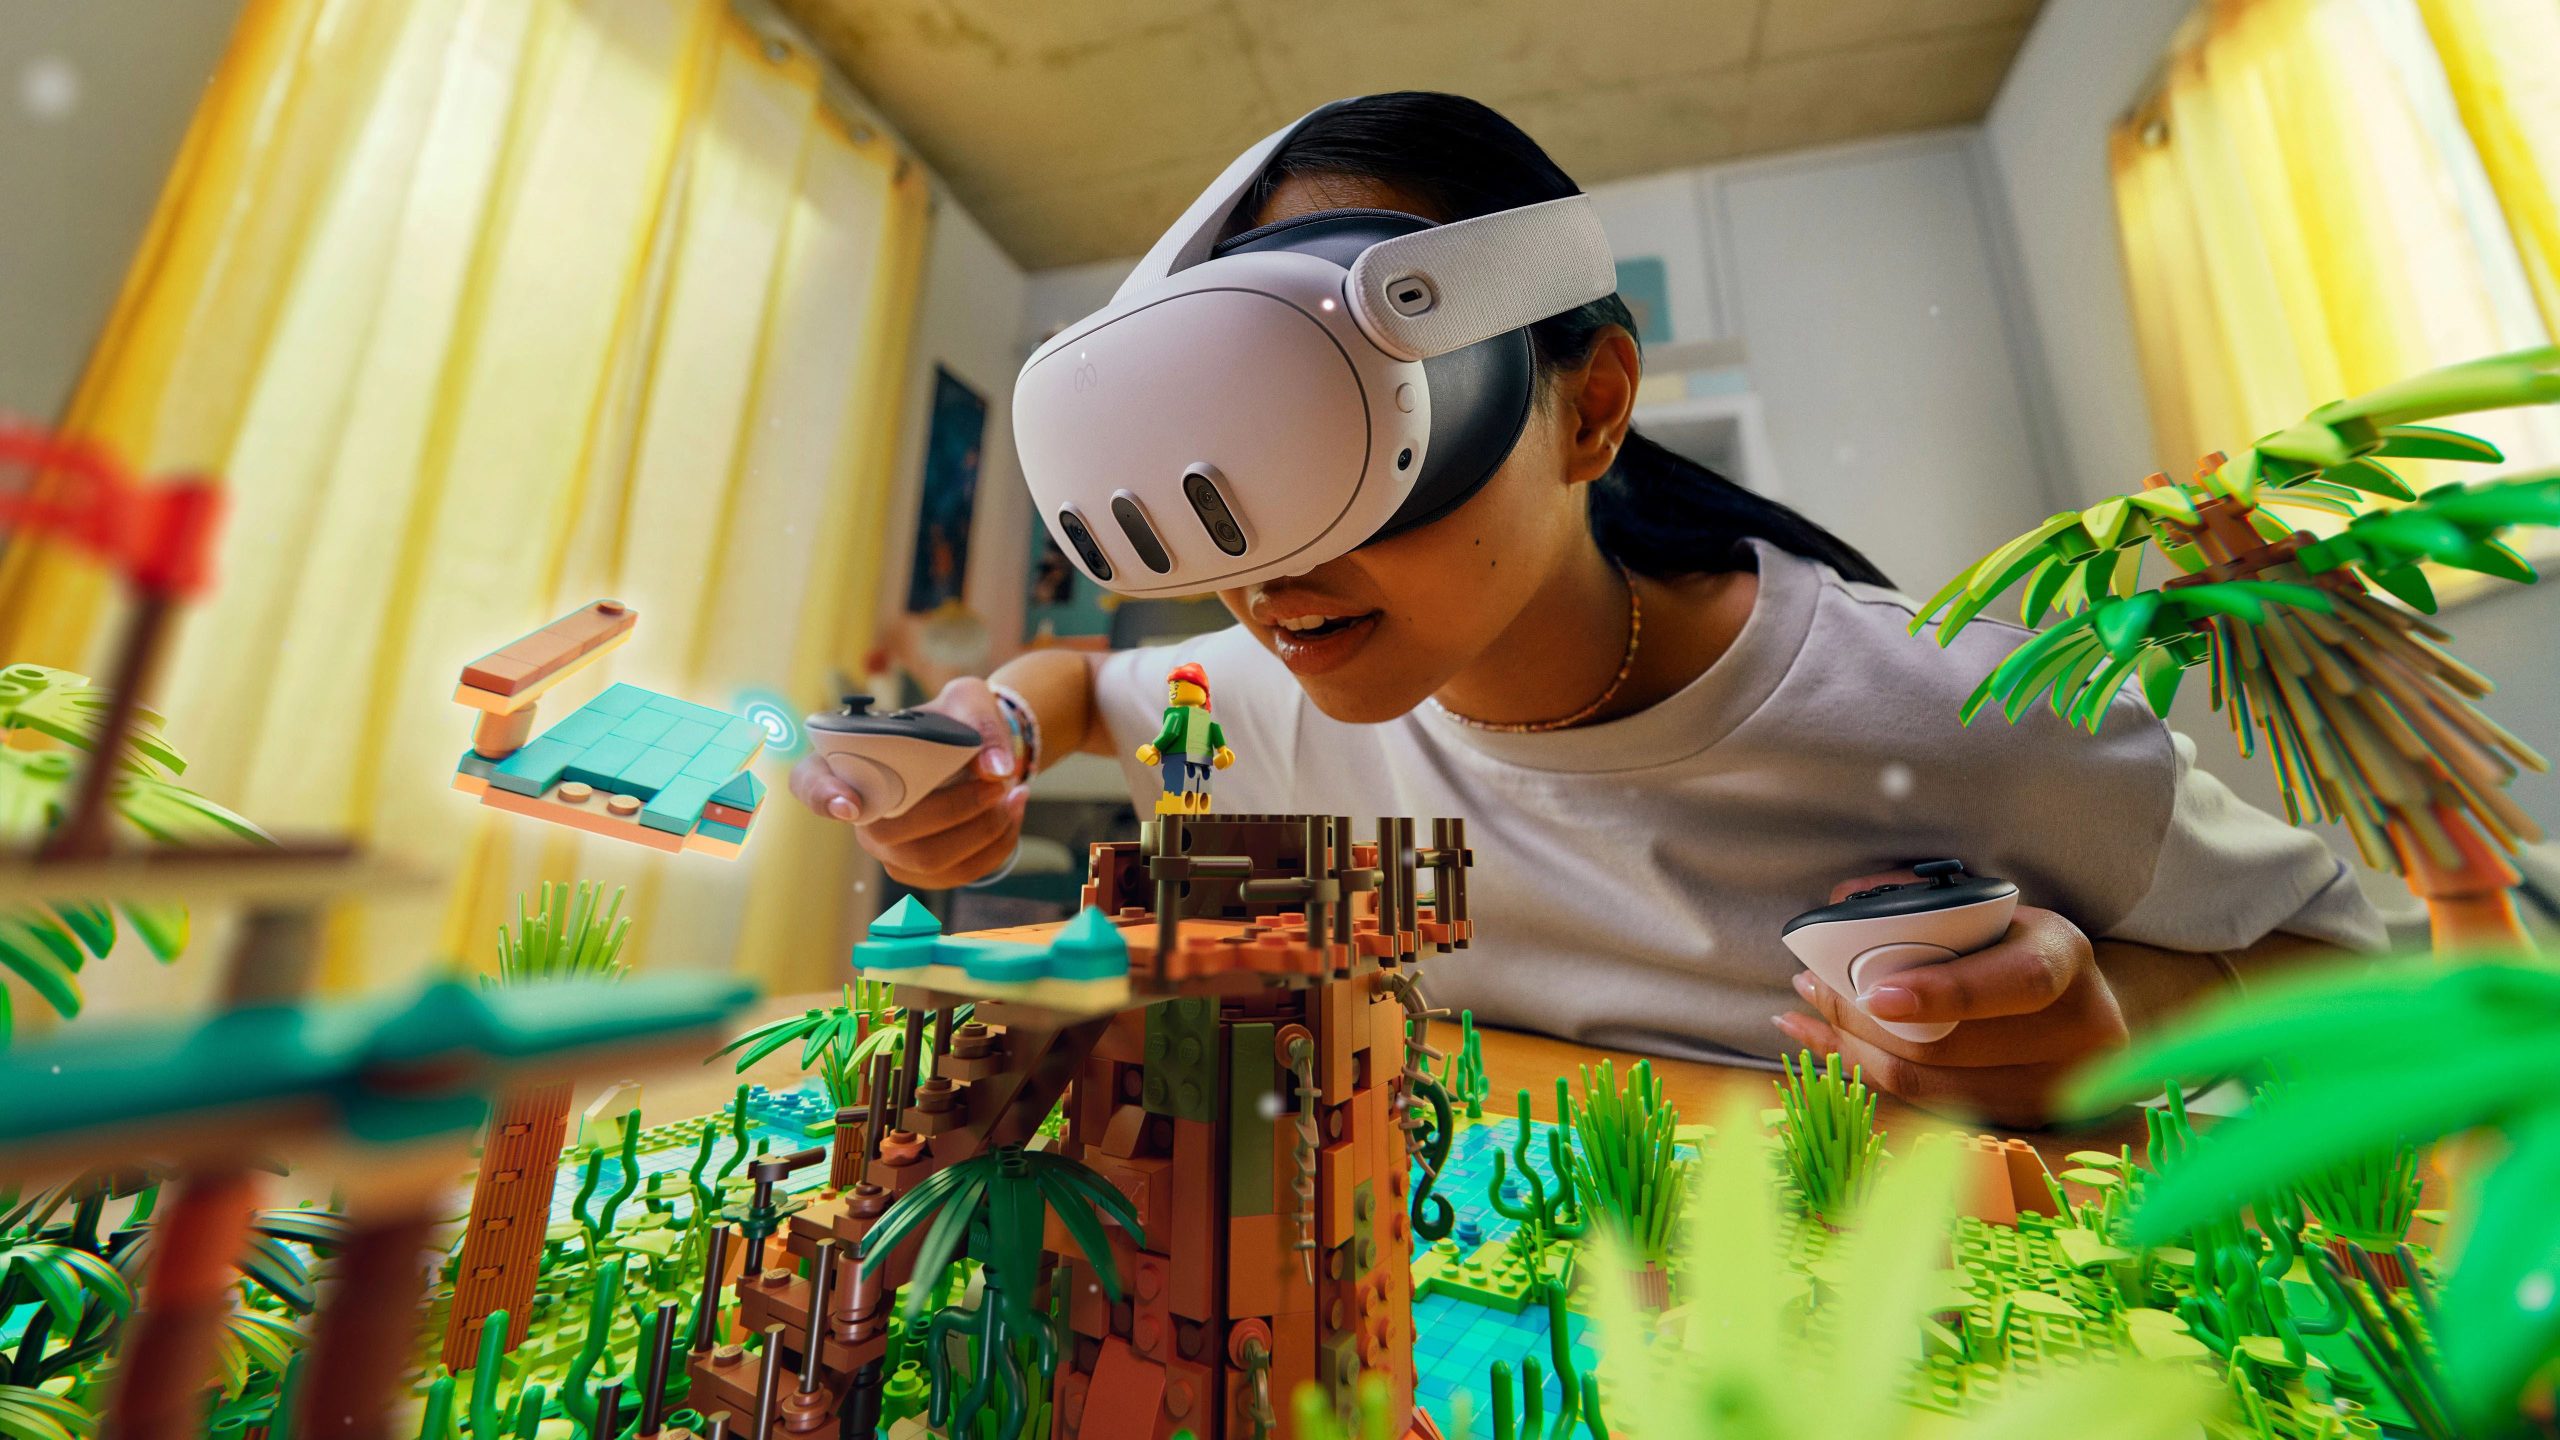
This is where we want to go:
This is going to be our 4th project this week. We will likely have 4 projects per week when doing AR/MR/VR.
If having 4 projects is too stressful, I am willing to take away your agency project from your workload.
This first week is proof of concept. A proof of concept is simply demonstrating what is possible, that it can happen.
Milestone 3:
Get a 3D model inside of Unreal Engine, setup with the Quest 3 and the pass through cameras so we can get the effect seen above. A 3D object in “mixed” 3D / Virtual space, where we could move around in 3d space and see the object from different angles.
By next Friday your team needs to demo this working in an MP4. Call your file lastNamelastNamelastNamelastNameMilestone3.mp4.
This will be a 3D model “placed” in the CAWD classroom that we can look at from different angles using the Quest 3!
I asked ChatGPT what the steps were to point us in the right direction, and this is the response it gave me. We can use this as a jumping off point:
To set up your Quest 3 and Unreal Engine for Augmented Reality (AR) or Mixed Reality (MR), you’ll need to follow a series of steps to ensure everything is configured properly. Here’s a breakdown of what you need to do:
1. Hardware and Software Requirements
- Quest 3 Headset: Make sure it’s fully charged and updated to the latest firmware.
- PC Specifications: Ensure your PC meets the hardware requirements for Unreal Engine, especially for AR/MR development.
- Unreal Engine: Download and install the latest version of Unreal Engine from the Epic Games Launcher.
2. Enable Developer Mode on Quest 3
- Oculus App: Install the Oculus app on your mobile device.
- Developer Account: Log in to your Oculus account and create a developer organization if you haven’t already.
- Developer Mode: Enable Developer Mode on your Quest 3 via the Oculus app.
3. Set Up Unreal Engine for AR/MR
- Plugins: Open Unreal Engine and go to “Edit” > “Plugins”. Make sure to enable the following plugins:
- ARKit for Apple devices (if planning to cross-develop), ARCore for Android.
- Oculus VR Plugin: This includes support for Oculus devices and functionalities.
- Restart Unreal Engine to apply the plugin settings.
4. Connect Quest 3 to Your PC
- USB-C Cable: Connect your Quest 3 to your PC using a USB-C cable.
- Allow Permissions: If prompted on your Quest 3, allow access to data.
5. Configure Unreal Engine Project
- New Project: Start a new Unreal Engine project and select a template that suits AR/MR development, like the Handheld AR template.
- Project Settings: Adjust your project settings for AR/MR under “Project Settings”:
- Set the appropriate target platform (Android/iOS).
- Configure graphics settings suitable for AR/MR performance.
6. Develop Your AR/MR Experience
- Blueprints or C++: Use Unreal Engine’s Blueprints or C++ to develop your AR/MR experience. You can utilize the AR/MR toolkit provided by the plugins to integrate virtual objects with the real world.
- Testing and Iteration: Regularly test the AR/MR experience on your Quest 3 by deploying it from Unreal Engine. Make adjustments based on performance and user feedback.
7. Optimize and Build
- Optimize Your Content: AR/MR content can be demanding, so optimize your assets and gameplay to ensure smooth performance.
- Build and Deploy: Build your final project and deploy it to your Quest 3 for final testing.
8. Debugging and Profiling
- Unreal Profiler: Use Unreal Engine’s profiling tools to analyze and improve the performance of your AR/MR application.
- Log Output: Monitor the log output for any runtime errors or performance issues that need to be addressed.
By following these steps, you’ll be able to set up and start developing AR/MR experiences using your Quest 3 and Unreal Engine. Make sure to keep both the software and firmware updated to take advantage of the latest features and improvements.
12:25 Lunch

- No food in the room / eat in the Cafe.
- You are welcome to return to the room when you have finished eating and work / hang out.
12:55 Attendance and Article
1:00 Steve Jobs
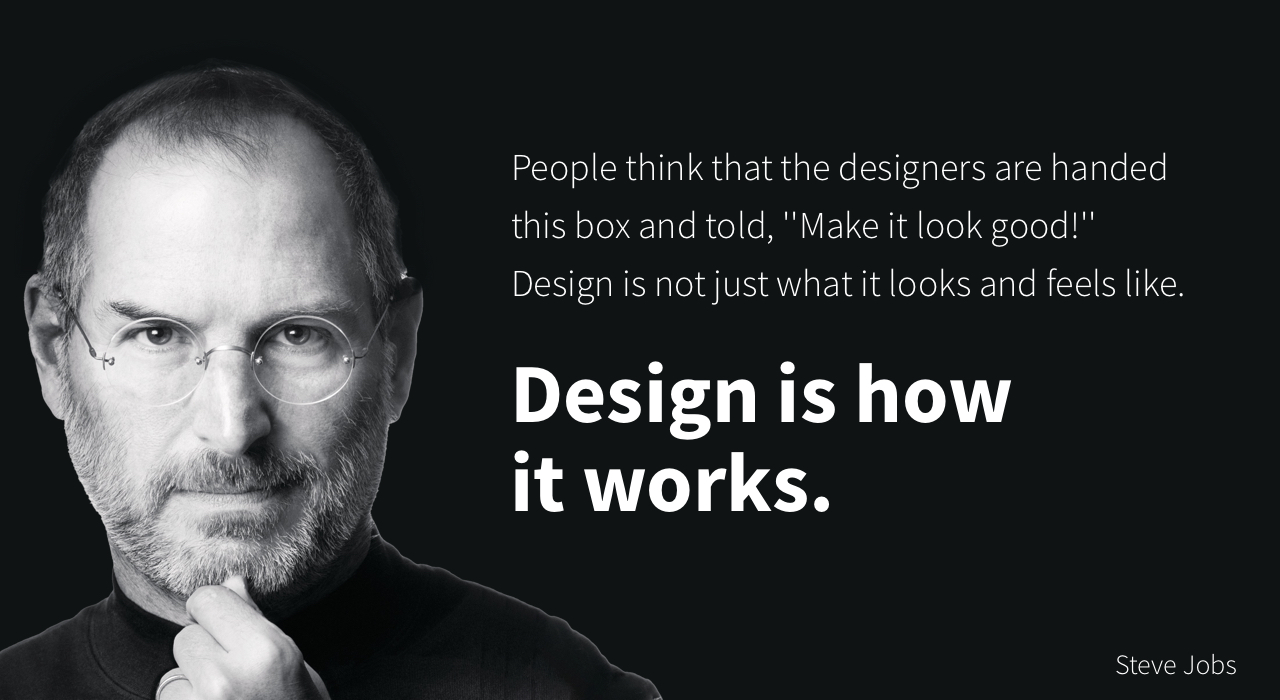
Based on more than forty interviews with Steve Jobs conducted over two years–as well as interviews with more than 100 family members, friends, adversaries, competitors, and colleagues–Walter Isaacson has written a riveting story of the roller-coaster life and searingly intense personality of a creative entrepreneur
Read along with Mr. Cronin. Improve literacy, word decoding, enjoy a nice story, and unplug from the world.
1:20 Afternoon Break (10 minutes)
1:30 Speed Design

Speed Designs are 10 minute sprints in CAWD where we practice. It could be any medium – 3D, 2D, video, programming, etc.
1:45 Afternoon Practice & Production
Web Project: Formats
- in folder called “formats”
Milestone 3
- lastNamelastNamelastNamelastNameMilestone3.mp4
DH20: Bowl
- lastNameDH_20.jpg
Week 20 Agency (optional)
- lastNameAgency_1.jpg through lastNameAgency_3.jpg
2:15 Dailies
2:20 “19 Minutes”
4 of 5 days per week we will end our day in CAWD with the “19 Minutes” of silent reading. Closing down our day with silent reading provides many benefits:
- Improve Literacy Skills / Reading Stamina
- Create space for a small reading meditation where we can disconnect from the world and get lost in a story
- Unplug
At 2:39 each day I will come to 3 students and ask for a 1 sentence explanation of what happened in your story over that day’s reading session. It is neat to hear little pockets of a story, here and there.
2:40 Dismissal