Class hours: 10:05 – 2:45
Mr. Bohmann | wbohmann@ewsd.org
10:05 Today’s Notes & Attendance
EHS/CTE Manufacturing/Engineering Career Showcase in the library today between 11:30-2:00. Representatives from numerous companies will be present to inform students about their companies and organizations as well as employment opportunities. You are welcome to attend during design challenge time.
Vermont Highway Safety Alliance Project – we’ve begun and if you are not in the know – please check out last Tuesday’s dayplan.
Friday:
- All students complete are game day eligible – No more new assignments this week (get caught up)
- Food Drive Ends
- Bake-off – Make something to share – sign up
- Vacation begins after the day ends
10:10 Tuesday Morning Mail –
10:12 2D Animation in Blender – Continued
A fun exercise in our 2D workspace is to explore the power of animation by bringing a simple dot to life. The advantage of using a simple dot is we don’t have to have good drawing skills, as we are just drawing a dot. A dot animation is a great way to practice spacing, timing, and motion and arcs. We can also experiment with depth by changing the size of the dot. We can even add smears to create motion blur.
Key Terms
Timing: Timing is the length of time it takes for an action to occur. The closer drawings are together, the slower the object is moving. Timing helps create believable movement. Here’s how timing works:
- Frames: Timing is determined by the number of frames between key poses or actions.
- Spacing: Spacing is the distance between each frame.
- Keyframes: Timing is implemented by setting keyframes and adjusting the spacing between them.
Arcs: arcs are the path that an object takes instead of moving in straight lines. Arcs make animations look more realistic and visually appealing. Most natural movements happen in arcs – from moving your head to throwing an object.
Onion Skinning show ghosts of the keyframes before and after the current frame allowing animators to make decisions in the animation sequence.
In contrast to the other types of animation we have done, this exercise is done straight ahead, meaning that each frame is drawn in sequence, without planning out the key poses (Pose to Pose). The result is very organic.
To get started, we’ll change the animation to 12 FPS (Frames per second). Start by animating on the twos, but don’t worry too much as the more frames between will create faster motion. To help use we can make sure onion skinning is turned on which will allow us to see the previous and next frames as reference.
Your Task: Create a Magic Dot(s) Animation
Framerate: 12FPS
Length: 120 Frames
Animate on the twos
Experiment with color, depth and movement. Feel free to add more dots, connect dots or build your dot out into something more (bee, bug, fly) and a background for your magic dot.
A workflow I am using is to start with one dot and create my animation. Then do a full copy and expand for a second animated sequence. By duplicating and creating multiple scenes, you can build on your animation.
When working in Blender, I’ll create one additional (new) scene called video editing. I’ll then go to the video editor and add my other scenes in for a render.
Render as .mp4 and attach you last name to the file.
Place in today’s dailies folder and we’ll view before lunch today.
10:50 Break

11:00 English with Mx. Yopp

11:50 – 12:25 Working with Drivers in Blender
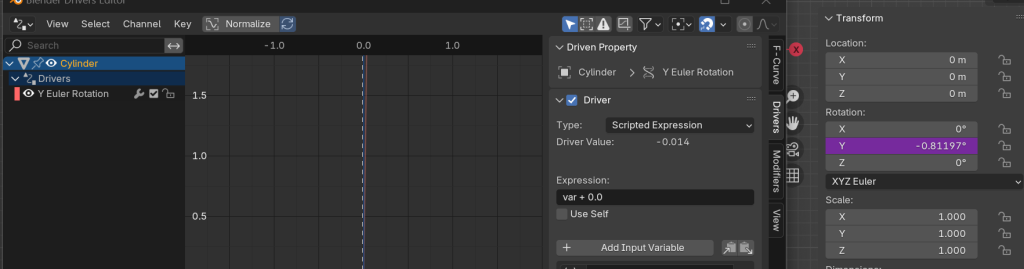
Drivers allow you to connect objects together to create animation. Drivers function like a switch. You can add a driver shape keys, armatures, objects, just about anything. It will drive the animation.
We’ll add drivers to simulate a car and wheels turning. We’ll also add drivers to a cube using some of the deformation tools we’ve previously worked with. Drivers may be an important animation solution for the PSA animation to handle your car and car wheels.
Drivers are very versatile. Use your imagination.
12:25 – 12:55 Lunch
12:55 Independent Reading

1:20 Break
1:30 Design Challenge

1:55 Production Time and Guided Support
Current Assignments:
- Animation Principle #3 Due Monday – Staging
- Pre-Production – Vermont Highway Safety Alliance – Sketch Pack of Drawings
2:38Dailies
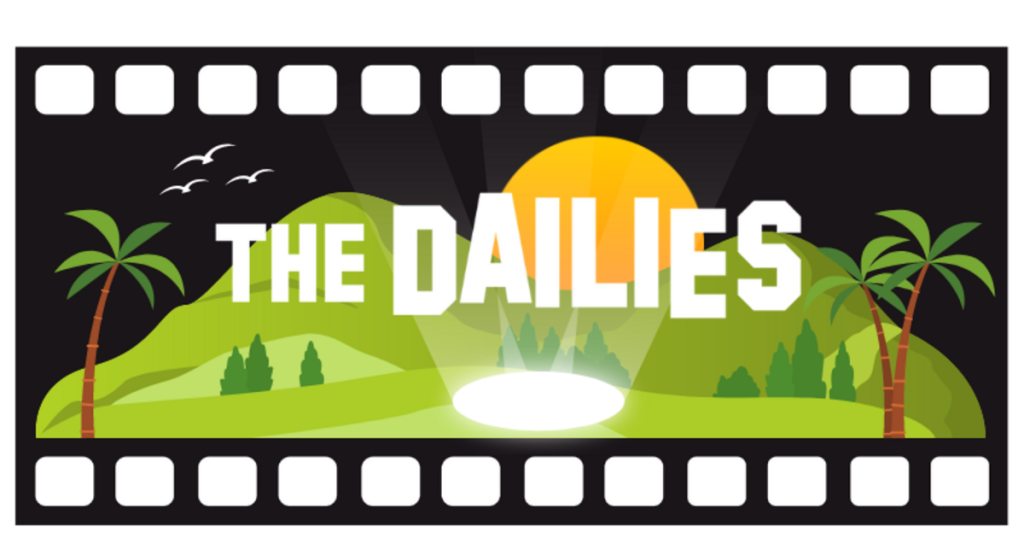
Dailies can be placed in the CAWD2 Dailies Folder on the CAWD2 Public Folders drive