Class Hours: 10:05 – 2:40
Mr. Cronin
Notes
- Tuesday! Today is going to be what?
- 1:20 meeting for ehs juniors today at 1:20, head down at break, come back when done!
10:05 Attendance and Article
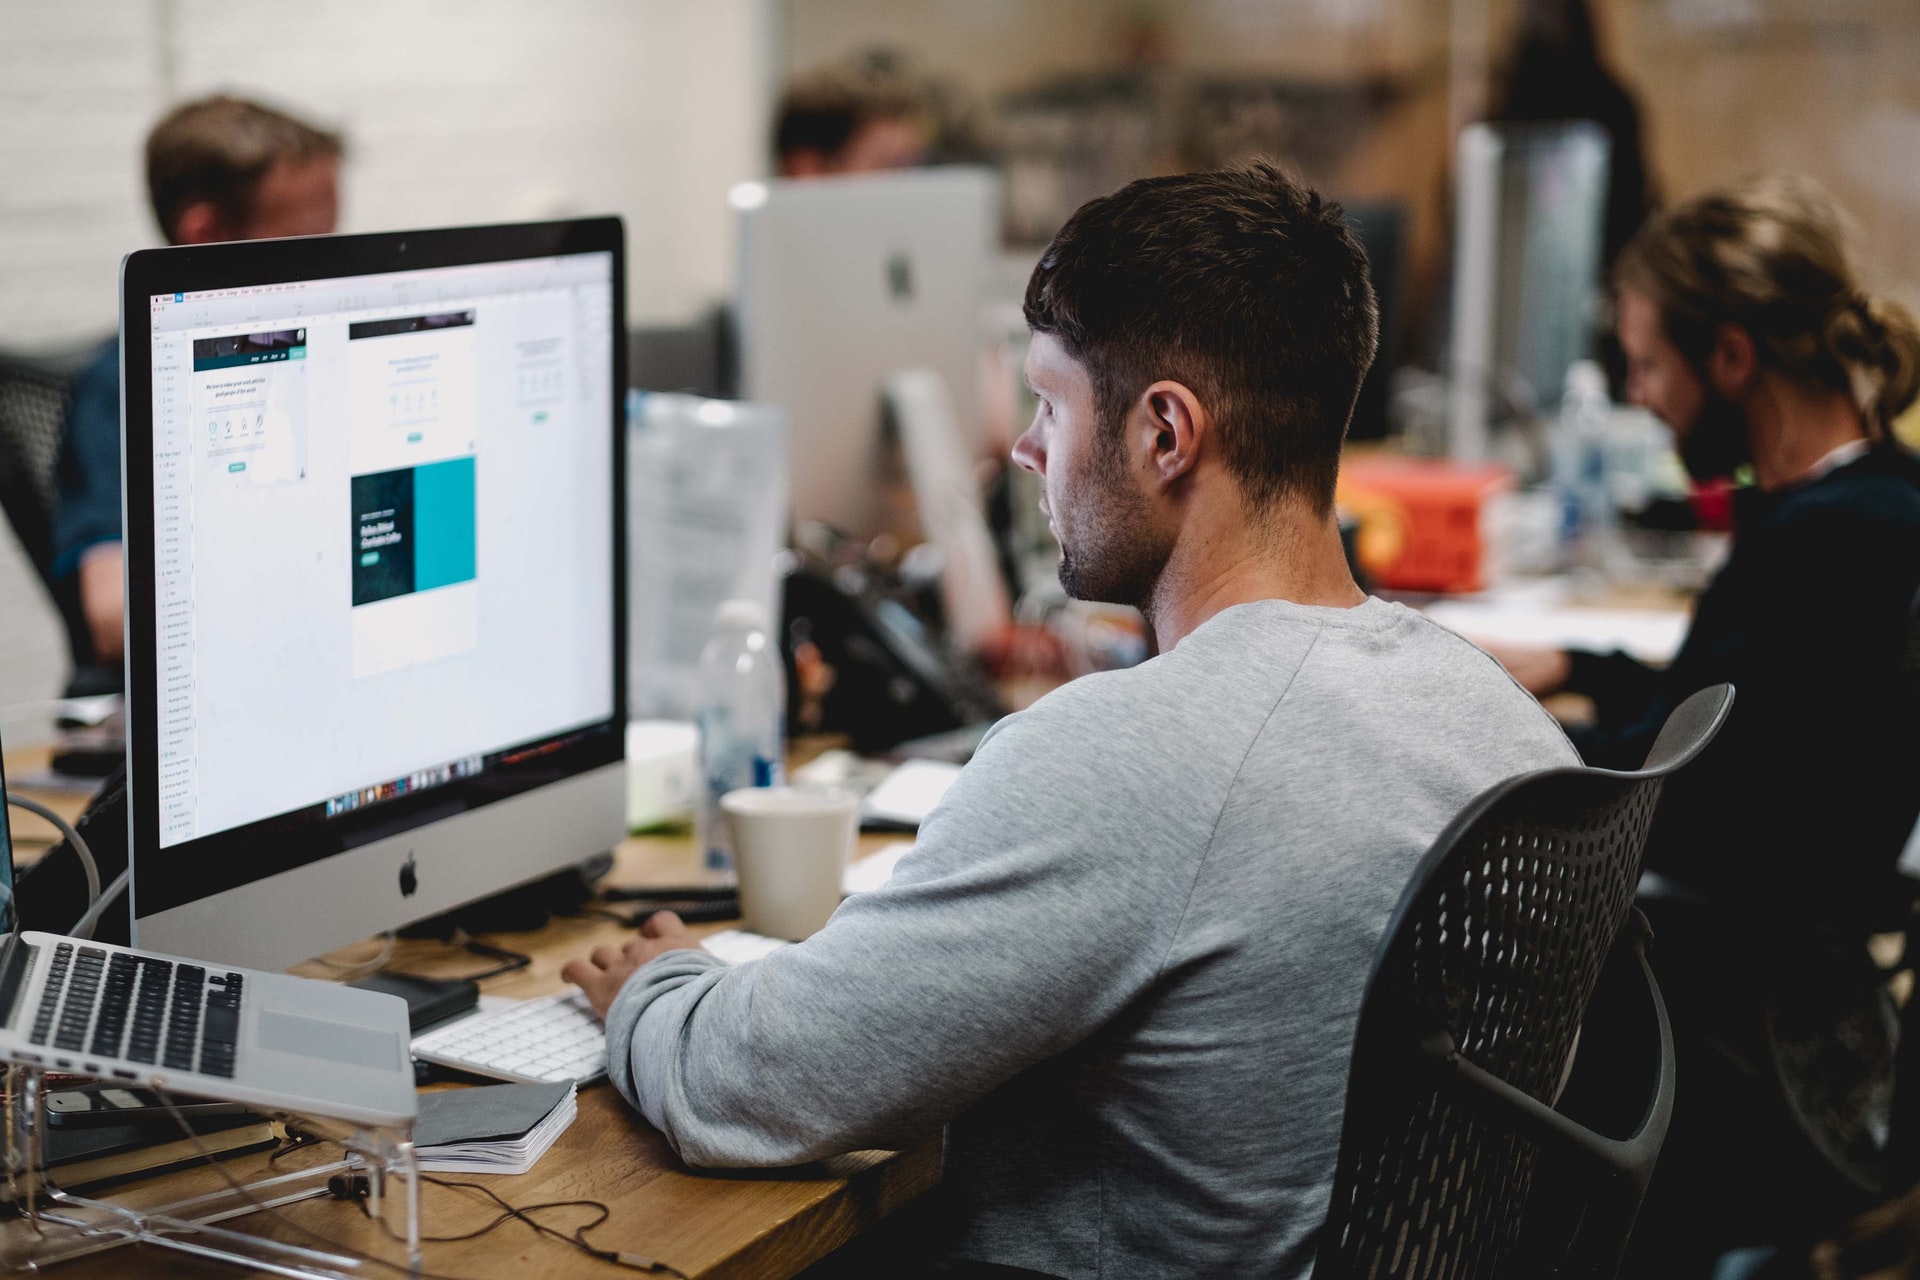
10:10 Web Design

- Continuation of clicker game
- Level 2 and Level 3 Clicker
- Time clicker?
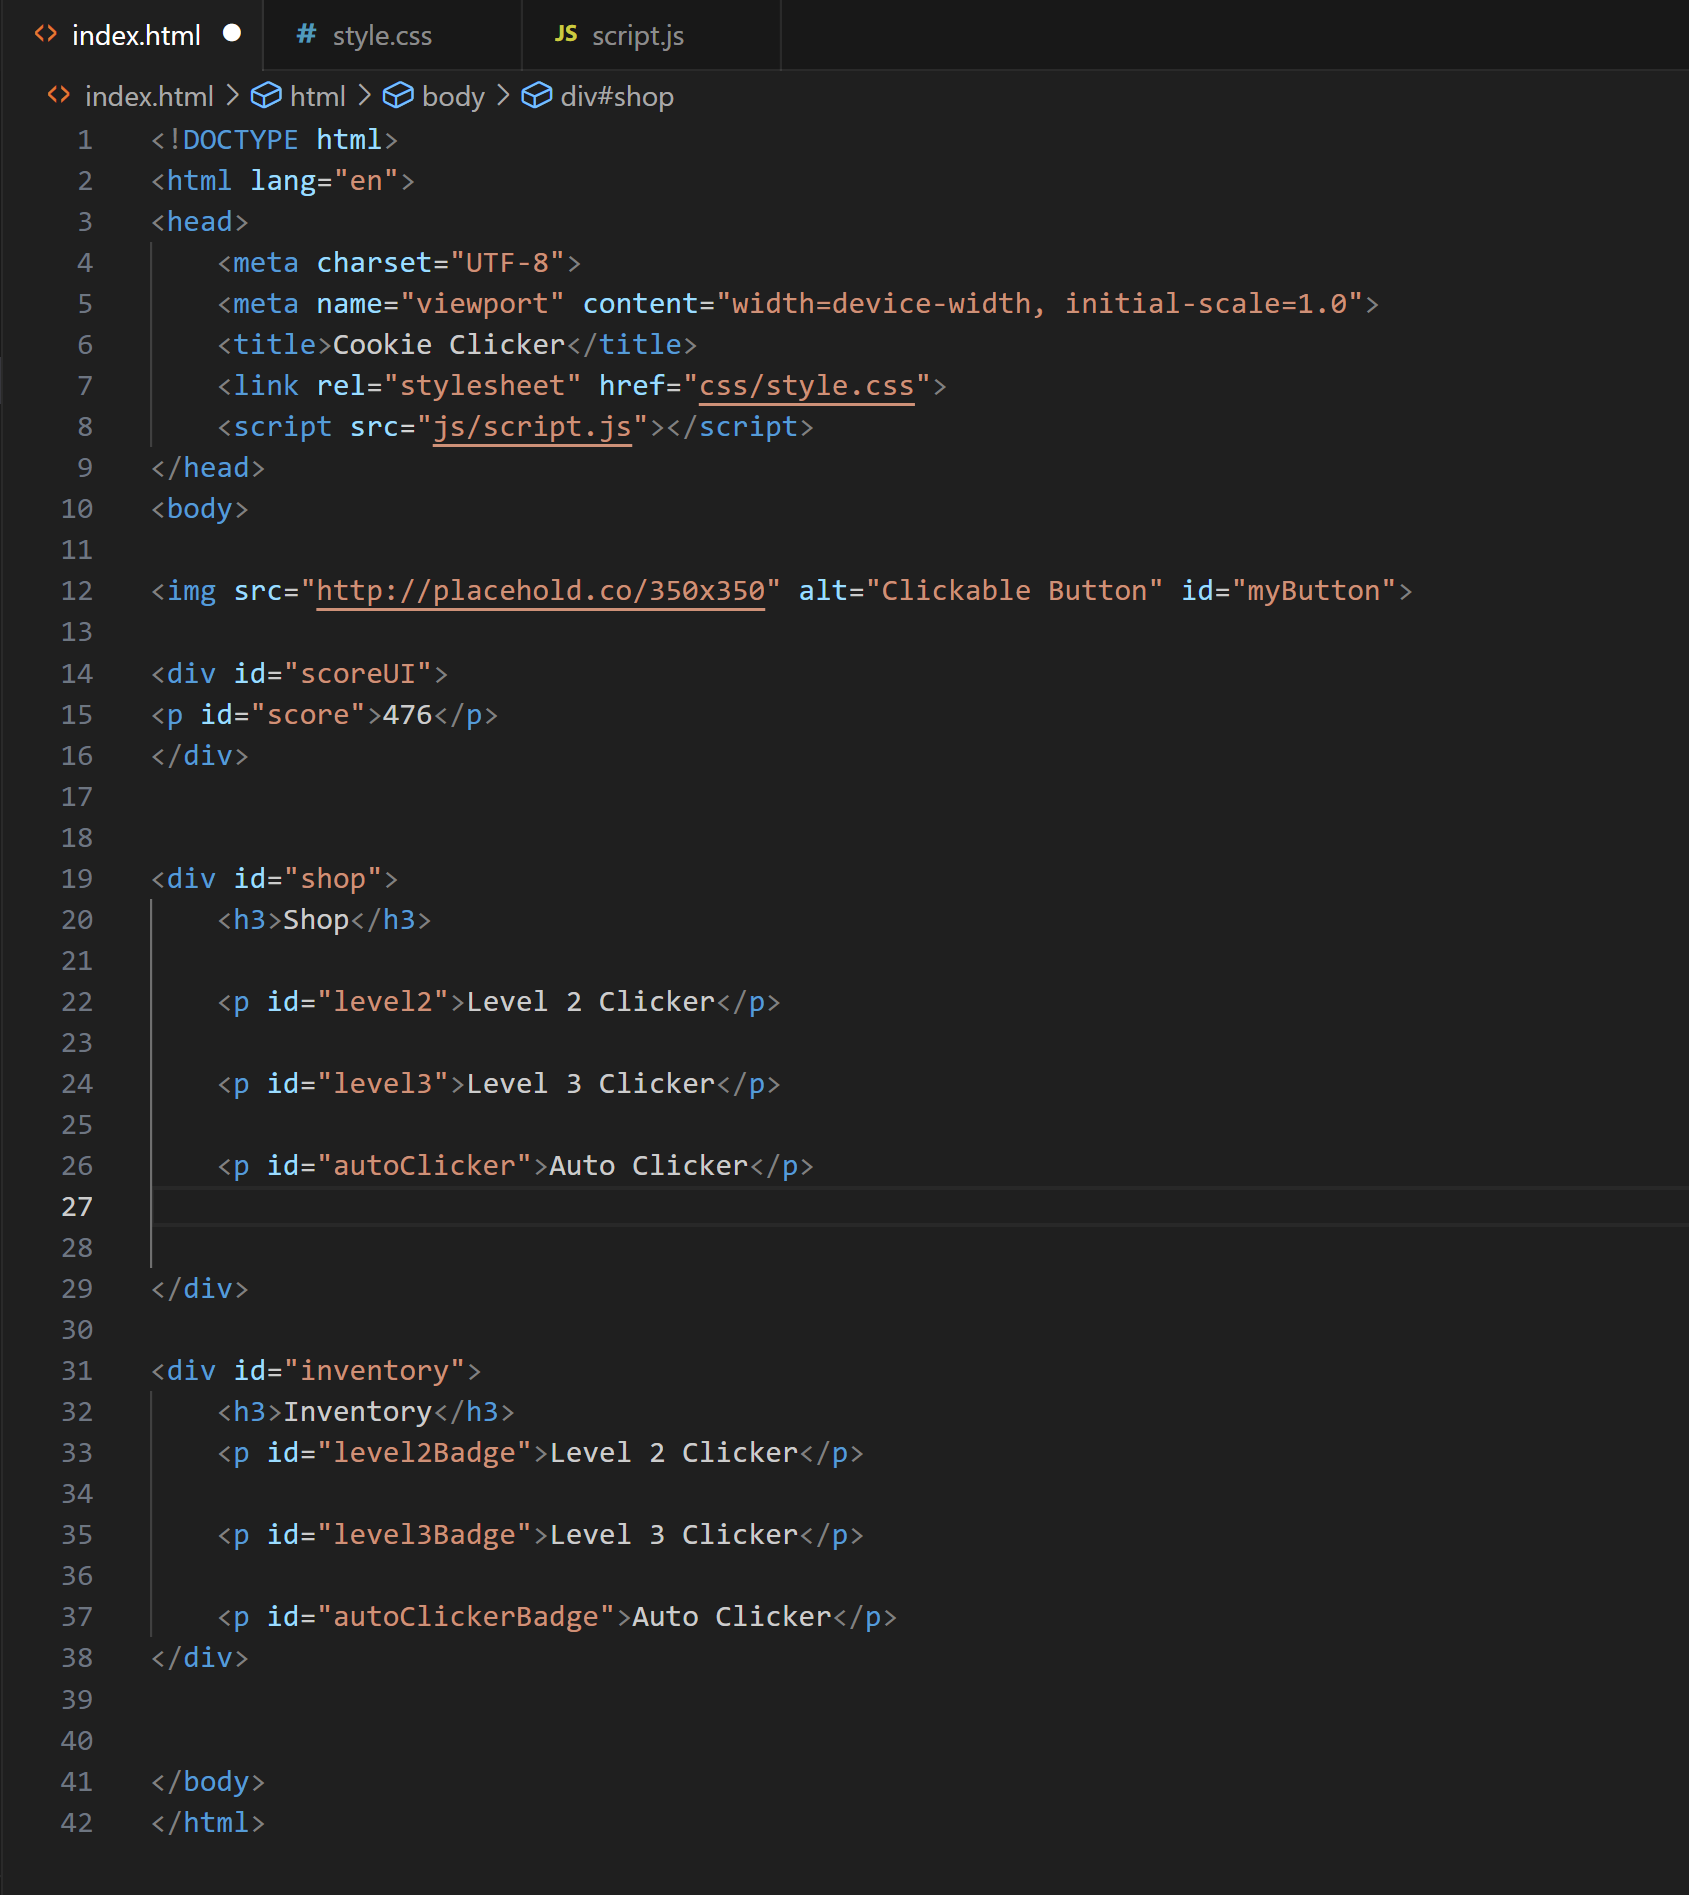
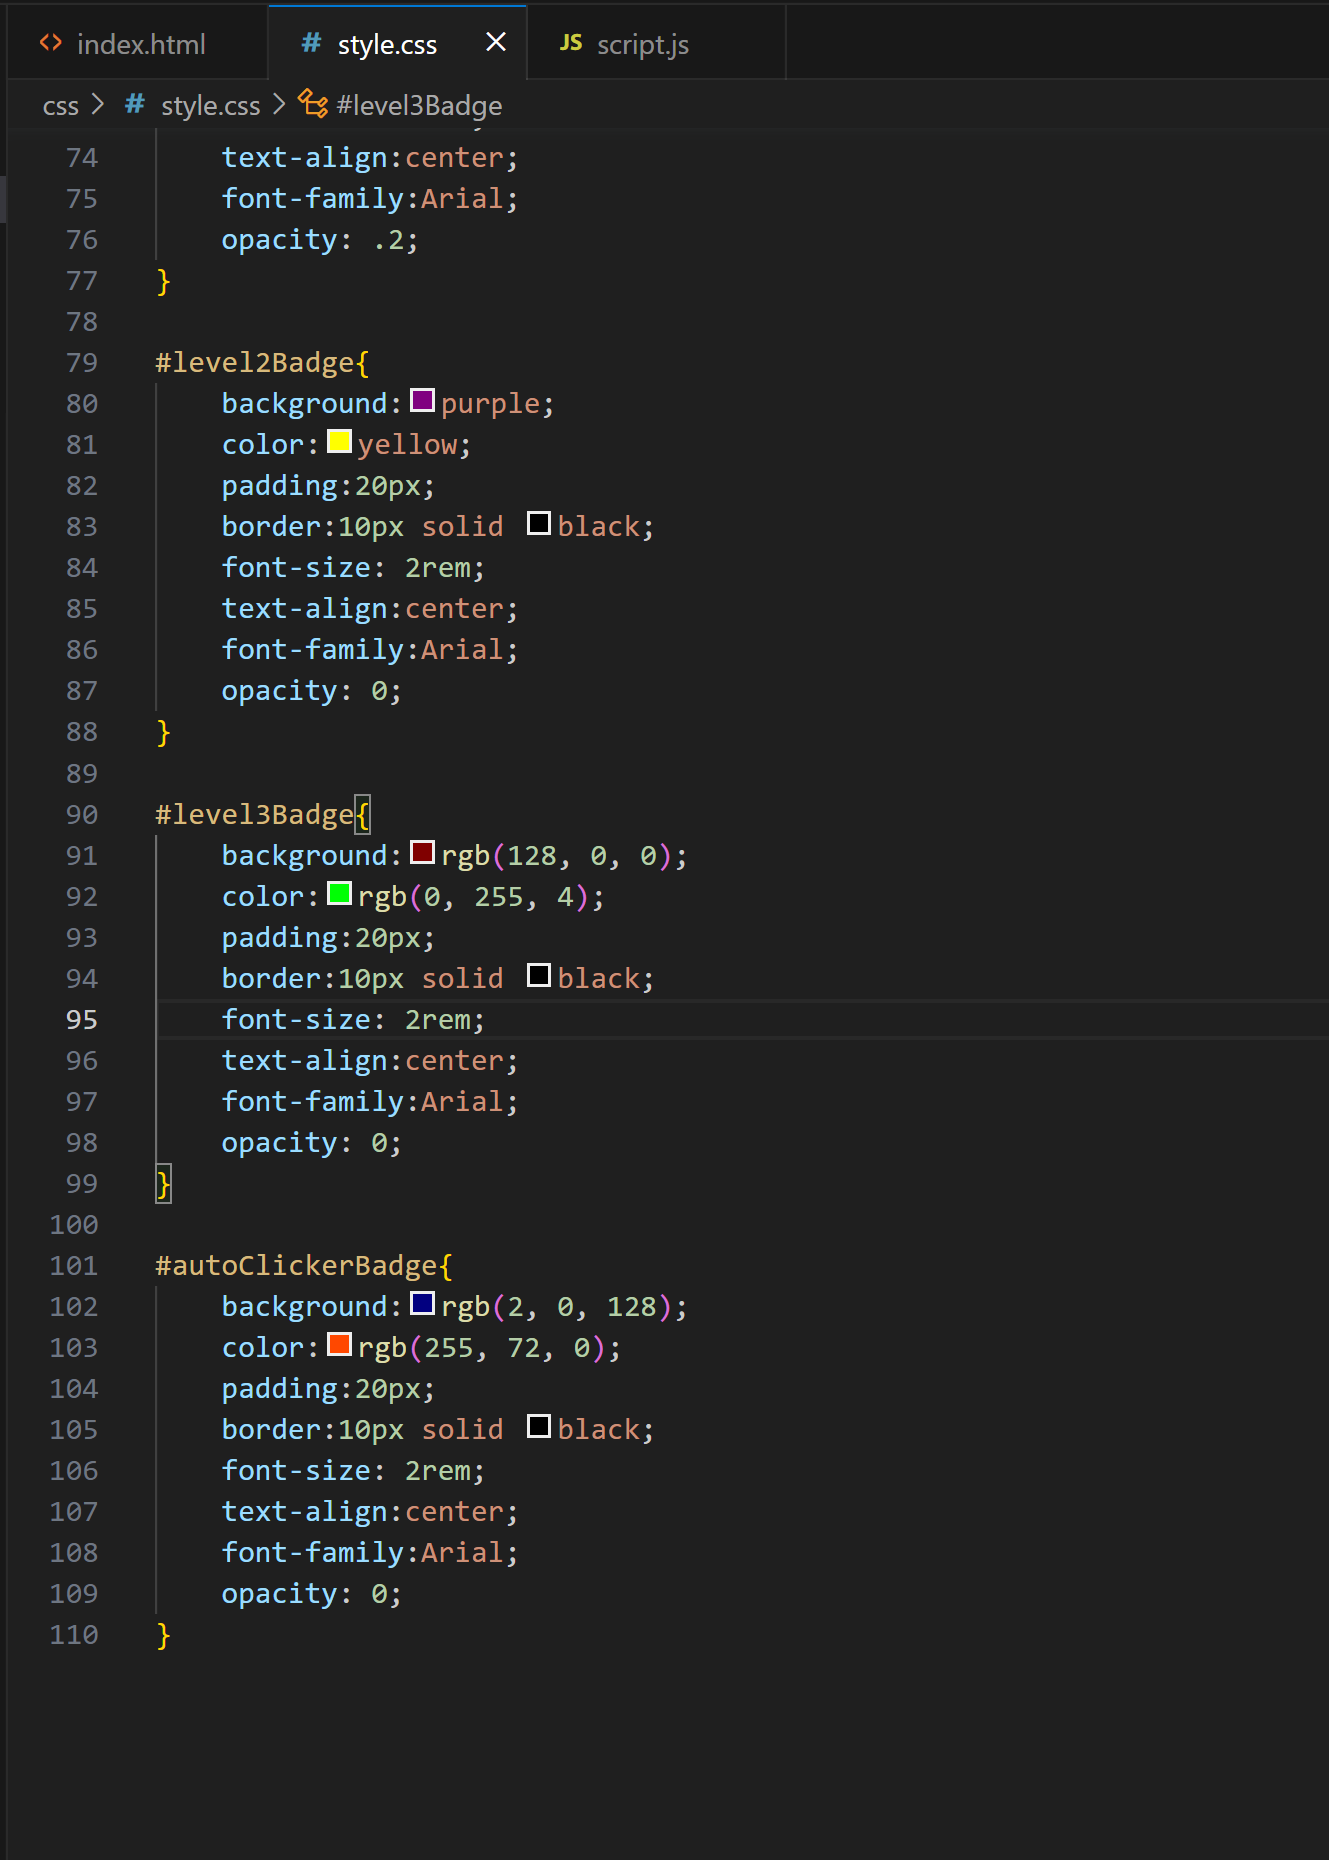
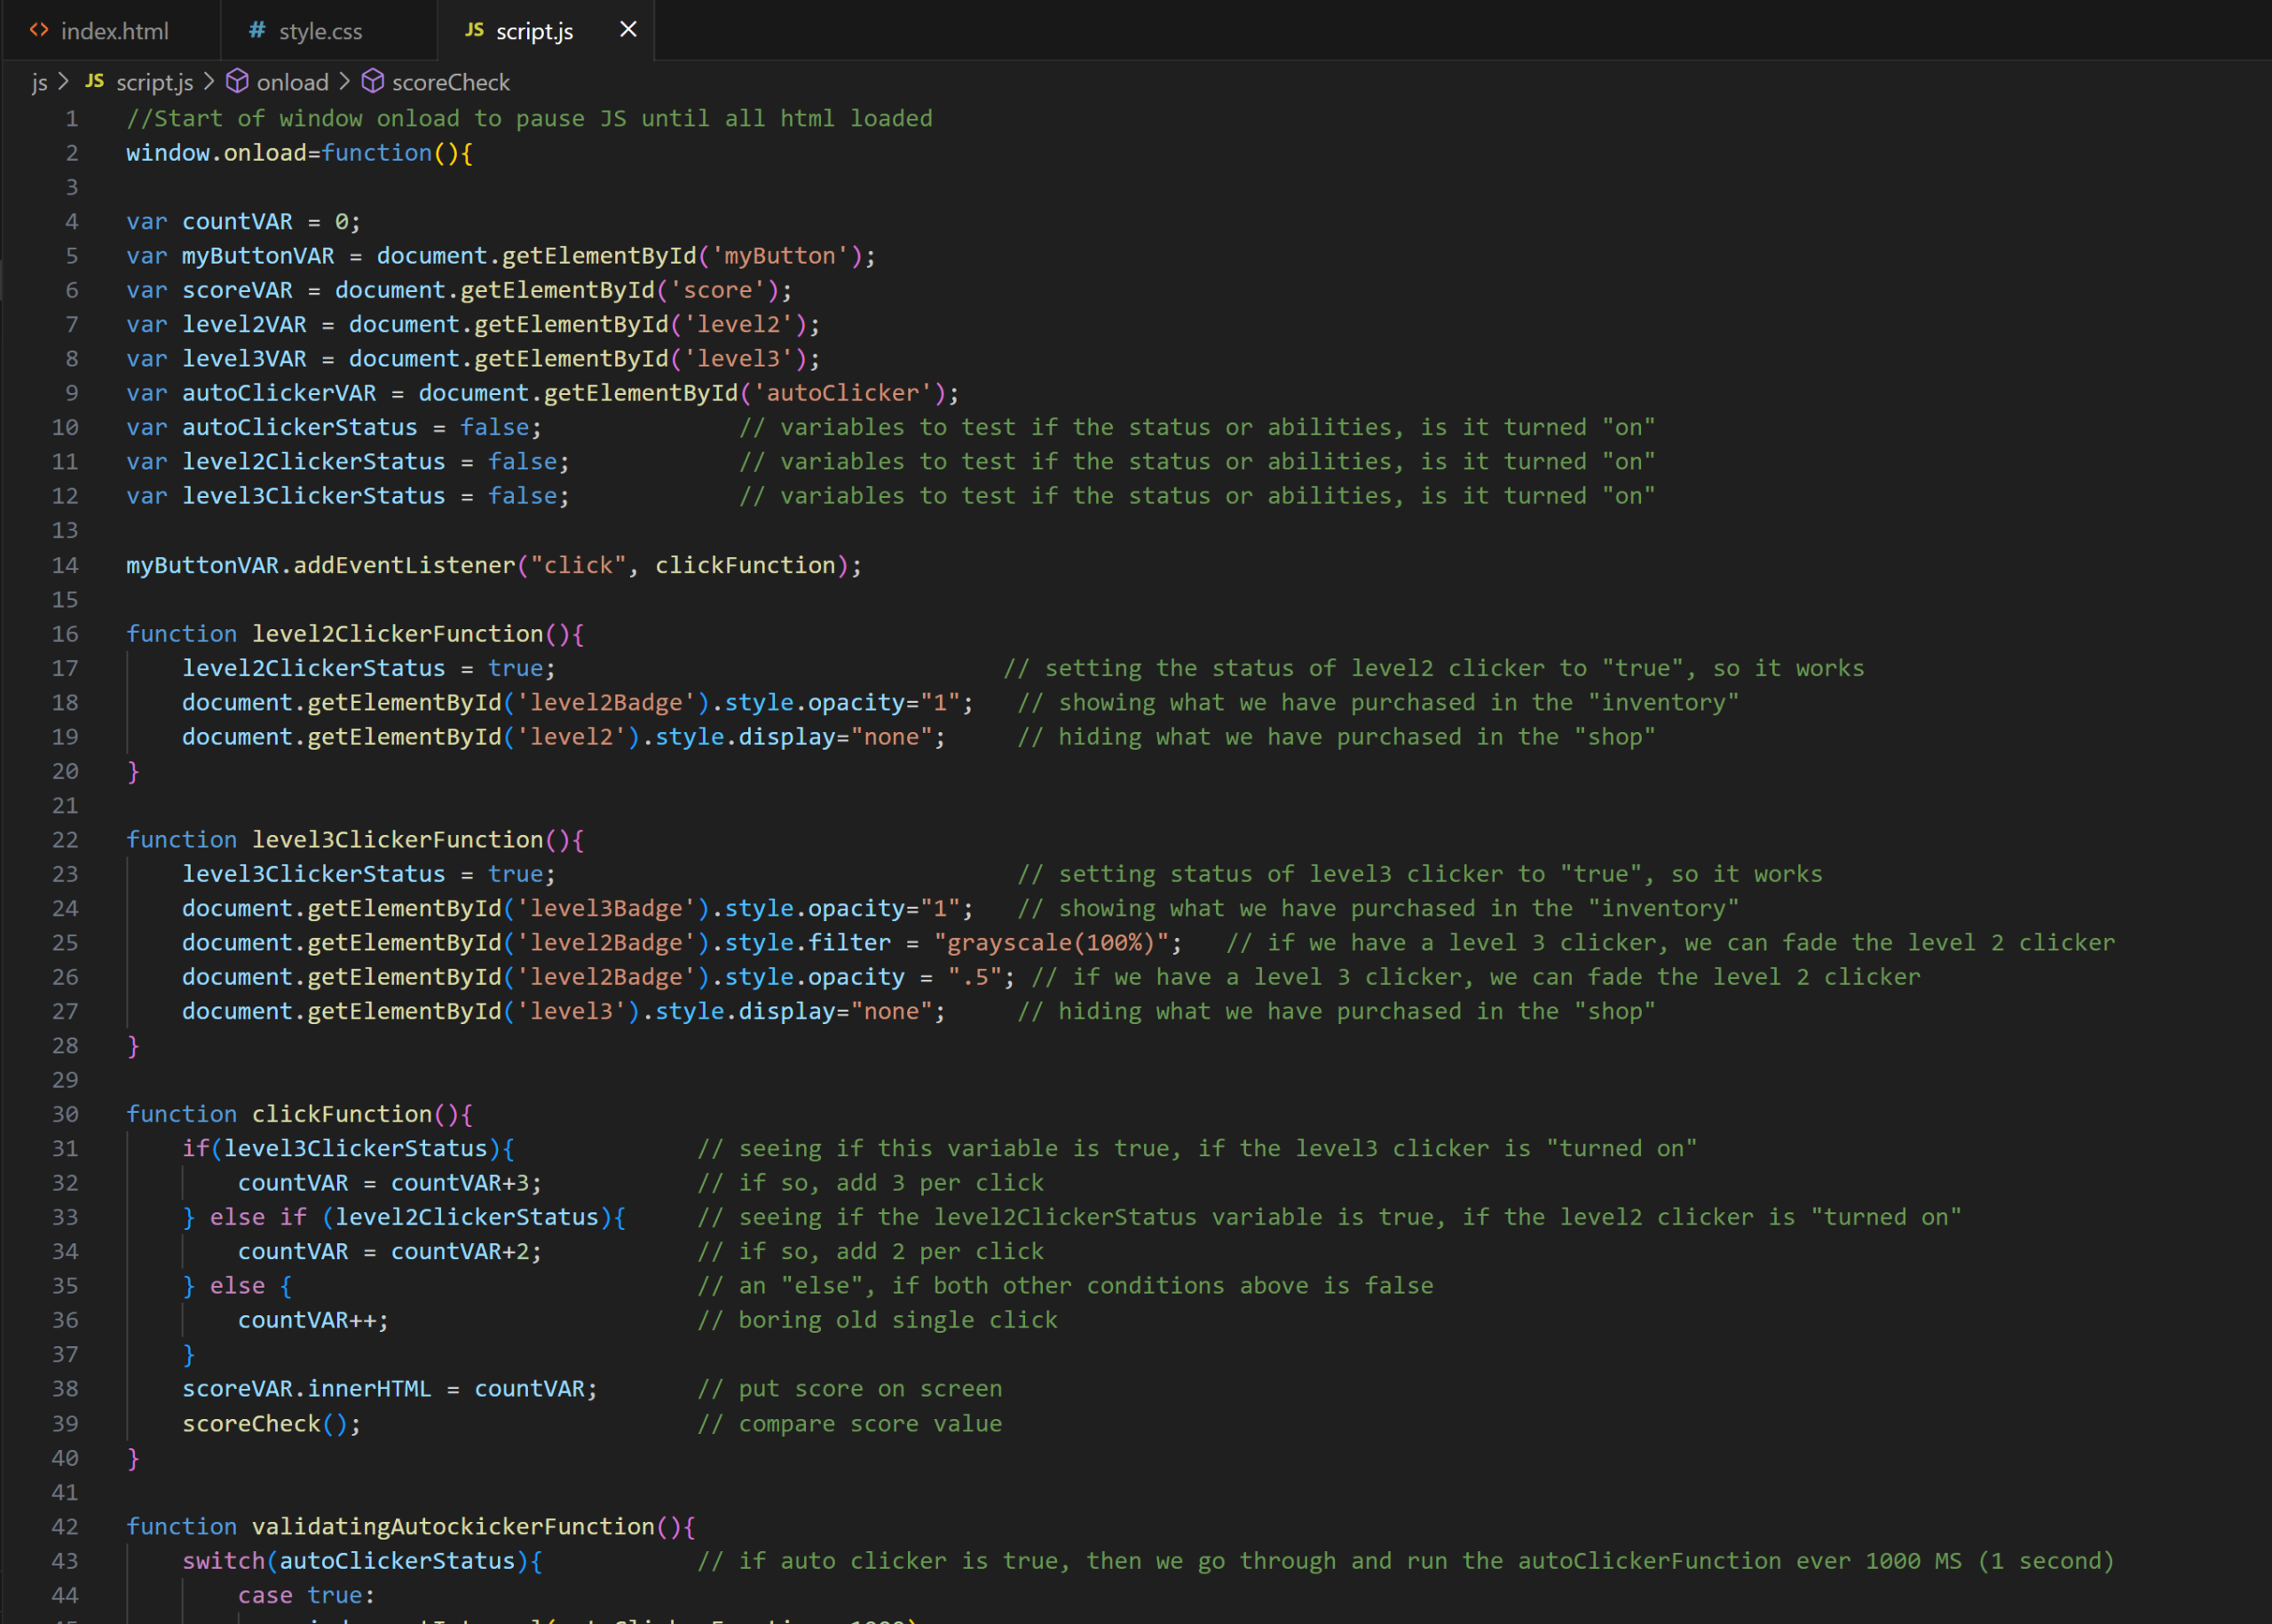
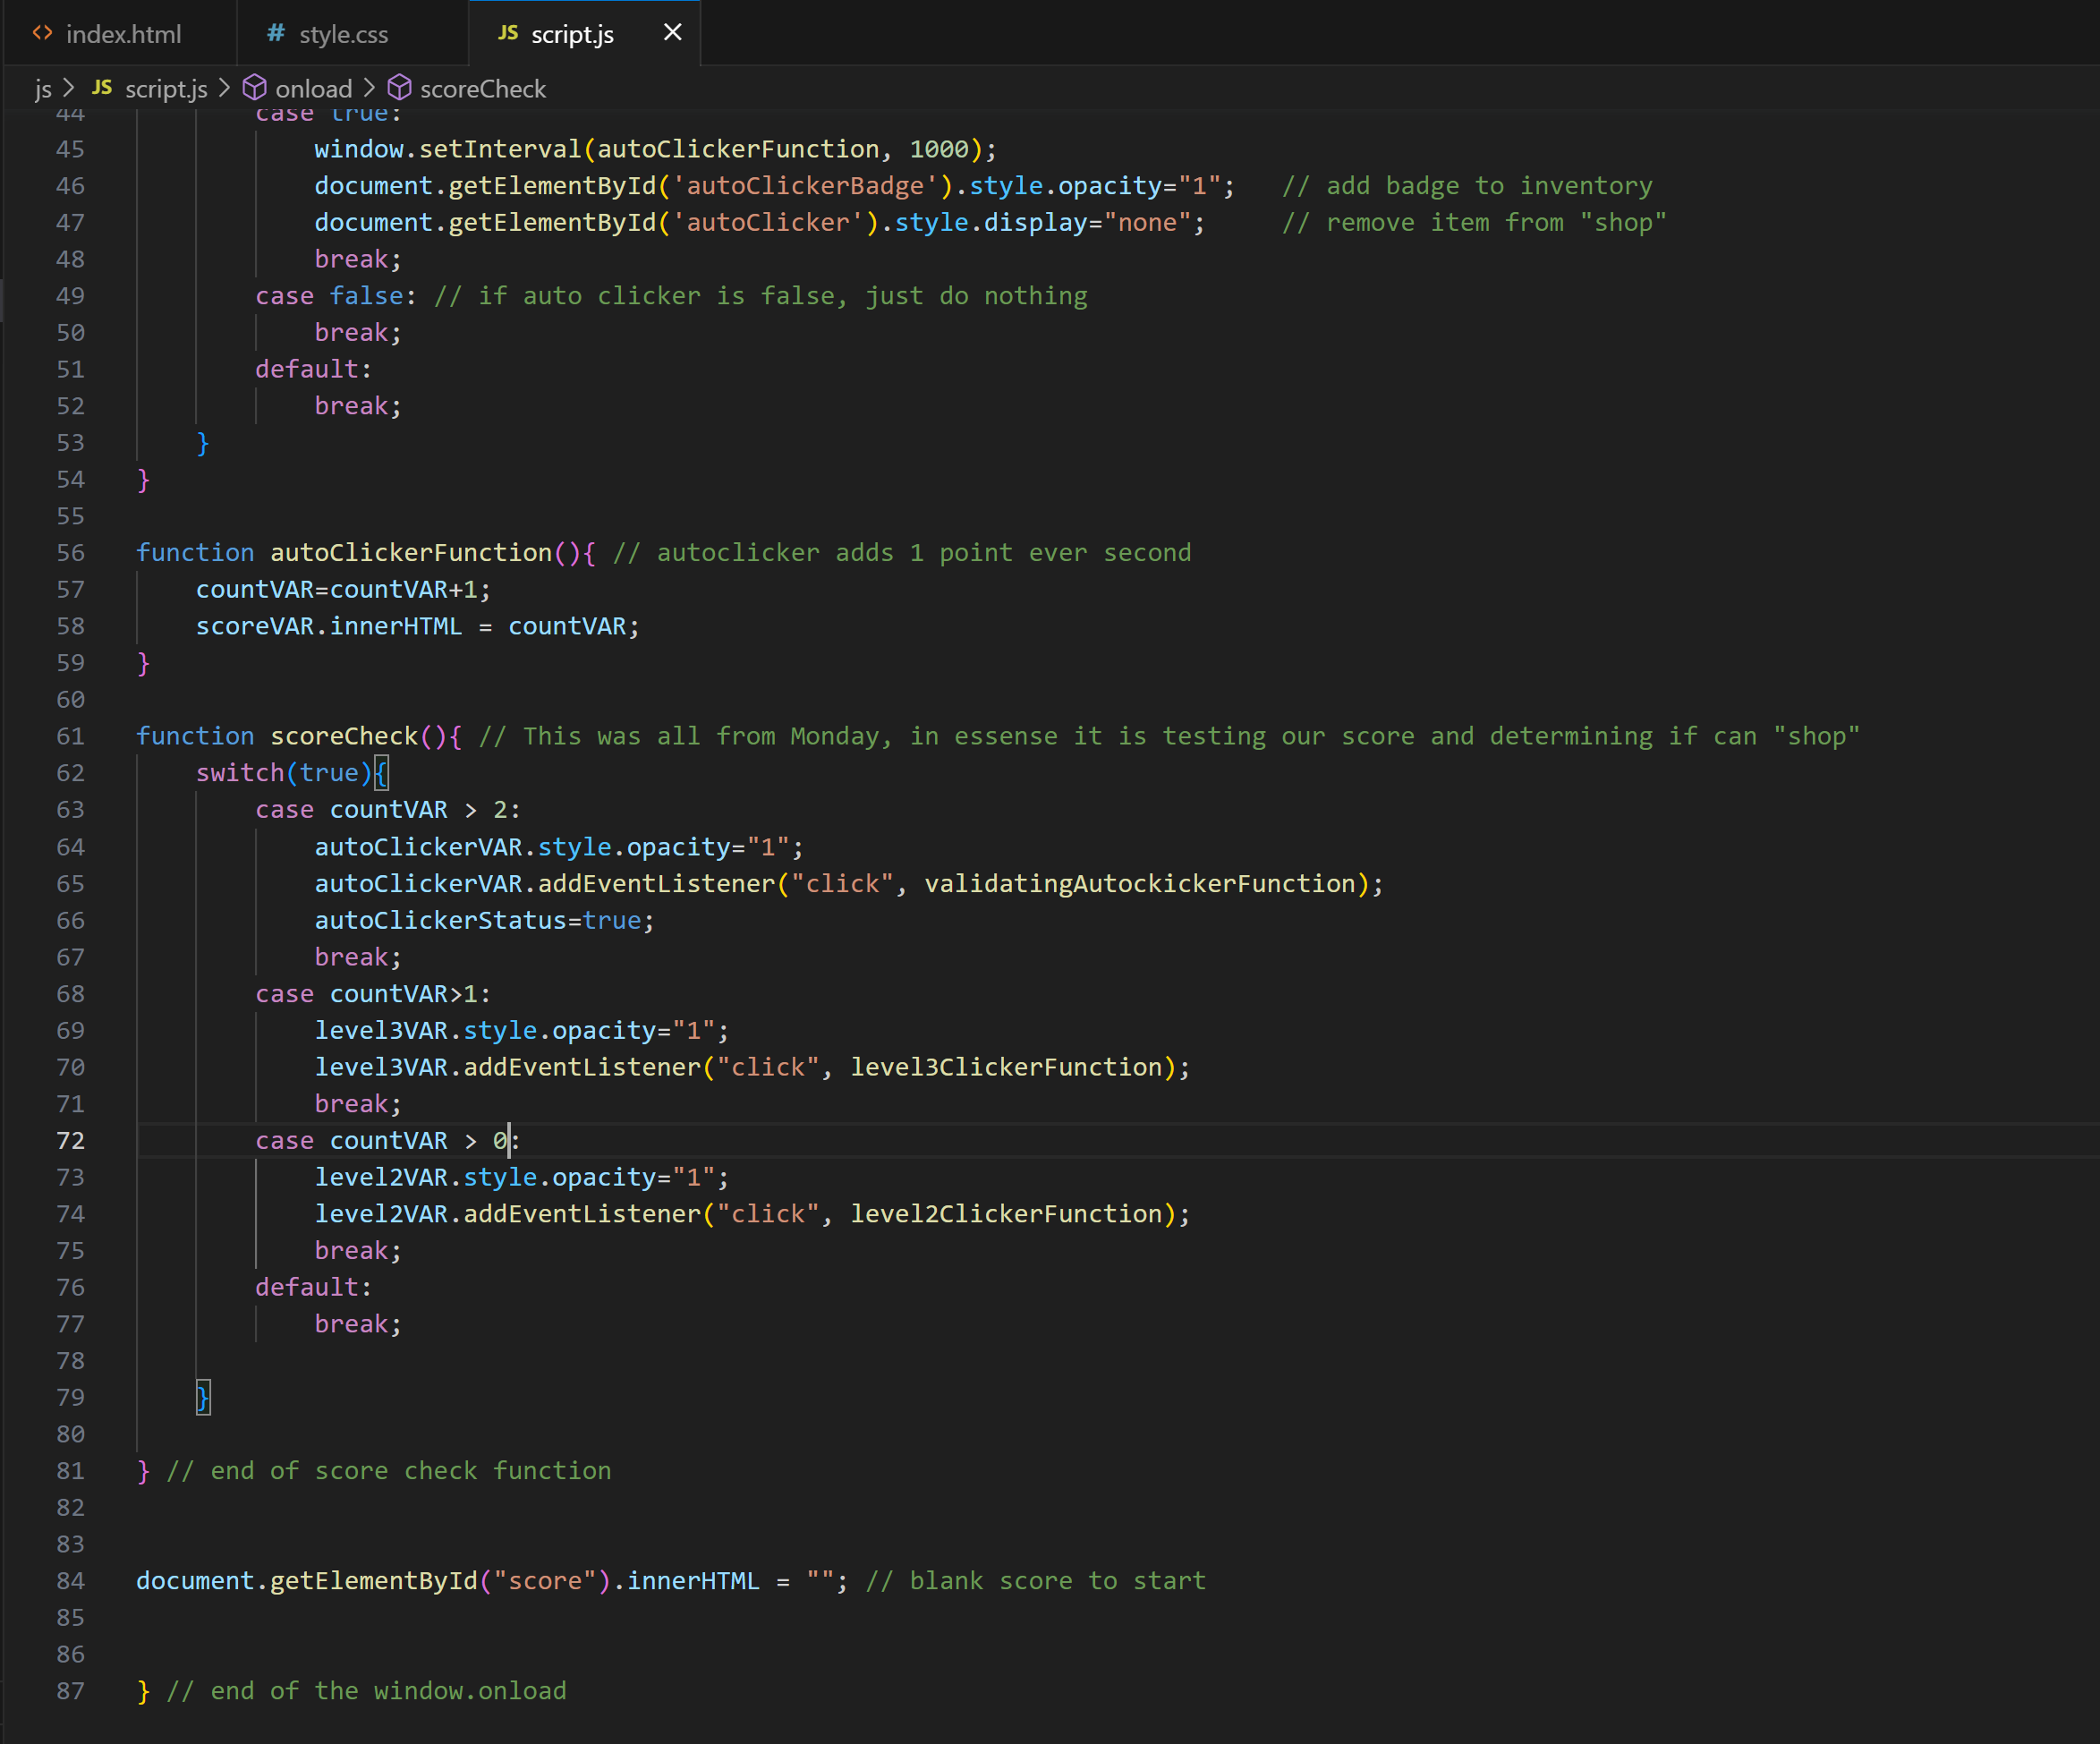
You have been given all the code. You know how to debug your code in the console. Follow the code examples and build your game. I will do the same up front and we can collaborate, but I am NOT fixing your code. You are.
10:50 Morning Break (10 minutes)
11:00 Web Design
- Review of absolute positioning
- Background images

11:30 JavaScript Clicker Game
This week you are going to take your budding JavaScript skills and combine them with your HTML and CSS skills to be a Game Designer making a clicker based game.
Tomorrow morning we will build our final budget system, so once you purchase an achievement from the shop, your score goes down. Other than that, I think you are ready to go…
Everyone can start with the base that we created together. As we all start there you won’t get much of a grade if you just turn that in.
Take your time this week and make the game your own. Explore new ways to program, and think of fun gameplay elements you can add in. Take this full meme? Tariffs? Silliness like clicking on a bag of sun chips? D&D?
So far we have:
- Standard click / 2X Click / 3X Click
- An auto/idle clicker
- No art
What are you to add?
- Art obviously / what should we click on? How is the rest of the Game UI developed?
- Transparent backgrounds? Art created in Illustrator or other program? How about Blender and make some nice 3D interface UI elements and render with transparent background?
- Originally created art counts more than just a clickable photo of a Minecraft character.
- This would be the HTML and CSS – UI programming.
- At least 1 more “game changing” programmatic piece.
- This is the JavaScript piece. Something that when we play can be demonstrated.
We all have a folder called cookieClicker. All you are going to do this week is add the your last name to the start – so my project would be croninCookieClicker. It is this folder you will turn in next Monday.
Trevor and Maxx would you consider making a promotional clicker game for your game at Nationals? During your presentation it is all about branding, and ways to get players to get into your game / game sphere.
11:55 Prep
Show me the passphrase and get on to Production.
12:25 Lunch

- No food in the room / eat in the Cafe.
- You are welcome to return to the room when you have finished eating and work / hang out.
12:55 Attendance and Article
1:00 Steve Jobs
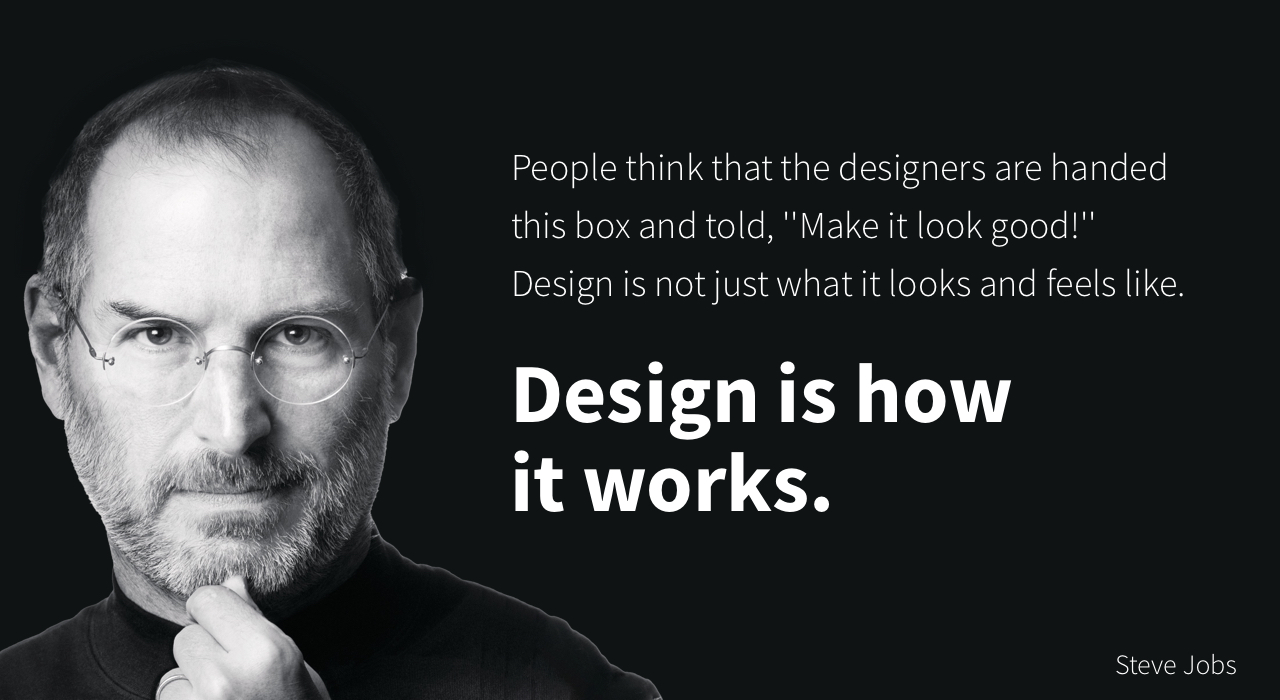
Based on more than forty interviews with Steve Jobs conducted over two years–as well as interviews with more than 100 family members, friends, adversaries, competitors, and colleagues–Walter Isaacson has written a riveting story of the roller-coaster life and searingly intense personality of a creative entrepreneur
Read along with Mr. Cronin. Improve literacy, word decoding, enjoy a nice story, and unplug from the world.
1:20 Afternoon Break (10 minutes)
1:30 Speed Design

Speed Designs are 10 minute sprints in CAWD where we practice. It could be any medium – 3D, 2D, video, programming, etc.
1:45 Afternoon Practice & Production
JavaScript Clicker Game
- folder called lastNameClickerGame
DH 30: Mouth
- lastNameDH_30.jpg
Week 30 Agency
- lastNameAgency_1.jpg through lastNameAgency_3.jpg
2:15 Dailies
2:20 “19 Minutes”
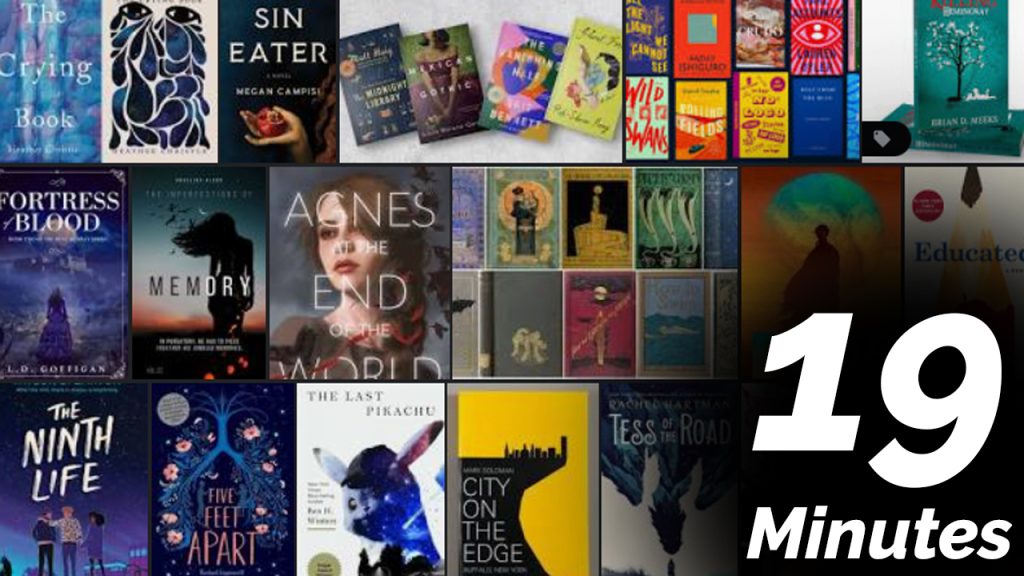
4 of 5 days per week we will end our day in CAWD with the “19 Minutes” of silent reading. Closing down our day with silent reading provides many benefits:
- Improve Literacy Skills / Reading Stamina
- Create space for a small reading meditation where we can disconnect from the world and get lost in a story
- Unplug
At 2:39 each day I will come to 3 students and ask for a 1 sentence explanation of what happened in your story over that day’s reading session. It is neat to hear little pockets of a story, here and there.
2:40 Dismissal