Class Hours: 10:05 – 2:40
Mr. Cronin
Notes
- Tuesday!
- Get that missing work ready to turn in tomorrow!
10:05 Attendance and Article
10:10 Typography

- Serif’s are the artistic decorate elements added to fonts, which have nothing to do with literal meaning of the word.
- Serif’s can enhance the style of the word, the pizzaz, the “bling”.
- On digital screens (often at small sizes), sans serif (without art) fonts are easier for the user to visually pickup and read the word, and that is often why at an absolute minimum you should make your website Arial (sans serif) compared to the default Times (serif).
10:25 Display vs. Copy Fonts

- Display font – typically for branding, headings, and very often text without periods. It is the catch your eye, bring you into the website, artsy font. This could be serif, a bit bigger. The goal of this font is visual “look at me!” Can be used for navigation, so long as legible enough.
- Copy font – the opposite of a Display font. What the main information is about the page, tutorial, research, etc. The copy font is often a sans serif font, smaller, and the goal of this font is legibility, be able to read a lot of it. The opposite of GTA font.
10:35 Google Fonts
Google fonts are online resources which allow you to extend the design of your project, while loading from Google servers all over the world, for a snappy loading experience.
Now that we know the basics of HTML and CSS, let’s see how we can use them.
10:50 Morning Break (10 minutes)

11:00 History of Web Design / Where are we going?

This week we are going to combine our new technical knowledge, with a short research projects where the expectation is you use AI to get the information. Any AI you wish is fine for this, just please list it so we can see who uses what.
You will create a 1 page site that includes both the content and technical requirements.
Content Requirements:
- Who is Sir Tim Berners-Lee?
- Include heading, minimum of 3 paragraphs of information, and a photo.
- Cut and paste info is fine.
- No image citation required for this first section.
- What is the current browser market share for 2025? (I will accept 2024 data as we are so early into 2025)
- Include a heading, and use of paragraph or lists to present the top 4 used browsers. Include percentages of each. Each browser listed must have a clickable link to where I can download that browser.
- Include an image of the data found to support your claims.
- Cut and paste info is fine.
- Where are people using the internet? (meaning what medium, how are they using it)
- Include headings, paragraphs, and lists to explain what the browser usage is in terms of computer vs. mobile (vs anything else interesting)
- Include an image of the data found to support your claims.
- Cut and paste info is fine.
- What are some predictions for web design in 2025?
- Use headings and paragraphs to list 3 predictions for the web in 2025.
- Paraphrase the information into your own words. (don’t cut and paste the info for this section, paraphrase it)
- For each prediction use a screen shot of that prediction. ** Example below.
Technical Requirements:
- Single page called history.html inside of “history” folder. Valid HTML5 code.
- All styles in external CSS folder in style.css file.
- All images saved in “images” folder. Always use logical image names.
- Use of a Google font for the top H1 “History of Web Design / Where are we going?”. This font should be a Display font, something to lure the attention of a user. Use a serif font for this.
- Use of a Google font for the paragraph copy that is sans serif, and easy to read.
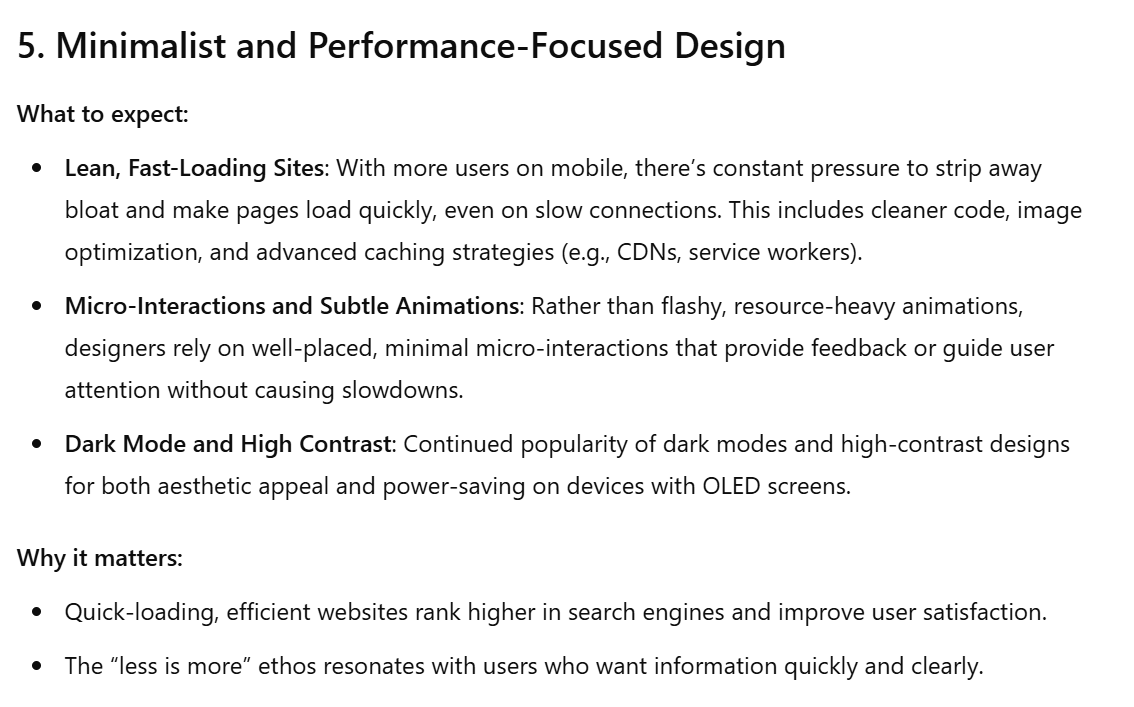
** Example of “What are some predictions for web design in 2025?” citation of AI with an image.
Minimalist Design
There is a push to get lighter weight designs that load faster. Reduction on resource heavy designs, and well placed, less is more design.
Style with dark and high contrast designs in mind, and not simply “let the browser or OS handle”. Assume more people want to use these as we have more mobile users (dark mode) and more elderly users (high contrast).
Source (Chat GPT)
11:35 VR Showpiece Production Time
You will get dedicated class time on Tuesday and Wednesday mornings over the next 3 weeks to complete our VR Showpiece in the topic of VR Gallery.
Each we week we will need to see progress. This is a team grade. The first 2 are demos of work in progress, and the final mp4 will be a formal tour of all the deliverables.
Creative Directors – look at the expectations, assign roles, and everyone get to it. Some people will only site at the VR computer, some people will never sit there, all based on your role in the project. Everyone lean into your strengths and work toward a common goal.
Save your Week 21 progress as lastNamelastNamelastNamelastName.mp4.
Only 1 team mp4 needs to be turned in per week – have the CD do it.
VR Gallery populated with your team’s work
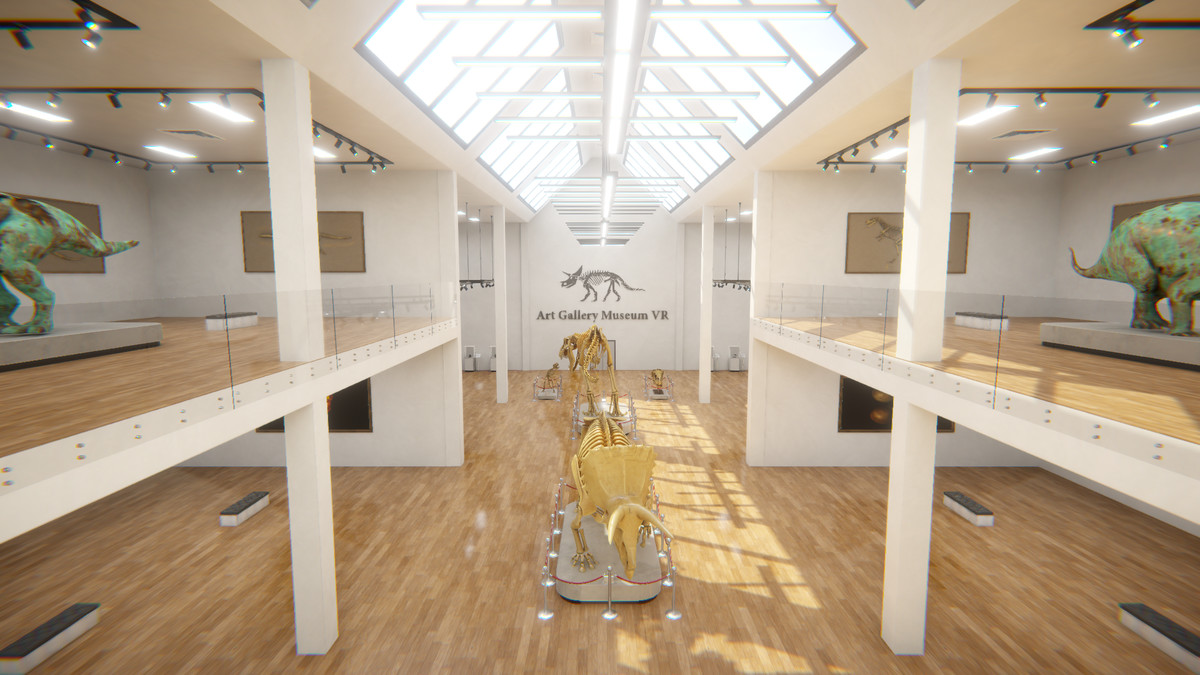
- Created a virtual art gallery to explore in VR.
- Each student would be required to “display” 2 projects in the gallery:
- one as an image (think painting on wall)
- one as a sculpture (think … sculpture – the 3D model, have to make sure materials and textures work)
- of the 4 sculptures from your team, 2 must be rotating – slowly, as if on a display.
- Deliverable would be gallery exploration.
- Extensions – Lobby? Doors that open? Background music? Light switches?
12:25 Lunch

- No food in the room / eat in the Cafe.
- You are welcome to return to the room when you have finished eating and work / hang out.
12:55 Attendance and Article
1:00 Steve Jobs
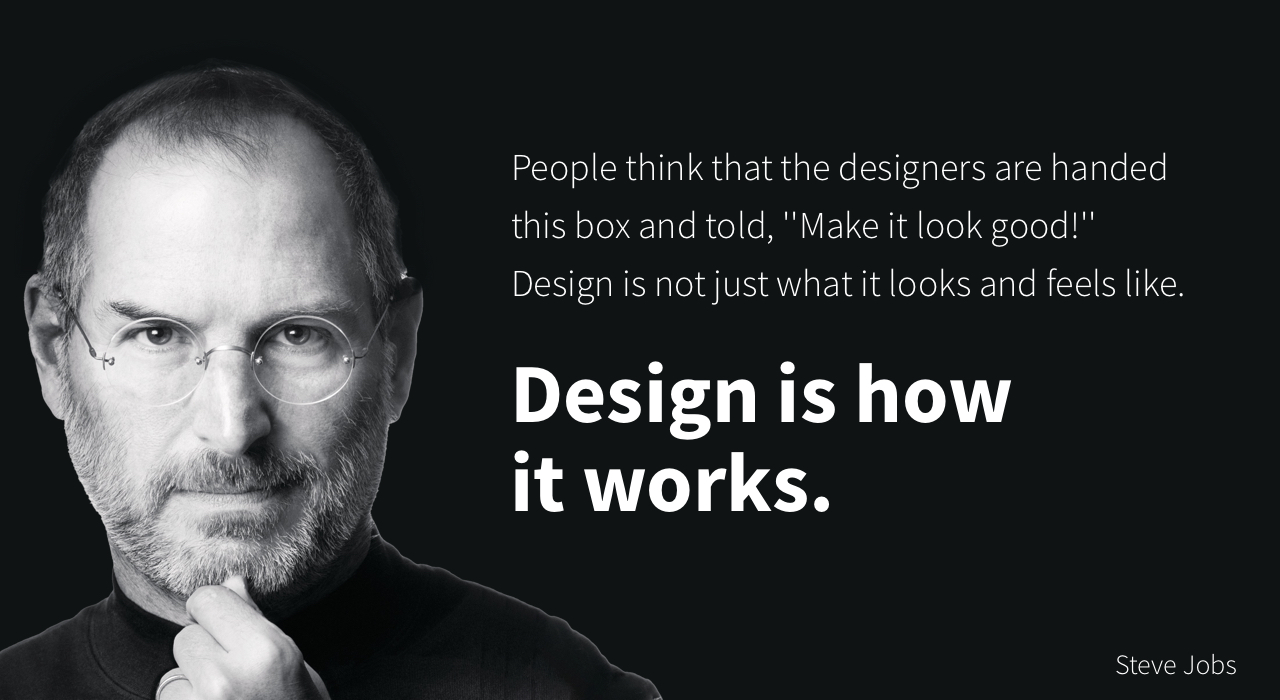
Based on more than forty interviews with Steve Jobs conducted over two years–as well as interviews with more than 100 family members, friends, adversaries, competitors, and colleagues–Walter Isaacson has written a riveting story of the roller-coaster life and searingly intense personality of a creative entrepreneur
Read along with Mr. Cronin. Improve literacy, word decoding, enjoy a nice story, and unplug from the world.
1:20 Afternoon Break (10 minutes)
1:30 Speed Design

Speed Designs are 10 minute sprints in CAWD where we practice. It could be any medium – 3D, 2D, video, programming, etc.
1:45 Afternoon Practice & Production
History of Web Design / Where are we going?
- In folder called “history”
VR Showpiece
- lastNamelastNamelastNamelastName.mp4 (CD can turn in for team)
DH21: Cup Saucer
- lastNameDH_21.jpg
Week 21 Agency (optional)
- lastNameAgency_1.jpg through lastNameAgency_3.jpg
2:15 Dailies
2:20 “19 Minutes”
4 of 5 days per week we will end our day in CAWD with the “19 Minutes” of silent reading. Closing down our day with silent reading provides many benefits:
- Improve Literacy Skills / Reading Stamina
- Create space for a small reading meditation where we can disconnect from the world and get lost in a story
- Unplug
At 2:39 each day I will come to 3 students and ask for a 1 sentence explanation of what happened in your story over that day’s reading session. It is neat to hear little pockets of a story, here and there.
2:40 Dismissal