Class Hours: 10:05 – 2:40
Mr. Cronin
Notes
- Tuesday! I have returned.
- I will hopefully catch up on grading after school today.
10:05 Attendance and Article
10:10 Game Testing!

This morning is going to be about testing games. Seeing each others art, and playing. Trying to win, trying to break, exploring.
We are also going to act as Bug Hunters, like we read about last week. While I am not paying you – let’s see if we can find breakable conditions in the games we have created.
I am going to have the game designer to come up and demo first with some voice over (everyone else screens off) and then we will all play.
10:50 Morning Break (10 minutes)
11:00 DH31: Nose

Just a quick check-in review.
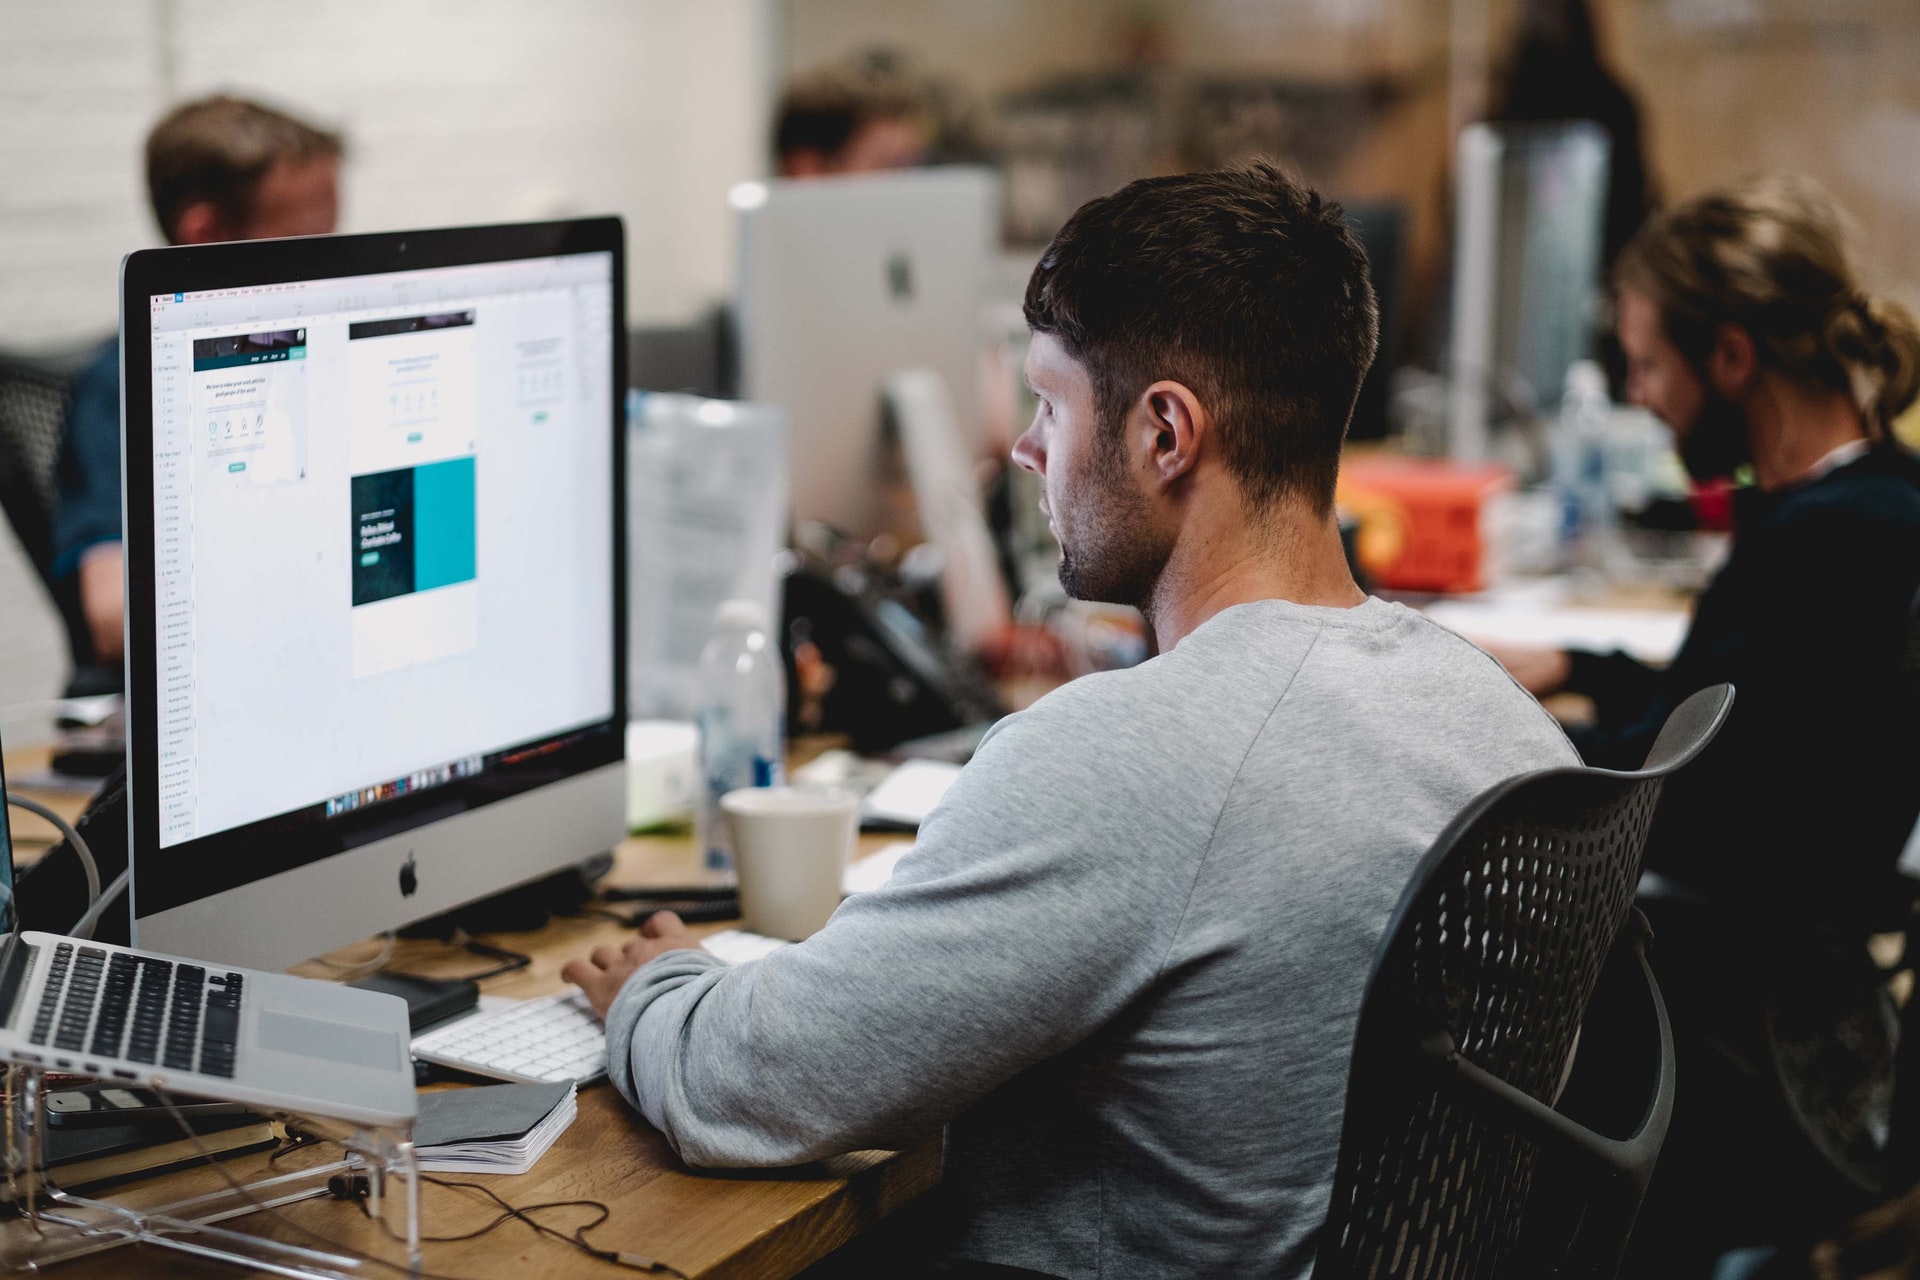
11:05 Web Design


- Intro to Web Accessibility – what does it mean?
- The Wave Tool– a free browser extension for chrome
- Let’s get some practice throwing out what we subjectively “think” is good – and then look at where we can improve.
11:55 Study Guide
When complete show me the passphrase and get into production.
12:25 Lunch

- No food in the room / eat in the Cafe.
- You are welcome to return to the room when you have finished eating and work / hang out.
12:55 Attendance and Article
1:00 Steve Jobs

Based on more than forty interviews with Steve Jobs conducted over two years–as well as interviews with more than 100 family members, friends, adversaries, competitors, and colleagues–Walter Isaacson has written a riveting story of the roller-coaster life and searingly intense personality of a creative entrepreneur
Read along with Mr. Cronin. Improve literacy, word decoding, enjoy a nice story, and unplug from the world.
1:20 Afternoon Break (10 minutes)
1:30 Speed Design

Speed Designs are 10 minute sprints in CAWD where we practice. It could be any medium – 3D, 2D, video, programming, etc.
1:45 Afternoon Practice & Production
DH 31: Nose
- lastNameDH_31.jpg
Week 31 Agency
- lastNameAgency_1.jpg through lastNameAgency_3.jpg
2:15 Dailies
2:20 “19 Minutes”
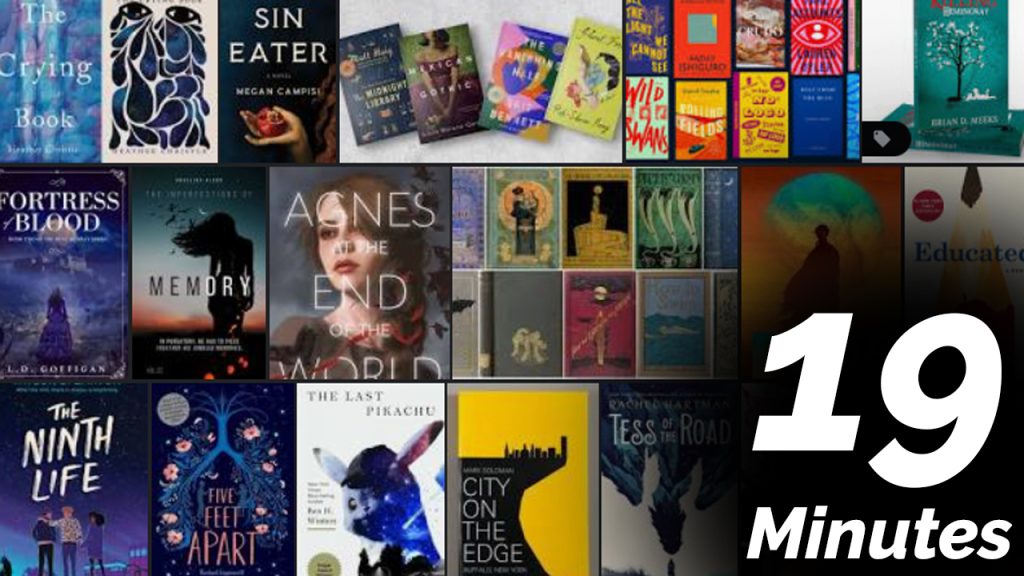
4 of 5 days per week we will end our day in CAWD with the “19 Minutes” of silent reading. Closing down our day with silent reading provides many benefits:
- Improve Literacy Skills / Reading Stamina
- Create space for a small reading meditation where we can disconnect from the world and get lost in a story
- Unplug
At 2:39 each day I will come to 3 students and ask for a 1 sentence explanation of what happened in your story over that day’s reading session. It is neat to hear little pockets of a story, here and there.
2:40 Dismissal