Hi all – I am out sick today again. You are going to be front-loaded production time this week, so make sure you use today wisely. We are going to hit content pretty hard Wednesday, Thursday, Friday – so the class time you have to create your Power Cell (CAWD Project), Power Cell Concept Art (Design Homework) and Agency will be focused on today and yesterday.
Class Hours: 10:05 – 2:40
Mr. Cronin
Notes
- This Thursday Sept. 12th CTE Back to School Night: 6:00 – 7:30 This will provide families and students an opportunity to meet with teachers and tour their programs and classrooms. EHS will also be holding their Open House that evening. Come say hi!
- As we get into our Week 3 Agency project remember:
- It could be 100% new and different, something that isn’t connected to any other Agency.
- It could be a continuation of a previous project. You made a bus stop? How about a bus? how about a person? So long as it is an hour+ of creative labor and learning it is likely acceptable.
10:05 Attendance
10:10 Design Homework 3: Futuristic Power Cell x 4
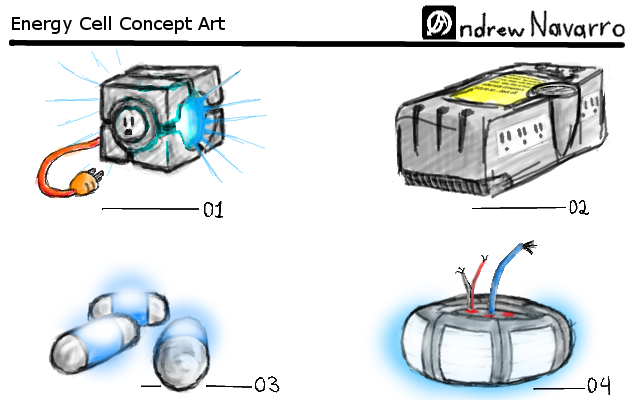
This week we are going to move from Medieval times to the Future. We are going to move from a Castle to a Futuristic Power Cell.
In your sketchbook rotate your page so it is landscape and create Concept Art for 4 potential Power Cell designs with a Futuristic visual style. Let’s say 4 different styles, just as we see above. No bigger than a dog, no smaller than a cell phone.
Yes you will creating this in Blender. Better to get this done ASAP so when we start in class you can work of your sketch as this creates a Portfolio worthy project linking pre-production to final product, what colleges and universities want to see.
What is Concept Art?
Concept art is a form of illustration used to visually communicate and explore ideas for a project, often in the early stages of production. It helps to define the look, mood, and style of characters, environments, vehicles, props, and other elements for movies, video games, animations, comics, and other visual media.
Concept art is typically used to:
- Explore Ideas: Artists use it to brainstorm and experiment with different looks or designs for various elements.
- Visualize Concepts: It helps directors, producers, or game developers understand how a character or environment might look in a final product.
- Guide Production: Once a concept is approved, the artwork often serves as a reference for the 3D modelers, animators, and other artists involved in the production.
Concept art can range from rough sketches to highly detailed digital paintings, depending on the stage of development. It’s about setting the tone and visual identity of the project rather than creating final, polished work.
Save your file as lastNameDH_3.jpg.
10:50 Morning Break (10 minutes)

11:00 Power Cell
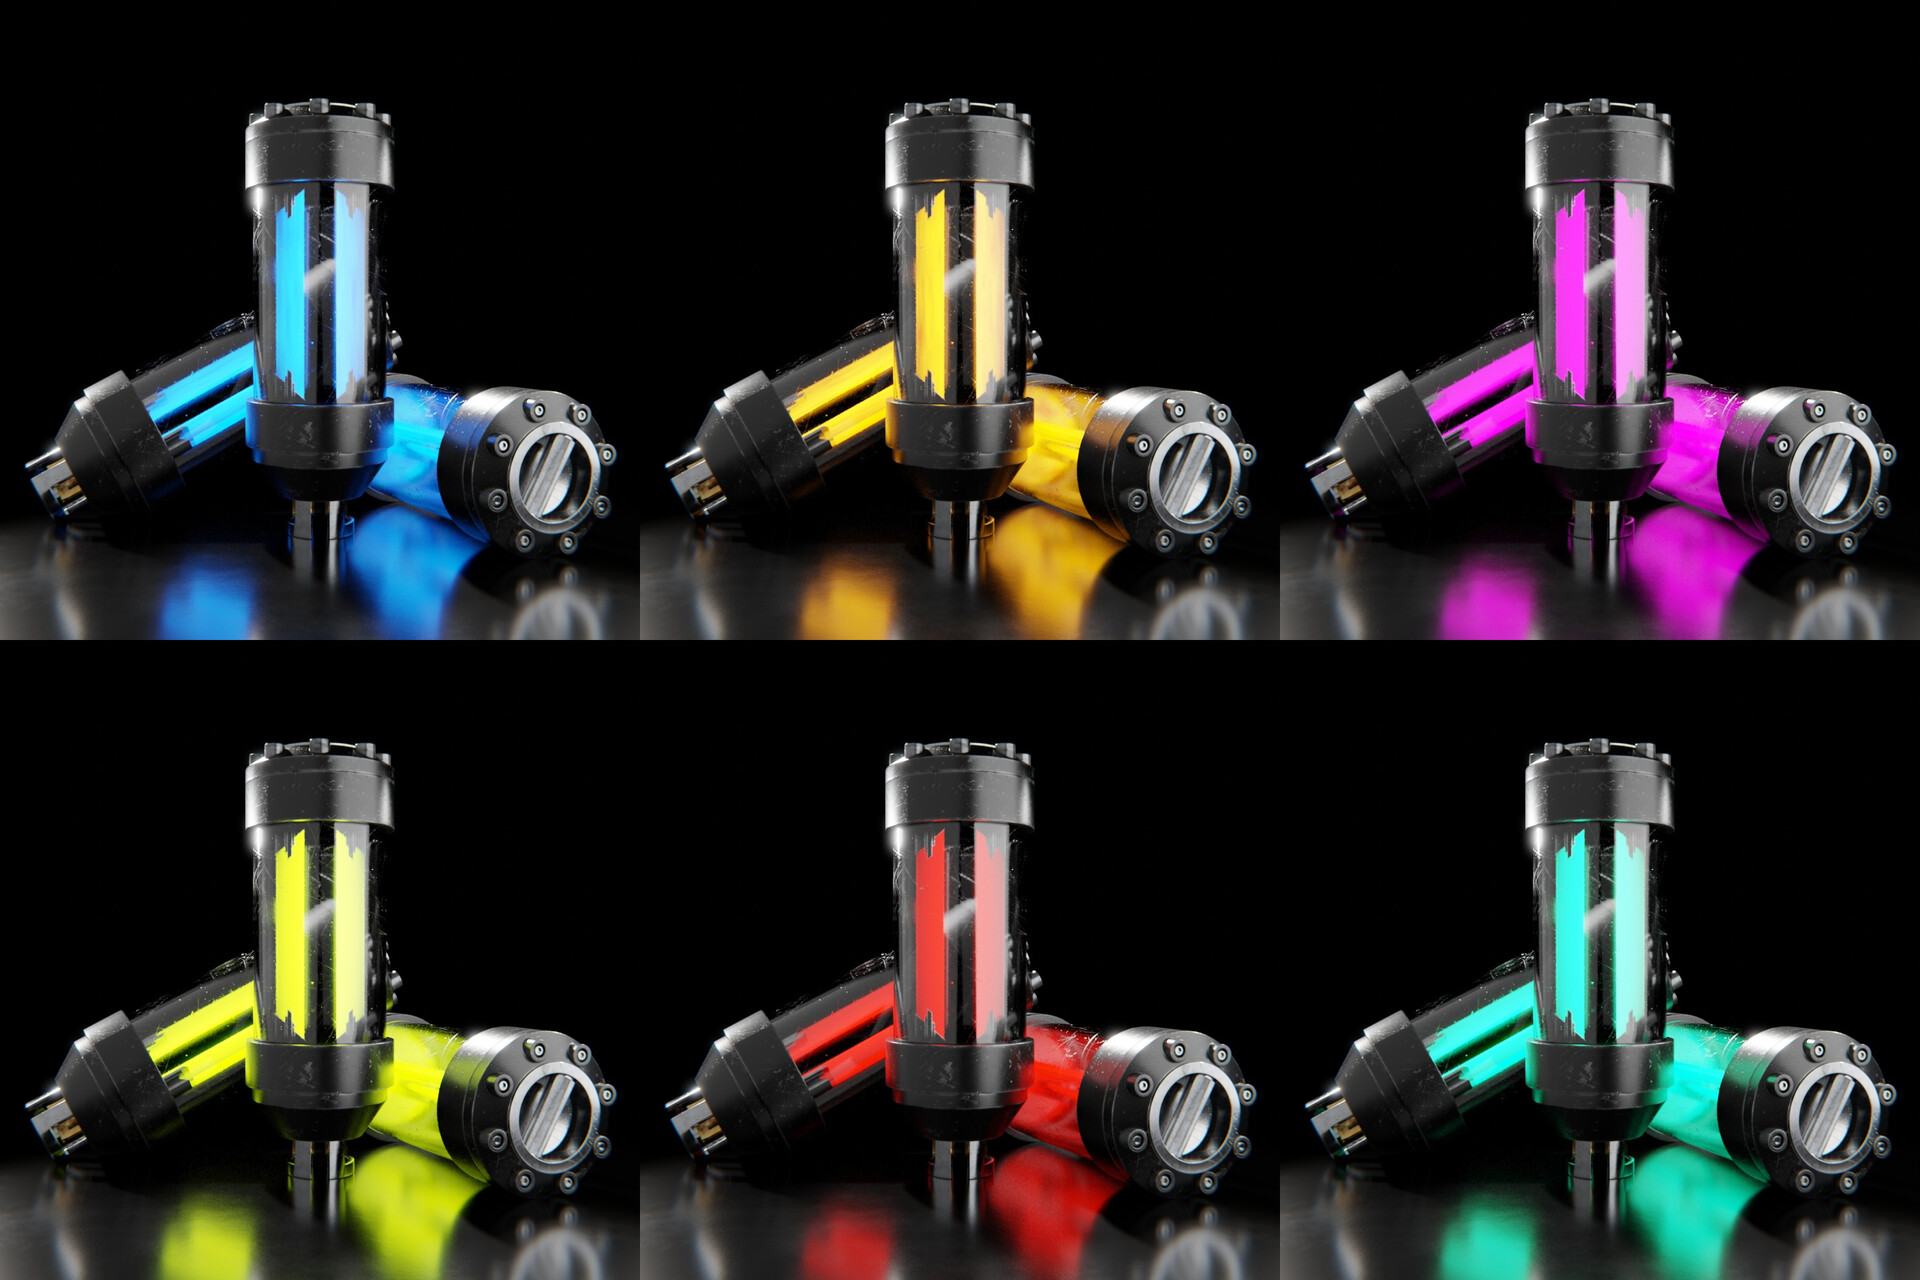
In Blender, create one of your 4 Power Cells that you skeched as your Design Homework 3. To get credit, the Power Cell that you create in blender must be one that you created in your Design Homework – you pick the one that you like best.
Get modeling done today if you can, so Wednesday we can talk about Glows and Emissive materials!
Save your Blender file in your “week_03” folder, and create 3 renders for submission called
- lastNamePowerCell_1.jpg through lastNamePowerCell_3.jpg.
Get the basics done today so we can make thing glow and emit light tomorrow!
12:25 Lunch

- No food in the room / eat in the Cafe.
- You are welcome to return to the room when you have finished eating and work / hang out.
12:55 Attendance
1:00 Bonus Cronin is Sick Afternoon Practice & Production

At this point you have all project assigned for the week…
Make all the progress you can today as Wednesday, Thursday, and Friday will be tight!
Power Cell
- lastNamePowerCell_1.jpg through lastNamePowerCell_3.jpg.
Design Homework 3 – Futuristic Power Cell x 4
- lastNameDH_3.jpg
Week 3 Agency
- lastNameAgency_1.jpg through lastNameAgency_3.jpg
1:20 Afternoon Break (10 minutes)

1:30 Bonus Cronin is Sick Afternoon Practice & Production

At this point you have all project assigned for the week…
Make all the progress you can today as Wednesday, Thursday, and Friday will be tight!
Power Cell
- lastNamePowerCell_1.jpg through lastNamePowerCell_3.jpg.
Design Homework 3 – Futuristic Power Cell x 4
- lastNameDH_3.jpg
Week 3 Agency
- lastNameAgency_1.jpg through lastNameAgency_3.jpg
2:20 “19 Minutes”
4 of 5 days per week we will end our day in CAWD with the “19 Minutes” of silent reading. Closing down our day with silent reading provides many benefits:
- Improve Literacy Skills / Reading Stamina
- Create space for a small reading meditation where we can disconnect from the world and get lost in a story
- Unplug
At 2:39 each day I will come to 3 students and ask for a 1 sentence explanation of what happened in your story over that day’s reading session. It is neat to hear little pockets of a story, here and there.
2:40 Dismissal
