Class Hours: 10:05 – 2:40
Mr. Cronin
Notes
- Thursday!
- If you weren’t here yesterday make sure you read the Wednesday Dayplan for specifics on our weekly GAWD project – you are a day behind!
- Remember that today you end up in English after lunch.
- Melissa! Sub today in Math, and you are to go to see Kelly Fischer in Student Services. Bring all your math stuff, you have a quiz, but she said you can use your notes. This is literally the door next to your English class…
10:05 Attendance and Article
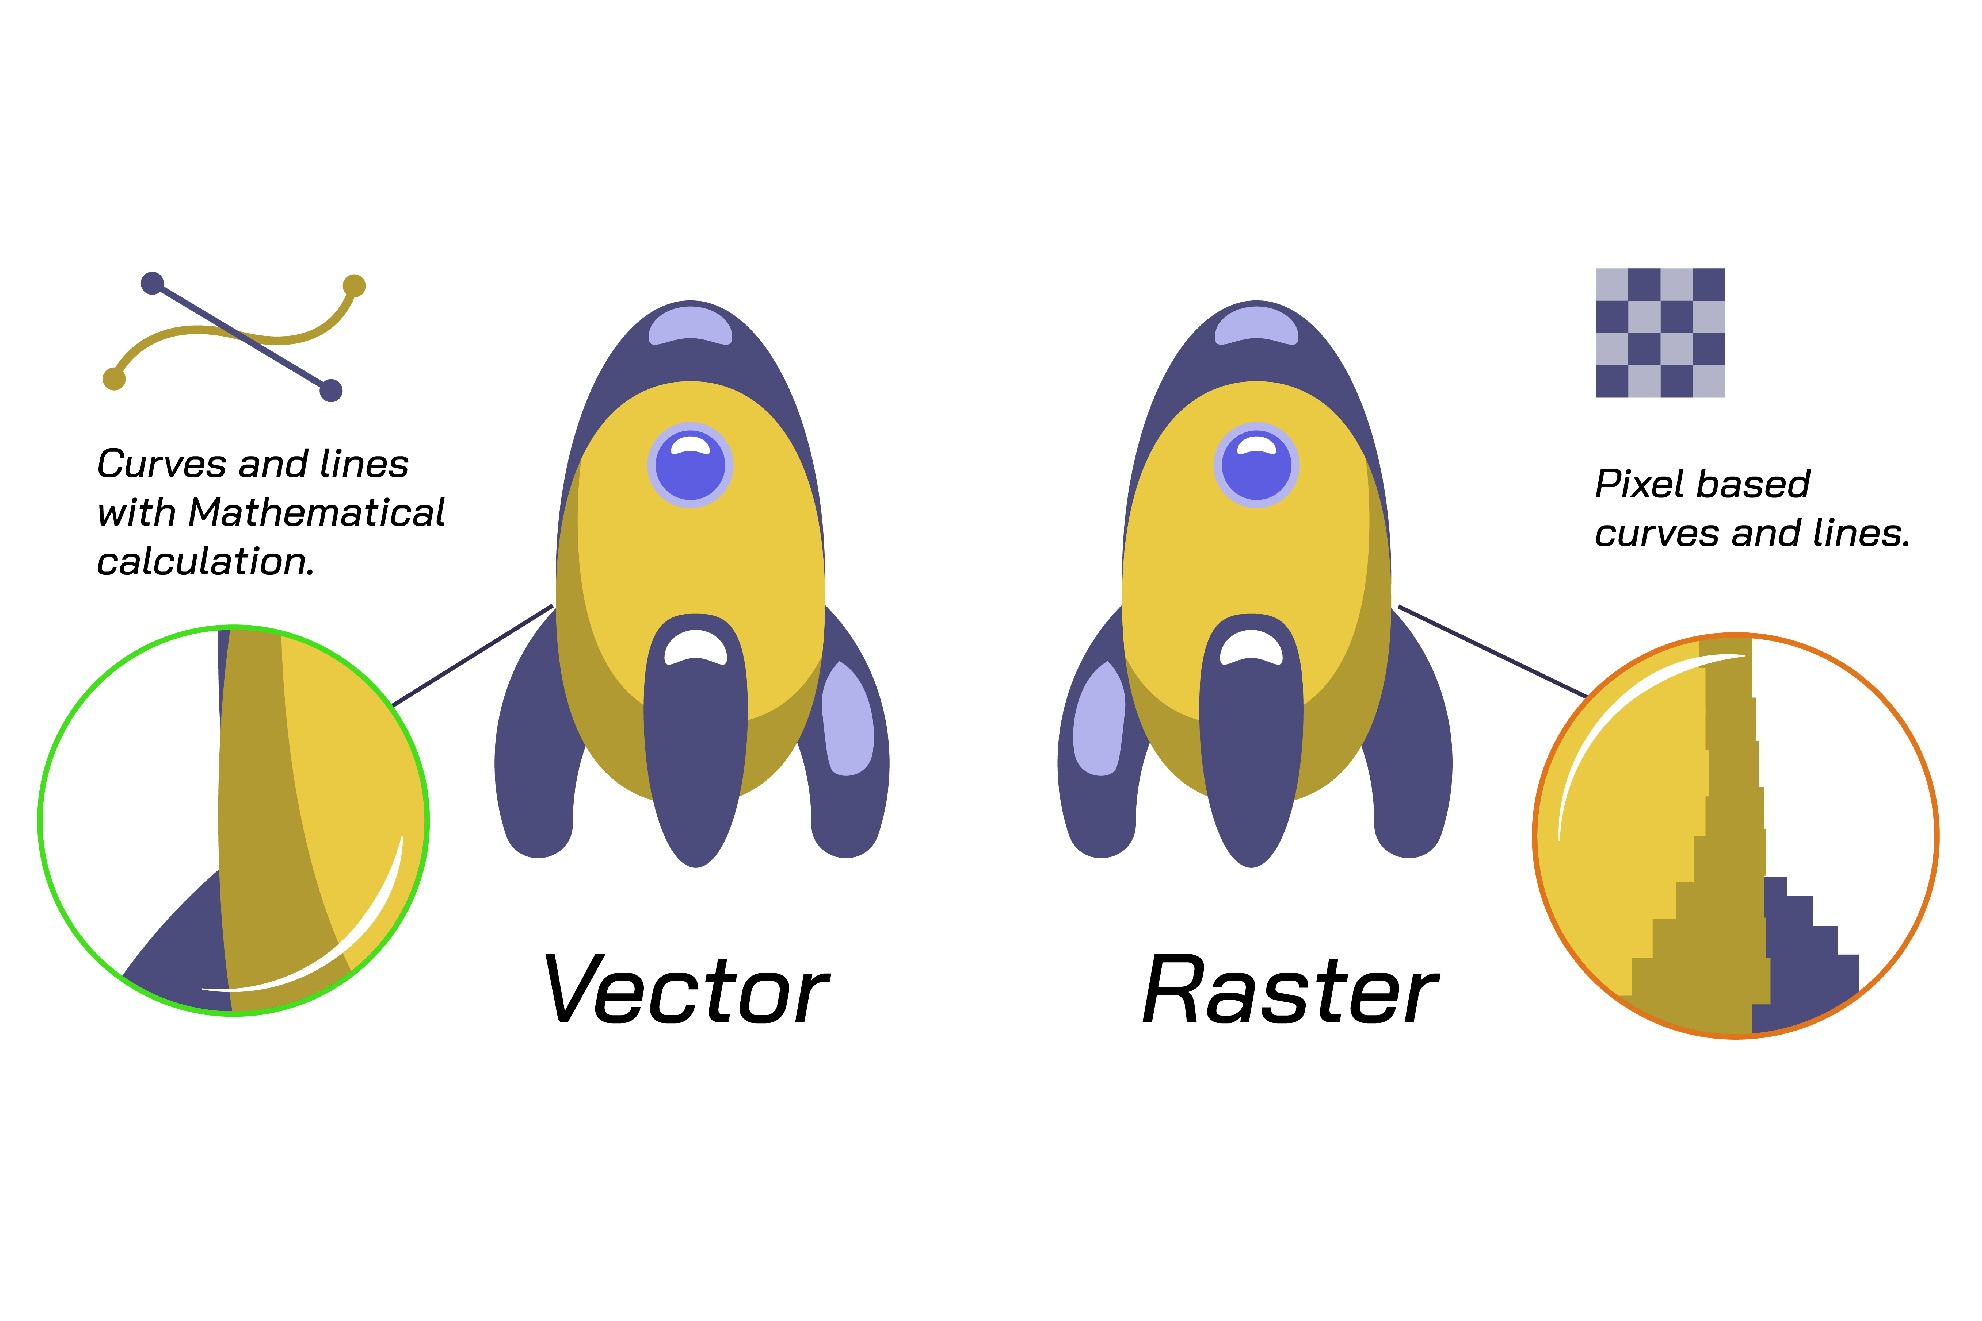
10:10 Adobe AM

Thursday’s during our morning session we are going to use for Adobe work, getting comfortable with the different programs and workflows that are found out there.
Adobe makes a wide range of software which is found in our industries, and we will get a handle on the meat and potato’s, the most used pipelines.

10:50 Morning Break (10 minutes)

11:00 National Animation Competition from 2013 / Bad Piggies
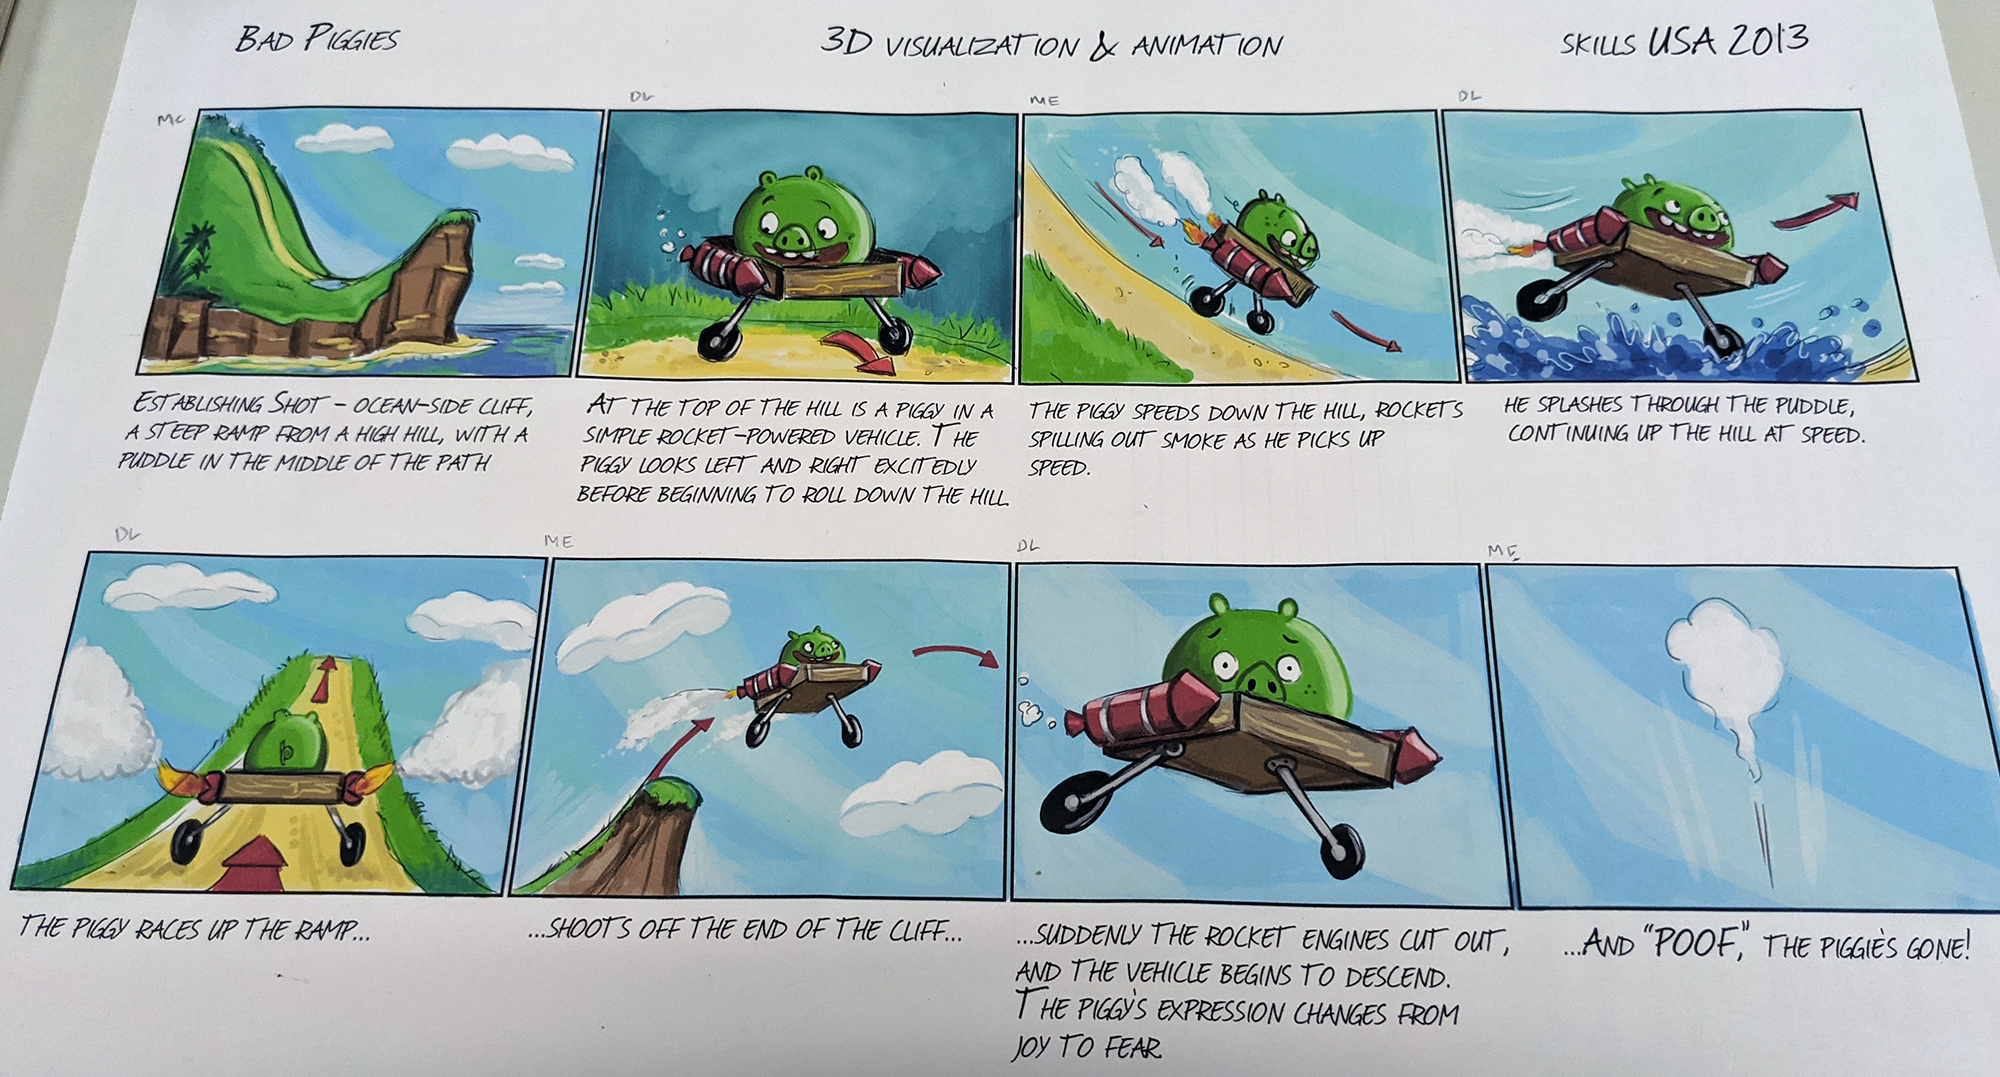
Check back to the Wednesday Dayplan for specifics.
During this time I am happy to review ANYTHING – especially for students that missed Wednesday. Just ask and I can do a review lesson on the board – and I bet more than just YOU would benefit from it. No worries – just ask!
11:35 A Gentleman in Moscow

A Gentleman in Moscow is a reader’s dream — a wonder-full, nuanced story full of wit, insight, and imagination.
Read along with Mr. Cronin. Improve literacy, word decoding, enjoy a nice story, and unplug from the world.
11:55 Lunch

- No food in the room / eat in the Cafe.
- You are welcome to return to the room when you have finished eating and work / hang out.
12:25 English

1:10 Afternoon Break
1:25 Speed Design

Speed Designs are 15 minute sprints in GAWD where we practice. It could be any medium – 3D, 2D, video, programming, etc.
1:40 Afternoon Practice & Production
Bad Piggies
- lastNameBadPiggies.mp4
DH7: Free Sketch
- lastNameDH_7.jpg
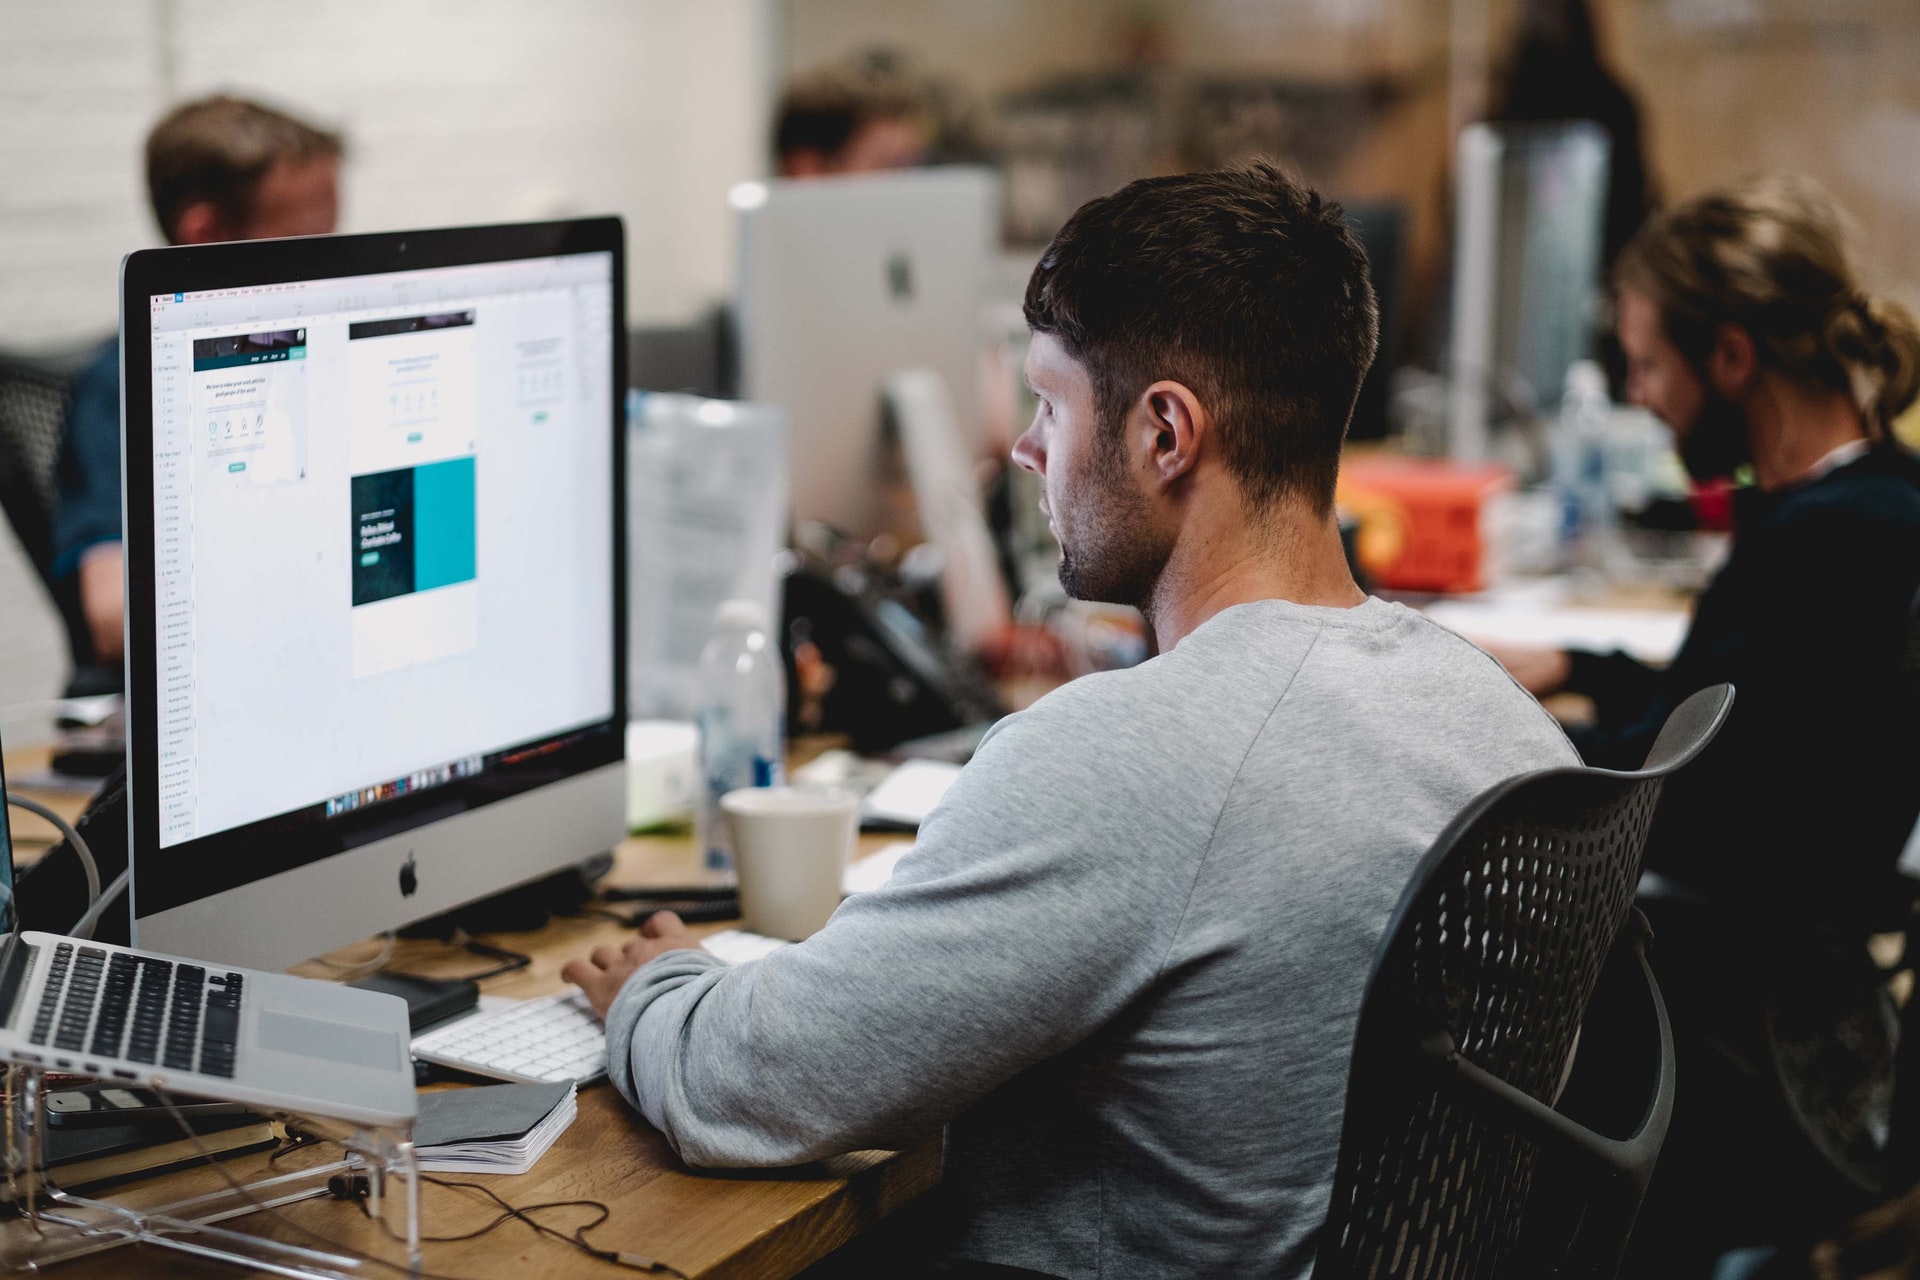
Week 7 Agency
- lastNameAgency_1.jpg through lastNameAgency_3.jpg
2:15 Dailies

2:20 “19 Minutes”
Every day in GAWD will end with “19 Minutes” of silent reading. Closing down our day with silent reading provides many benefits:
- Improve Literacy Skills / Reading Stamina
- Create space for a small reading meditation where we can disconnect from the world and get lost in a story
- Unplug
At the end I will 3 students and ask for a 1 sentence explanation of what happened.
2:40 Dismissal