Class Hours: 10:05 – 2:40
Mr. Cronin
Notes
- Welcome to Tuesday!
- Today we are going to not only work on our Week 8 Choice Projects, but I also need to come around and check people off on Unreal Installation Progress. Long and short, you need to get into Unreal and jump in a new project – only way I am going to know you have it right.
- Fire Drill today at 2pm – get outside to our rally location for attendance that I turn in outside. As our Dailies presentation is 2:15, you may want to upload some of the work ahead of time?

10:05 Attendance and Article
10:10 Unreal Evidence / What I need to see

10:25 Blender

- 360 Rotations of assets (often to demonstrations and showing off)
10:50 Morning Break

11:00 Critiques

Each week we will upload our work on Monday. I will then present your work to the class. Each project I will pick a student to practice giving constructive criticism. Constructive criticism is a type of feedback that offers specific and actionable advice to help employees to improve. In the professional setting we need to be to talk professionally about the work, even if you don’t “love” the person who created it.
If selected, you will pick 1 thing that works, and 1 thing to improve upon next time. Remembe
11:30 Week 8 Focus: Student Choice

Check back to the Monday Dayplan for specifics.
11:55 Lunch

- No food in the room / eat in the Cafe.
- You are welcome to return to the room when you have finished eating and work / hang out.
12:25 Attendance and Article
12:30 Week 8 Focus: Student Choice
12:50 A Gentleman in Moscow

A Gentleman in Moscow is a reader’s dream — a wonder-full, nuanced story full of wit, insight, and imagination.
Read along with Mr. Cronin. Improve literacy, word decoding, enjoy a nice story, and unplug from the world.
1:10 Afternoon Break
1:25 Speed Design

Speed Designs are 10 minute sprints in CAWD where we practice. It could be any medium – 3D, 2D, video, programming, etc.
1:40 Afternoon Practice & Production

Week 8 Focus: Covered Bridge Introduction or Ringling Design Competition
One of 2 files:
- “lastNameBridge.mp4” if doing the Covered Bridge Introduction
- “lastNameCart.mp4” if doing the Design Competition
2:15 Dailies

2:20 “19 Minutes”
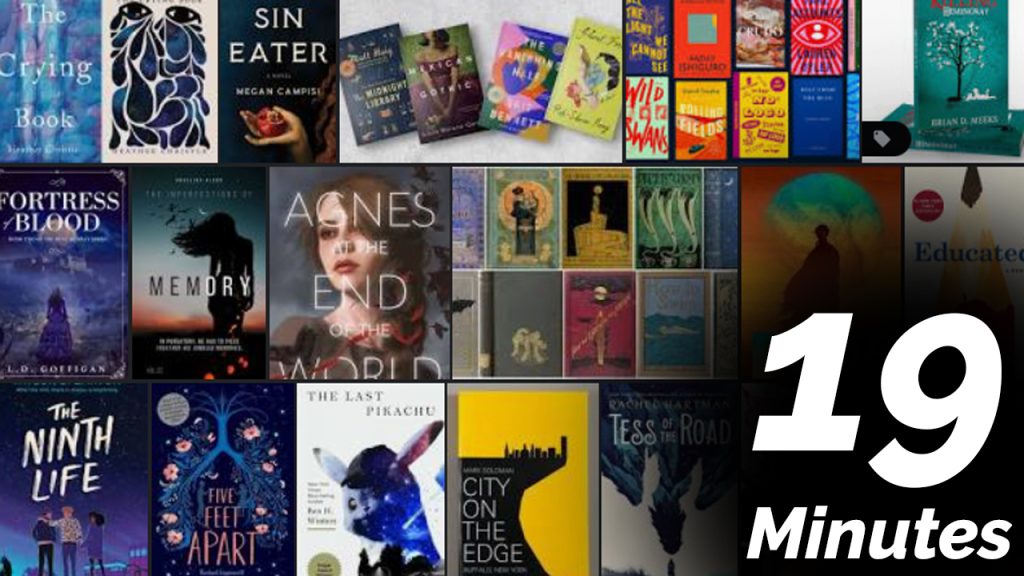
Every day in GAWD will end with “19 Minutes” of silent reading. Closing down our day with silent reading provides many benefits:
- Improve Literacy Skills / Reading Stamina
- Create space for a small reading meditation where we can disconnect from the world and get lost in a story
- Unplug
At the end I will 3 students and ask for a 1 sentence explanation of what happened.
2:40 Dismissal