Class Hours: 10:05 – 2:40
Mr. Bohmann | wbohmann@ewsd.org
10:05 Today’s Notes & Attendance
- Week 9 – make those folders
- Lower Thirds project is due today
- Lunch Order – for Friday CCV
- End of Quarter is Friday – 2:45 will be the last opportunity to turn in Photography or GAWD2 work – after that, the grades stand
- Halloween is the end of the week – I’ll keep you posted…
10:10 Monday Mail
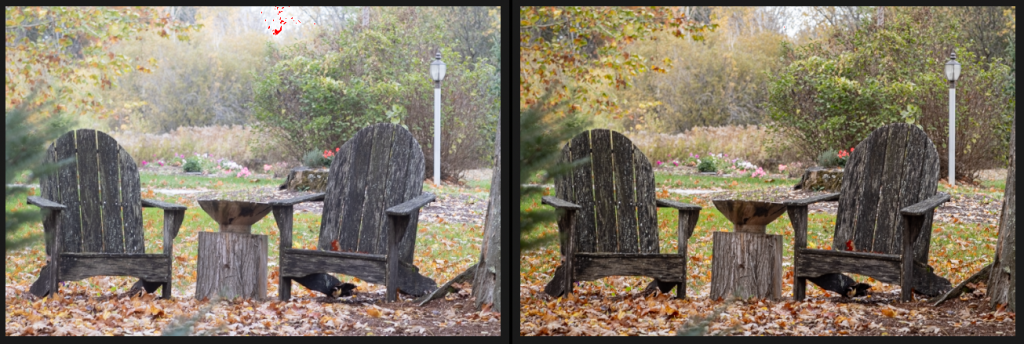
10:12 Shooting in RAW
Photography Formats – JPEG vs RAW
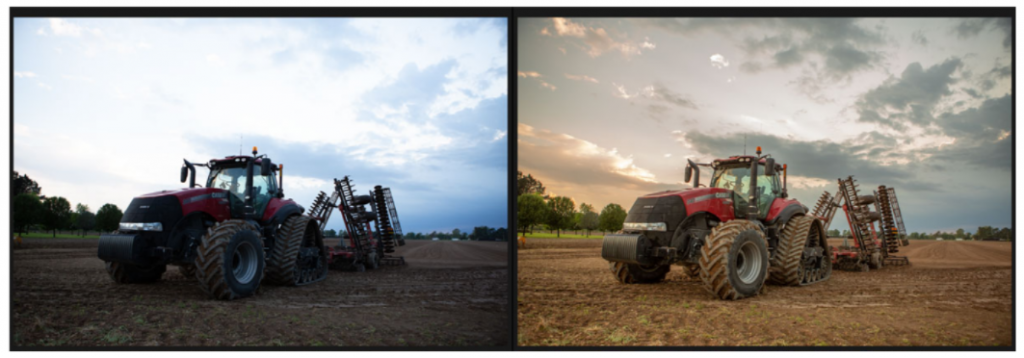
JPEG
When you shoot JPEG, a raw converter in the camera itself completes all the mathematical tasks to capture a certain color—then the raw converter compresses it . JPEGs apply heavy compression to color data, which can lead to problems with weird skin tone and such when editing time comes. It’s important to keep in mind that when shooting in JPEG, there’s very little you can do after the fact to interpret the color balance of your images.
RAW
When you shoot your pictures in RAW, those files provide the highest quality files. Here, everything is manual except ISO speed, shutter speed, and the aperture setting, which you may remember as the three main pillars of exposure. That means you, as the photographer, are in charge of tonal response, white balance, and colorimetric rendering, thereby giving yourself a great deal of creative freedom.
Week 9 Photography Assignment – Trick or Treat – Capturing the Spirit of Halloween
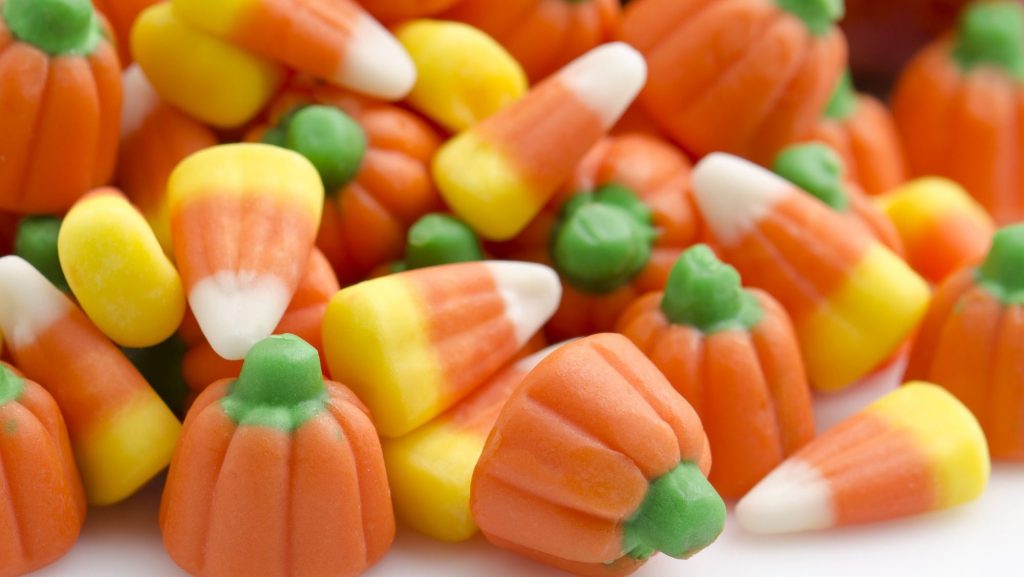
When I was my younger self, Halloween was a great time to score candy make the perfect costume (We didn’t have Amazon or Spirit of Halloween type stores). For safety, Trick or Treat hours were during the daylight the Saturday before Halloween. It was great for seeing costumes but not great for the Spooky part of Halloween.
Assignment Goal: Capturing the Spirit of Halloween
Objective: Demonstrate technical control of low light exposure while telling a visual story using color, composition and mood.
Deliverables: You will submit a 4 image photo essay with meta data (ISO, Shutter Speed, Aperture) using a technology medium of choice. You will choose one of three activity tracks that best fit your Halloween schedule
| Option | Setting | Deliverable | Creative Goal |
|---|---|---|---|
| Live Event Photojournalist | Attending trick-or-treating, neighborhood walks, or a party on Halloween night. | 1 Scene Setting (Wide Shot) 1 Costume Shot 1 Macro / Detail of Candy, decor, etc.. 1 Candid Shot | Capture crowd energy, vivid costume colors, and authentic interactions in low ambient light |
| The “Night Shift” Story | Working on Halloween night (retail, food service, shift work, desk duty). | 1 shot of the spooky workplace 1 Behind the Counter/Employee shot 1 shot of decorations or themed for the holiday 1 Shot of Pumpkin or Pumpkins | Document Halloween from the worker’s perspective showing the event while at work |
| Spooking Studio | Staying home, working during the daytime, or creating before/after Halloween night | 1 portrait (face) using harsh single source directional light 1 high contrast still life of candy, candy composition or carved pumpkin, jack–lantern 1 shot of outdoor Halloween decorations at night 1 motion blur shot (ghost, light painting) | Build atmosphere artificially using controlled lighting, creative staging, and strong thematic color |
Technical Tips & Tricks for Halloween Event Photography
Exposure & Low-Light Management
- Shutter Speed vs. Motion: Freeze moving costumed subjects. For static ambient shots (porch lanterns, jack-o’-lanterns), drop shutter speeds
- ISO Strategy: Encourage pushing ISO to 1600 or 3200. Digital grain works aesthetically with spooky/Halloween themes
- Aperture Isolation: Shoot wide open to isolate costumes and generate colorful bokeh from ambient porch lights or street lamps
Creative Lighting Techniques
- Low-Angle / Campfire Lighting: flashlight held below a subject’s face or from a sharp side angle to create hard shadows and dramatic relief on masks or face paint
- Composition & Visual Storytelling
The Photojournalism Triad:
- Wide Shots to set the environment
- Medium shots for costumes or character interaction
- Tight Shots / Macro for showing textures, and detail
10:50 Morning Break (10 minutes)
11:00 Tasteful Slideshow in After Effects
Sleek Slideshow in AE (Part 1 of the Slideshow Series)

By now your should be wrapping up with the LTA Photography assignment. Details are in Google Classroom. There are a number of deliverables for this project so make sure you review.
Ok, this demo is a little more heavy lifting than putting items in Google Slides. However, once the initial set up is complete, we can quickly assemble the rest of our photos.
So, let’s dig in to After Effects and look at some custom slideshow options we can create using our AE skills. If you have a couple of pictures to work with, great find them now. Otherwise, you can use my examples – best to download to your desktop, this should be a good place to start. We will be creating multiple compositions in one composition. Images are found at GAWD2/AdobeResources/AfterEffects/PremierSlideshowImages
I’ve written up the process for your reference. Make a copy for your files.
If there is time we’ll also play around with making a light leak.
The Font I am using is ITC Avant Garde
Alternately (and a level up) is this nice tutorial using the 3Dspace in After Effects for a picture slideshow
11:55 Lunch
12:25 Video Editing in Photoshop
Sleek Slideshow in PS (Part 2 of the Slideshow Series)
Wow, Photoshop really does it all – video editing? You bet….
Photoshop actually has a timeline and video editing capabilities. The redesigned, clip-based Timeline panel reflects video editors like Adobe Premiere and After Effects, including transitions and effects that give finished videos professional polish. Additionally you have all of the filters and adjustments and the power of Photoshop.
As you prepare to present your slides for your Vermont Photography assignment, assembling and using the Photoshop video editor may be a useful tool for you to consider, especially since you will be touching up, editing, resizing and handling your photos.
Let’s look at the timeline and make a quick video. It won’t be fancy, but it will be a good proof of concept for what you can do.
Here is a link to Adobe’s Support Docs on Video Editing in Photoshop
For reference, we will be in Public Folders / GAWD2 / After Effects / Premiere Slideshow Images
Before we begin, if you have all your clips in One Folder, you can perform the first step on the list below, otherwise you can add media while in the layer group. We’ll try both.
1. Load files into stack (File>Scripts>Load Files into Stack). It loads them as layers or the other way is to click on the layer group and Add Media once you open the Timeline in Step Two.
2. Show Timeline (Window>Timeline). Then select all layers, go to Timeline menu at left of any one clip and choose “New Video Group from clips.” Then drag and drop them on the timeline to re-arrange.
3. Trim clips—drag from either end
4. Add Transitions—fade in or out from icon in Timeline. Drag the transition from the menu to a spot between clips.
5. Add Background Music (Audio Track). To trim, position playhead and click Scissors. Then delete trimmed portion. Right click to fade and volume.
6. Add Text and Titles—drag Type layer to top of Layers panel to make it overlay (OR, in timeline from Video Group 1 menu, choose “New Video Group” and move it up to that Video Group)
7. Use Photoshop Like Always – change any clip with effects at bottom of Layers panel (choose a clip in Layers panel to change whole clip)
Export (Render Video)—from Timeline Options menu at top right of timeline. Default is probably OK, but you can choose from presets.
1:10 Afternoon Break
1:25 Speed Design
1:45 Independent Production & Guided Support
- Halloween Projection Loop
- Week Nine Agency is now assigned
- Halloween Event Photography
- Past Due work
- Fall Foliage Photography Assignment – finish photos and meta data
2:10 Dailies
2:15 Independent Reading
2:40 Dismissal