Class Hours: 10:05 – 2:40
Mr. Bohmann | wbohmann@ewsd.org
10:05 Today’s Notes & Attendance

Wacky Wednesday
- CCV Class Friday – Lunch order
- Mr. Cronin and I will be out tomorrow – big production day – pay attention to the day plan, we’ll review Thursday dayplan at the end of the day today
- Canon Manual Mode Resource
10:10 Manual Mode – Be the Boss of your camera
The three main pillars of photography are Aperture, Shutter Speed and ISO. Today we’ll shoot in manual mode.
The goal with every image is proper exposure and focus (composition is a close third)

Leading Lines in Photography
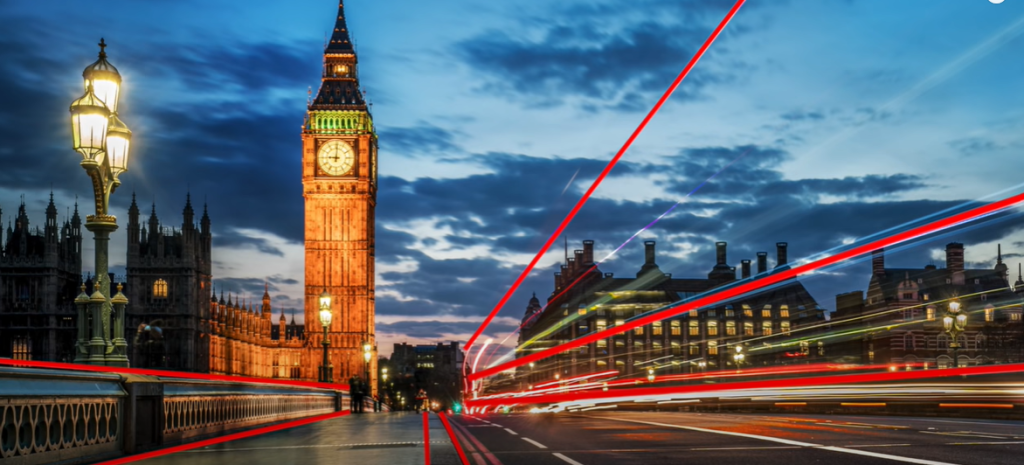
What Are Leading Lines in Photography?
Leading lines are lines that appear in a photograph that have been framed and positioned by the photographer to draw the viewer’s eye towards a specific point of interest. These lines often draw the viewer’s eye in a specific direction or towards a designated portion of the photograph.
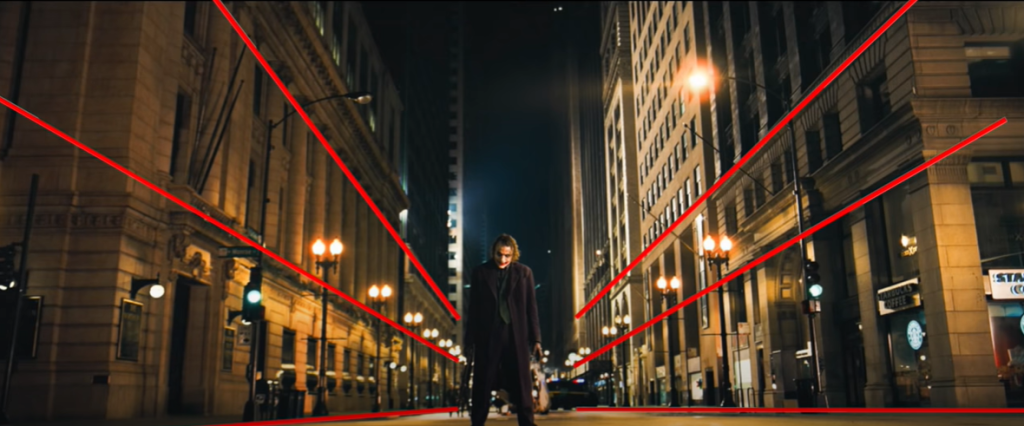
4 Types of Leading Lines in Photography
Some of the categories of leading lines include:
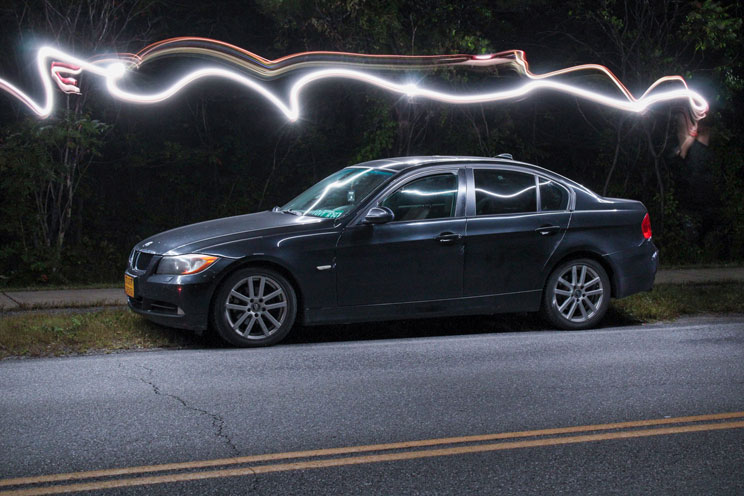
Horizontal lines: Horizontal leading lines are often found in nature and landscape photography. Often used when shooting with a wide-angle lens. The image below is also using the rule of thirds well – just look at the break between the road and the car.
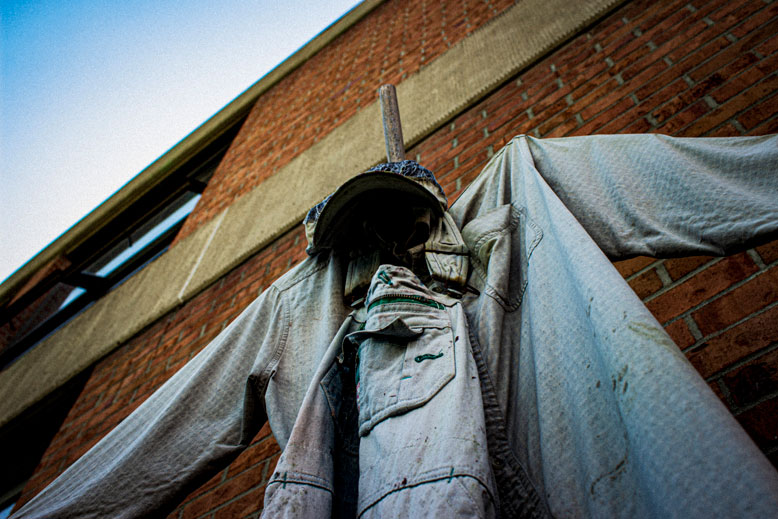
Vertical lines: Vertical lines draw the eye up or down the composition and can be used to convey status within your picture. Vertical leading lines are often found in fashion photography and street photography.
In Cinematography, shots like the one below can be used to demonstrate power.
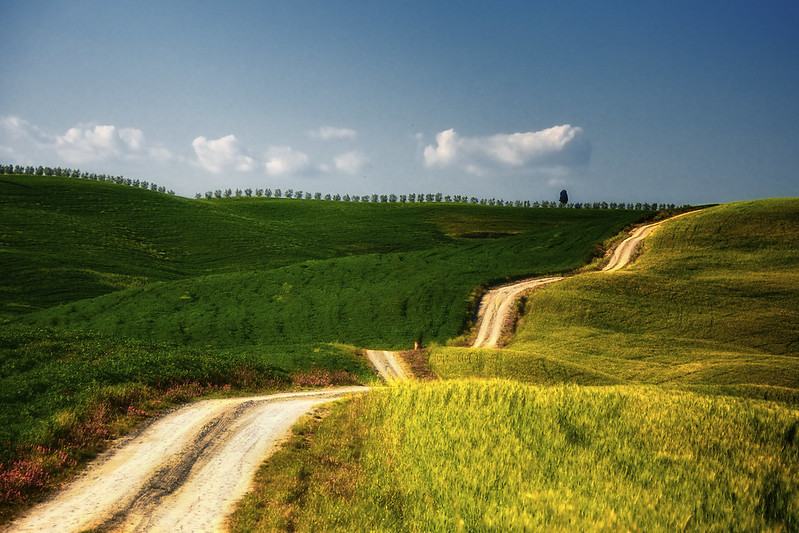
Diagonal lines: Diagonal lines are used to create a sense of movement and change. If you’re working with a large depth of field like in the image below, try experimenting with diagonal lines to accentuate the sense of depth in your image. Really cool color divisions in this photo too
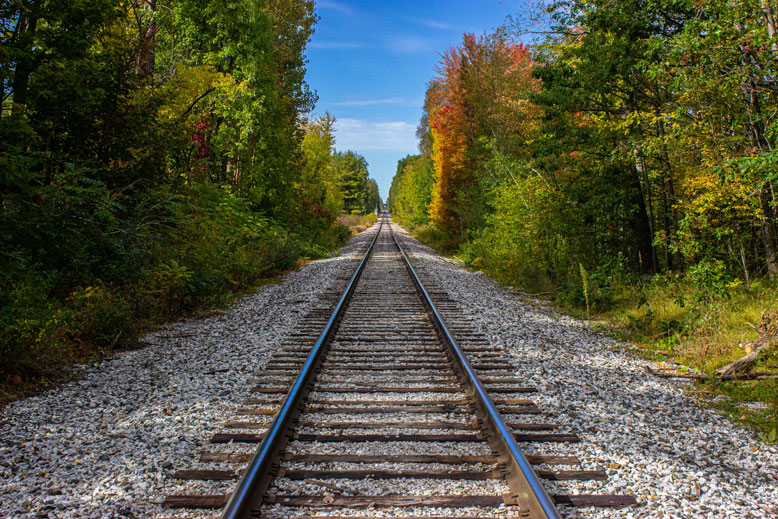
Converging lines: If there are converging lines present in your frame, it’s best practice to situate the subject of the image at the axis of these leading lines. A good example of this is Matt’s railroad track image below.
– QUICK READ (4 minutes)
Wildlife Photography Award Winners – can you see the compositional photography in the images?
10:30 Morning Photo Walk
About 20 minutes. Using manual mode we’ll head out to the front of the school and near the library. We are going to shoot some foliage and look for some leading lines to guide our compositions. Proper Exposure and in focus subject. So what f/stop would be good for in focus foreground and background?
What Lens should we choose? Chances are we want a wide depth of field.
Assignment / Deliverables:
When we return from our photo walk today:
- Look through your photos. Pick your best example of leading lines. Edit as necessary (maybe you shot in RAW and need to covert to a .jpg)
- Open in Photoshop and draw on the leading lines you captured by creating a new layer
- You will save two jpgs.
- One without the leading lines drawn in and one with the leading lines drawn in.
- You’ve done this correctly if your image has drawn leading lines visible on your image
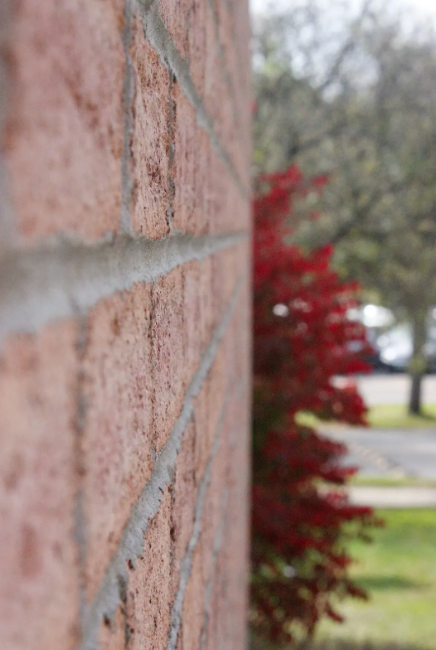
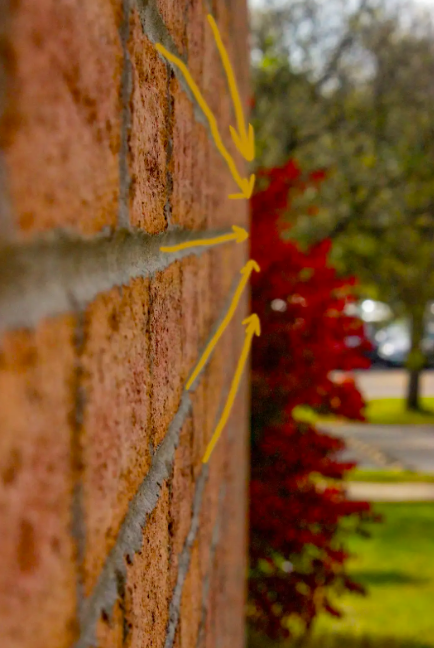
Filename: LeadingLines_Lastname.jpg and LeadingLines2.jpg
This project is due by the end of the day today – Place in the dailies folder for today with your the filename: LL1_Lastname.jpg, LL2_Lastname.jpg
This week’s photo assignment will be the same exercise. However, I want you to go out and find and take pictures of each of the 4 types of leading lines. Organize in a simple Google Slideshow – on black or on white backgrounds.
Filename: LeadingLinesHomework_lastname
Drop in Google Classroom. This will be due Monday, October 5th
10:50 Morning Break (10 minutes)

11:00 Career Work Experience Opportunity
Let’s talk abou VHV
With whatever time we have left, we’ll either work in AE or production before lunch
11:35 Lunch
12:05 Animating on a Path & Motion Paths- After Effects

Animate on a Mask Path
Let’s also work with animating items from a Path. Every stroke as a path (and so do shapes!)
Remember:
If you have a layer selected when you grab a shape or pen tool, you are making a mask
If you do not have a layer selected and you grab a shape or pen tool, you will be making a new shape layer
In case you get lost, I wrote up a short tutorial on animating on a path.
Specifically we’ll practice:
- Animating a shape on a path
- Animating text on a path
- Using Masks to create paths for shapes and text
- Auto Tracing vectors to create paths
Animate using Motion Sketching
Motion Sketching is a good way to do simple animations of an item. It works by following your mouse movements. We can smooth those movements by reducing keyframes with the Smoothing Too.
Masking & Compositing in After Effects
Vocabulary Alert: Compositing
Compositing is bringing two or more picture elements together to make a single image.
Compositing can be done with video by combining still images, graphics and video along with color corrections, special effects, etc… to create a seamless composite.
Masks are a key ingredient to doing a proper composite. Masks allow you to determine the visibility of specific parts of a layer,
Masking is a powerful way to create and animate with Motion Graphics. This morning, let’s practice a little more with tools for Masks.
- Creating Masks – basic properties
- Mask properties
- Transforming and animating masks
Let’s start with some basics:
- Use a mask to hide something and fill with content aware
- Use a mask to create a parallax effect
- Use a mask to blend two images together for a composite
- Use a mask to for visual effects
- Use a mask to create a simple reveal.
Instructions for working with Masks in After Effects
12:40 Independent Production & Support
- Animated Person Logo using After Effects – Due Monday, October 5th
- Week Five Agency – Due Monday, October 5th
- Leading Line Photography – Due Monday, October 5th
- If you want two monitors – all work must be turned in and complete by Monday (past due work too!)
- If you want to keep your monitor, your must stay complete – seems fair
- Sweatshirt Designers – We need a survey with (Isaac, Sawyer & Joshua) designs in 3 colors on a survey
1:00pm Break (15 minutes)
1:15 Dailies
1:15 Independent Reading

1:45 Dismissal