Class hours: 10:05 – 2:45
Mr. Bohmann | wbohmann@ewsd.org
10:05 Today’s Notes & Attendance
Welcome to Week 7
- Today is a CTE Red Day
- Vermont Foliage Assignment – Updates / Questions…
- Tomorrow Catamount Family Center in Williston – Field Trip
- Check in on Assignments…
- Today our focus will be on image manipulation
10:10 Monday Mail – On a Tuesday
10:15 Personal Logo Showcase
Let’s check out your logos. Did you add any effects? Did you have any creative breakthroughs? Did you like/dislike this project? Do you have something to say about your logo – this is your opportunity!
Creative inspiration, technical approach, workflow…. lots of areas you can talk about
This is also a really good time to get some feedback.
- For those providing feedback – 2 stars and a wish
- Say two things you like and something you wish or would like to suggest
10:35 Speed Lesson – Image Manipulation with After Effects
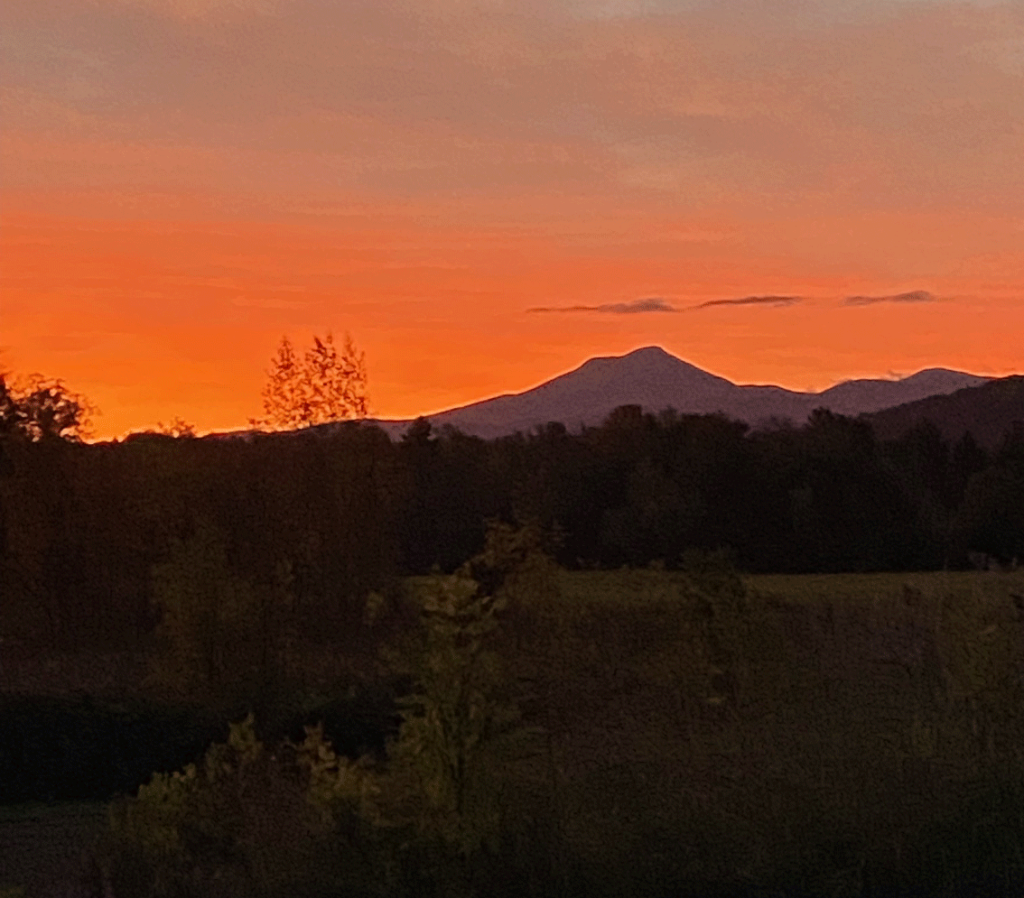
Let’s add a sunset to an image that really needs one. You’ll find this image in CAWD2 public folder/ After Effects Resources / PhotoSpecialEffects folder. The image is called Lake. Place a copy on your desktop.
AE is great for working with images. Exporting images is really easy too. We’ll practice that together.
Blending Modes in digital image editing are used to determine how two layers blend together. The default blend mode with most image programs is to ignore the lower layer and add whatever is present on the top layer.
Pixels on layers have numerical values. Playing with how you blend layers can have a big impact on your final render. It is good to experiment. Learn by doing.
10:50 Break

11:00 English with Mx. Yopp

11:50 Photoshop Image Manipulation – Making Our Own Light Rays
We did a version of this in After Effects using CC Light Rays effect before English. Let’s now look at doing something similar using Photoshop.
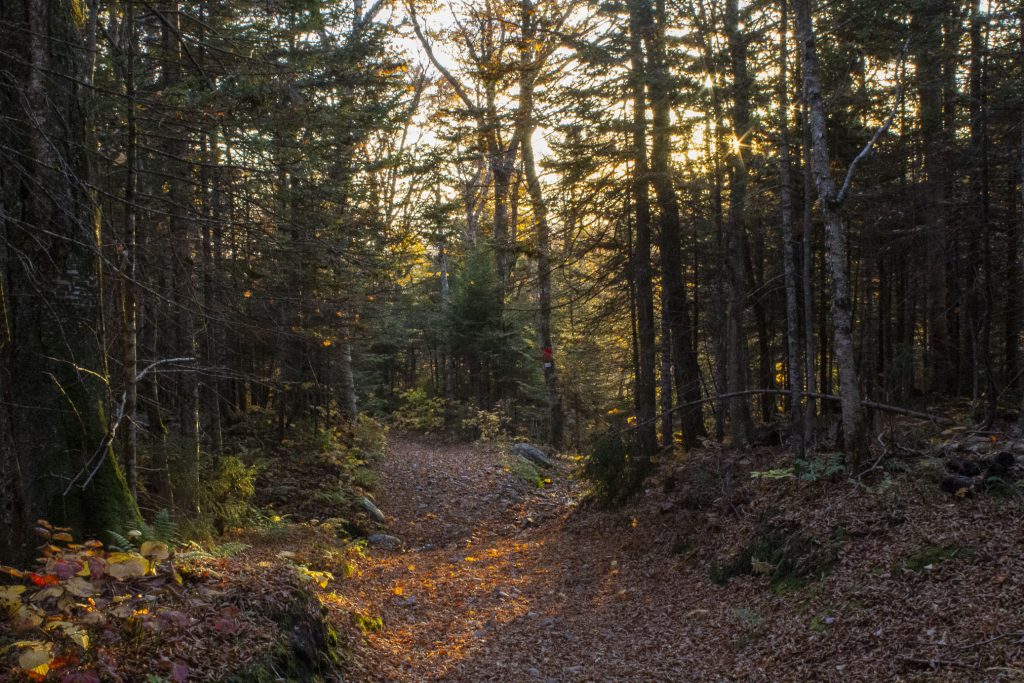
I have an image for you – I took it just around/near sunset while hiking down the Bryant Cabin Trail at Bolton Valley.
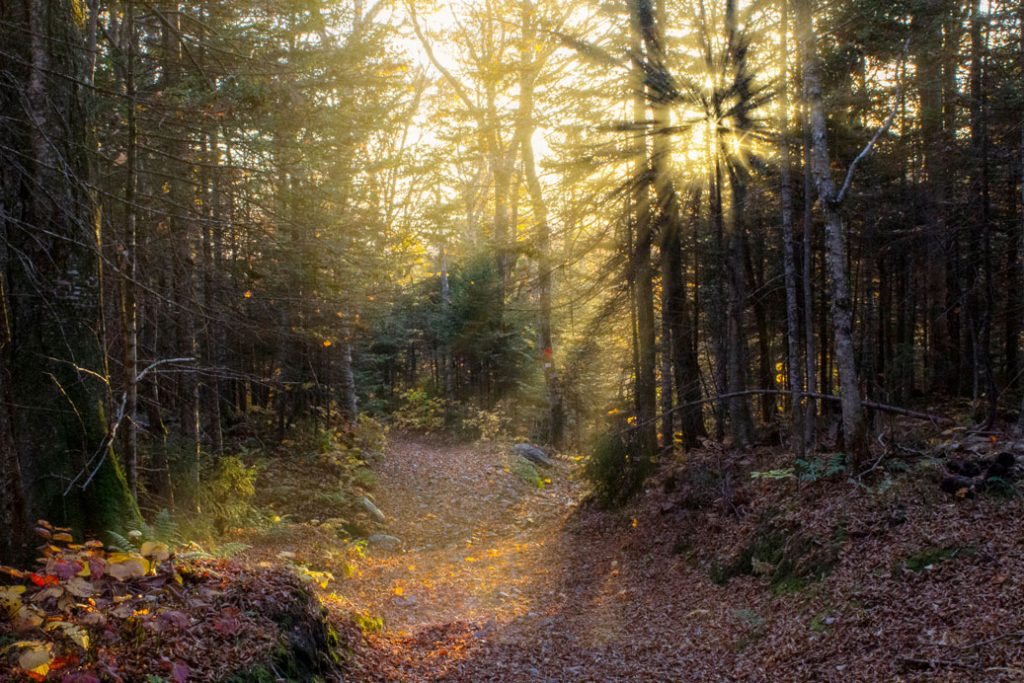
Let’s add some nice light rays. Using a radial blur, masks and smart objects, we can create a nice effect. We’ll make use of a smart object as it is non destructive and allows for continual tweaking.
A quick overview of Smart Objects
The photo on the left was taken hiking at Bolton Valley and the photo on the right is what we’ll attempt to make.
I wrote up a Reference Sheet on making this effect. Keep a copy for your notes. There are a lot of advanced techniques in this demo. If you get lost, just follow the reference sheet.
Link to Image to download to desktop
12:25 – 12:55 Lunch

12:55 Independent Reading

1:20 Break
1:30 Design Challenge

1:55 Production Time and Guided Support
Current Projects
- Paper design for CAWD Sweatshirt – before going digital 10th
- Apple Orchard 5 image slideshow with title and meta data – October 10th
- Lower Thirds project – October 16th
2:40 Dailies
Dailies can be placed in the CAWD2 Dailies Folder on the CAWD2 Public Folders drive