Class Hours: 10:05 – 2:40
Mr. Bohmann | wbohmann@ewsd.org
10:05 Today’s Notes & Attendance
- This is Week 24
- Quarter 3 ends on March 27th (2.5 weeks away)
- Ask me about the Good News! (March 23rd and 24th)
- Ask me about the Bad News (March 27th)
10:10 Monday Mail

10:12 PSA Project – Vermont Highway Safety Alliance
Our current “big” project is the PSA for distracted driving for the Vermont Highway Safety Alliance.
So far we’ve completed:
- Modeling Assets for the Community Folder
- Your PSA Messaging Worksheet which identifies what kind of distracted driving you are featuring in your PSA and some facts / figures from Vermont and/or Nationally
- Storyboarding
What we need to tackle next:
- Animatic
- First Looks and Second Looks
- Final Renders with Sound and FX / Publishing
Storyboards Selection of digital assets Audio Blitz |
| Week Twenty Four (24) – March 9 -13th Showcase our first animatic – rough outline – about 30 seconds of animation for Wednesday Audio and Sound Effects Titles and Facts Included Inclusion of Materials and lighting Showcase (Friday) of first looks viewport display renders |
| Week Twenty Five (25) – March 16th – 18th Second Looks – This should be an EEVEE render that is a tighter version of your PSA. Second looks should include materials, sound AND your facts, figures and be just about complete |
| Wednesday – March 18th Final PSA Screening in class We will submit the PSA per instructions in the contest guidelines On Wednesday, March 18th, you will show your final render PSA to the class for your grade. Deadline: 11am. |
10:50 Morning Break (10 minutes)

Unity
Programming can be fun. Practice will help you make connections to coding with C#. This morning, let’s look at moving, rotating and scaling game objects using c# scripting.
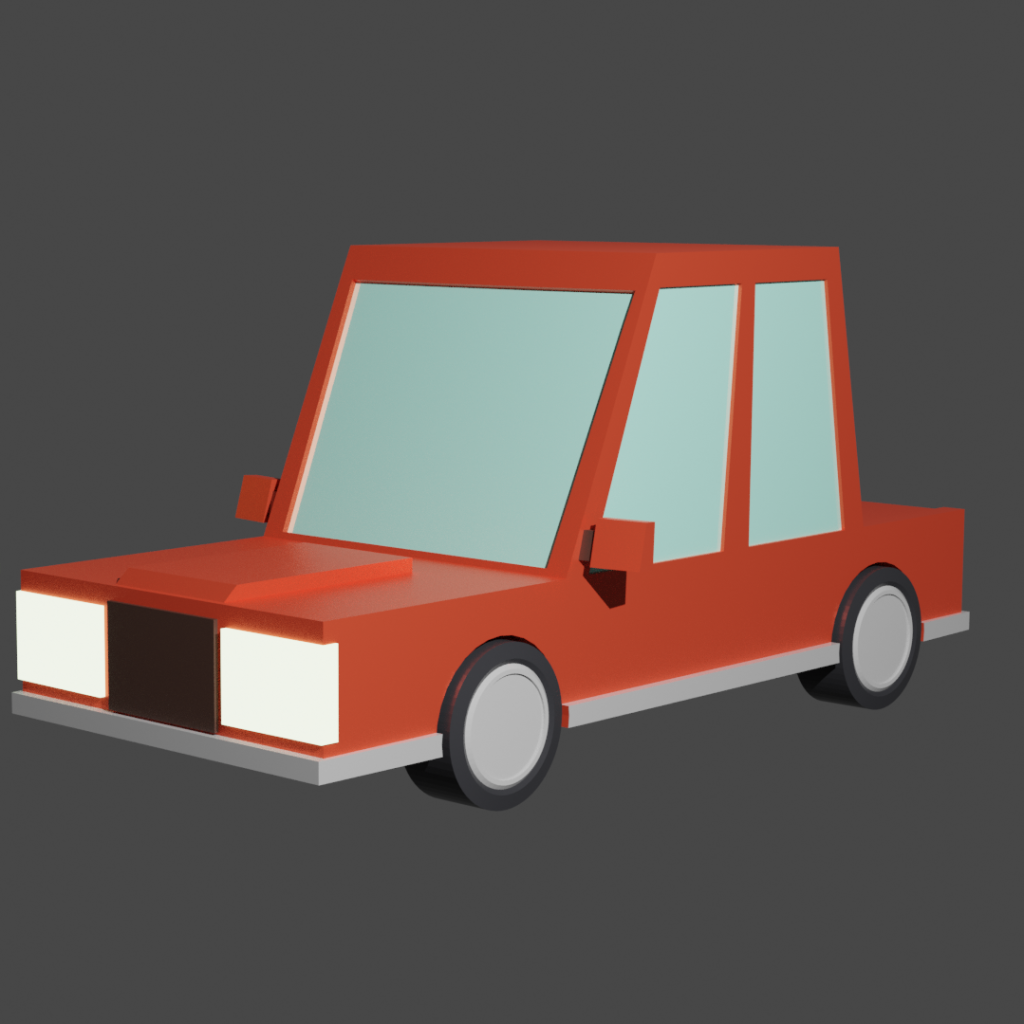
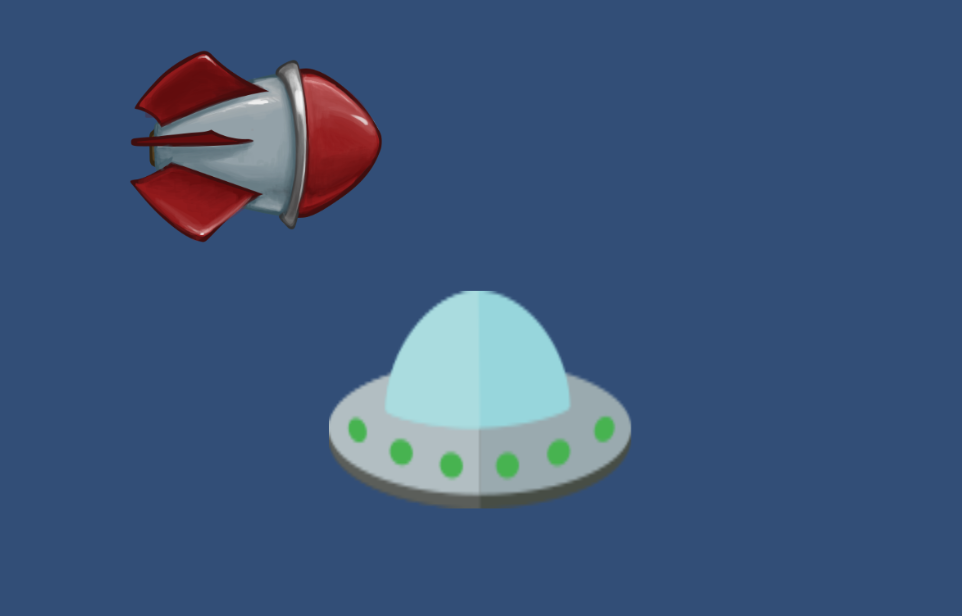
Download, Unzip and add this folder into your project. We’ll use some of these sprites for practice.
Transform Component
You were introduced to the Transform component in earlier work we have done. Every GameObject has a default Transform component that can control the sprite’s position (X and Y coordinates), rotation (angle), and scale (size). Since the Transform component is required, you cannot remove it from a GameObject or create a GameObject without this component.
In a 2D game, rotation happens on the Z axis.
Calling Functions
A function is a pre-written block of code that belongs to some object. You call or run a function to perform a task. We’ve written many functions so far.
To call a function, you need to start by writing the name of the object that owns the function. Then add a dot (.) and the name of the function you want to call. After the function name comes opening and closing parentheses ( and ), followed by a semicolon. If you need to pass data values into the function, those parameters are placed inside the parentheses, separated by commas. Unity has many built in functions as part of the Unity library.
object.function(parameter 1, parameter2, ...);Translate()function
To move a sprite, we want to call the Translate() function on the transform object.
The Translate() function requires three parameters – values for the change in X, the change in Y, and the change in the Z properties.
transform.Translate(xchange, ychange, zchange);The Update() function within the game loop is a great place to update the sprite’s position.
We can use Time.deltaTime as part of the input to the Translate() method, so game objects move at a consistent speed on most computers. This will make your GameObject move smoother.
In the simplest terms, Time.deltaTime is:
- The time it took to complete the last frame.
- This lets you make things move at the same speed, no matter how fast or slow the computer is running the game.
- Essentially, your game’s movement and timing will be consistent across different computers.
void Update()
{
transform.Translate(Time.deltaTime, 0.0f, 0.0f);
}
Rotation
The angle of an object’s rotation (or spin) is measured in degrees. By default, an object has 0 degrees of rotation. You can spin counterclockwise by using positive degree values between 0 and 360.
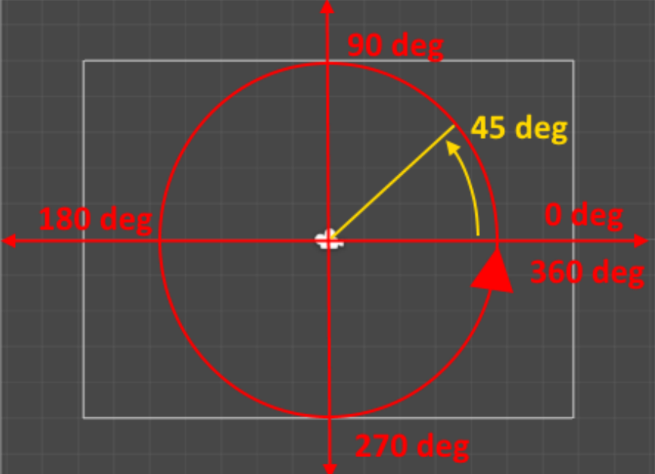
If you use a negative rotation value, then the object will spin clockwise instead.
Normally in a 2D game, you’ll just want to rotate around the “Z” axis.
If we want to rotate our spaceship object counter-clockwise on the screen. We can do this by calling the Rotate() function on the transform component.
transform.Rotate(xchange, ychange, zchange);I we are using Time.deltaTime, it will cause our ship to rotate at a rate of 1 degree per second. Since there are 360 degrees in a circle, it will take 6 minutes to make a single full rotation!
If we multiply Time.deltaTime by 360 it will rotate our ship a full turn each second
Scale
The third set of properties in the Transform component is the Scale settings. These
settings will make a sprite grow or shrink on the screen.
Unfortunately, the Transform component does not have a handy function like Translate() or Rotate() to change the scale values. Instead, we need to manually add new values to the existing scale settings.
transform.localScale += new Vector3(xchange, ychange, zchange);So to make this easier we will use the “+=” characters, which means take the value following on the right side and add it into the property on the left side.
Working with Unity’s Input System
The new input system which is now the default input system in Unity is pretty slick as it handles all types of controllers and inputs from keyboards to xBox controllers. Once all of the controls are mapped to your specifications, you call on those controls in your script via an Action Map and a Player Input Controller.
- Add a Player Input Component to your player
- Create Input Actions (call it PlayerControls)
- Generate a c# script (click the checkbox)
- Create a script (call it PlayerMovement)
- attach to the player
- link Input Actions Map with Player Input component
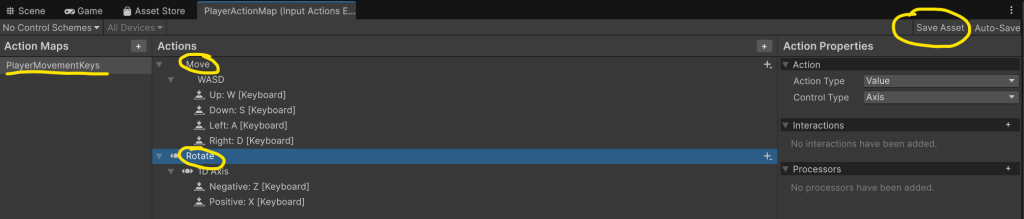
- Set Up the Input Action Map (which you called PlayerControls)
- BaseMovement – Move – WASD Keys
- Code the PlayerMovement Script
using UnityEditor.Tilemaps;
using UnityEngine;
using UnityEngine.Animations;
using UnityEngine.InputSystem;

public class PlayerMovement : MonoBehaviour
{
    //variables that are global go at the top followed by methods and functions

    [SerializeField] private int xChange = 2;
    [SerializeField] private int yChange = 2;
    [SerializeField] private int zChange = 2;

    [SerializeField] private float moveSpeed = 5f;
    private Vector2 moveInput;
    [SerializeField] private float rotateSpeed = 25f; // Holds the -1 to 1 value from Z/X keys
    private float rotateValue;

    // This is called by the Player Input component
    private void OnMove(InputValue value)
    {
        moveInput = value.Get<Vector2>();
    }
    private void OnRotate(InputValue value)
    {
        // This reads the raw value regardless of whether it's a button or axis
        rotateValue = value.Get<float>();
    }


    private void Update()
    {
        //    transform.Translate(Time.deltaTime * xChange, 0 , 0);
        //    transform.Rotate(0,0,zChange*Time.deltaTime);
        //    transform.localScale += new Vector3 (xChange * Time.deltaTime, yChange * Time.deltaTime, zChange * Time.deltaTime) ;

        // Create a 3D movement vector from our 2D input
        // moveInput.x is A/D or Left/Right
        // moveInput.y is W/S or Up/Down
        Vector3 movement = new Vector3(moveInput.x, moveInput.y, 0);

        // Move the transform directly
        transform.Translate(movement * moveSpeed * Time.deltaTime);

        // 2. Handle Rotation (Z and X keys)
        // We multiply by -1 if you want 'X' to rotate clockwise
        float rotationAmount = rotateValue * rotateSpeed * Time.deltaTime;
        transform.Rotate(0, 0, -rotationAmount);

    }
}
11:55 Lunch

12:25 VHSA Worksession
Your Goal is to use this time to work on your animatic for the VHSA. An animatic is a preliminary, animated version of your storyboard. It is basically a sequence of key images/poses synced with audio. Materials are not important, just the main pieces of your storyboard outlined in video form.

1:10 Afternoon Break
1:25 Speed Design

1:45 Independent Production & Guided Support
- VHSA
2:10 Dailies

2:15 Independent Reading

2:40 Dismissal