Class Hours: 9:40 – 2:05
Mr. Cronin
Notes
- Congrats go out the State Medalists from the SkillsUSA Design Competitions. State Champs will get a chance to represent Vermont at nationals, and all participants will get to put this experience into your resume.
- Animation
- Gold – Brennan and Bergeron
- Silver – Lamotte and Bevins
- Bronze – Kaden and Emmit
- Web Design
- Gold – Garrett and Emma
- Silver – Jerry and Josh
- Bronze – John and Richard
- Game Design
- Gold – Finn and Hayden
- Silver – Asa and Eli
- Bronze – Schuyler and Brodey
- Animation
- Tuesday! Let’s talk about getting back to normal:
- Articles
- Vacate at breaks
- 1984
- New Seats (today hopefully if you are all here to respond)
- Dailies
- NTHS is Wednesday night! Make sure you have the person you want to give you the stole (think the medal scene at the end of Star Wars I) there that night. They have to know…to be there. NTHS rehearsal will be 9:45 – 10:45 on Wednesday morning.
- Design Homework 30 & Example / Agency Review
9:40 Attendance and Article
9:45 Web Design

- Review of tables
10:15 Seat talking…
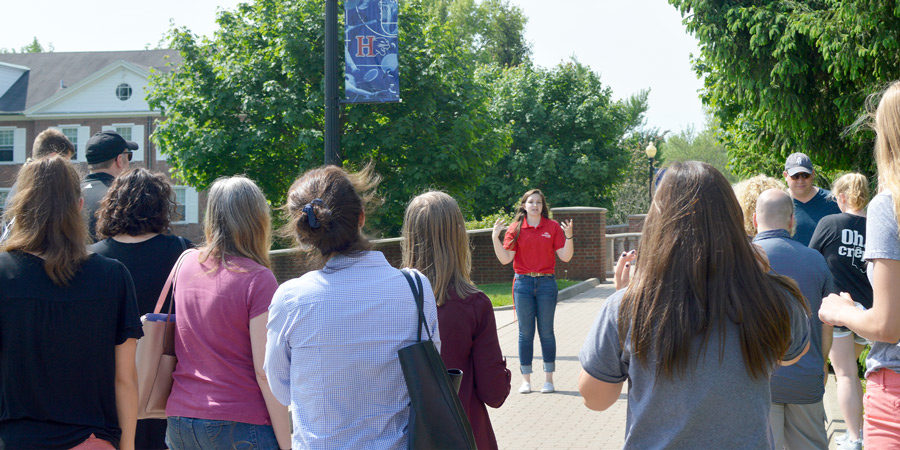
Confectionary Competition / Gold Medalists / Gold Medalists partners will pick new seats for Quarter 4.
10:35 Morning Break (10 minutes)

- 10 Minute break – you have to exit the room.
- When the door near the TV is open, you are welcome to come back in.
10:45 Web Design

- Responsive Design / What is it?
- Martha Stewart
- Media Queries
11:35 New Seats
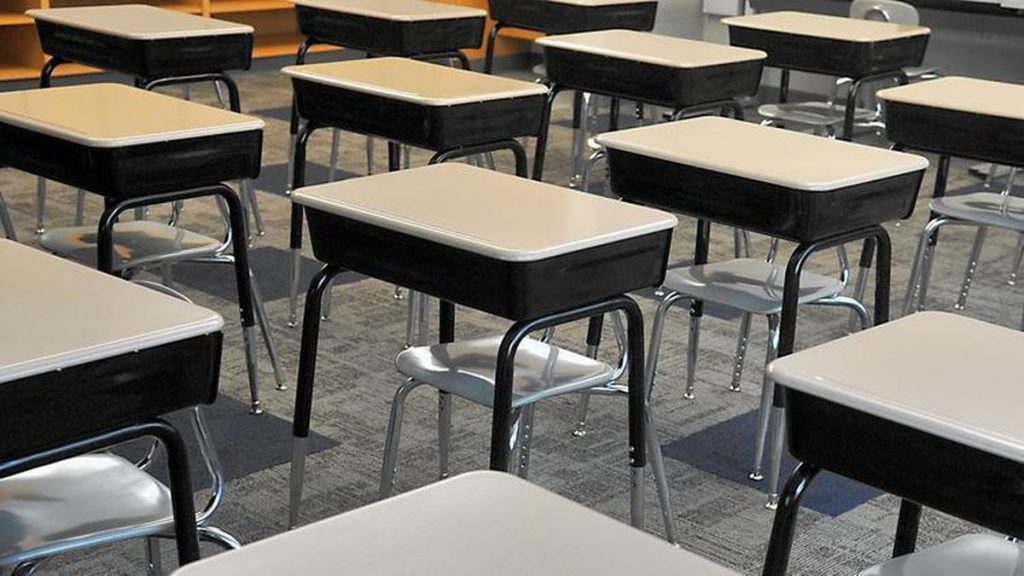
- New Seats
- Art cups / headphones
- 1984
Once we are complete use the rest of the AM for production. You will be assessed for cable & workstation management at the end of the day. Make it clean (looking), clean (grime), and you will be fine.
12:00 Prizes

12:15 Lunch (30 Minutes)

- No food in the room / eat in the Cafe.
- You are welcome to return to the room when you have finished eating and work / hang out.
12:45 Attendance and Article
12:50 1984

1:10 Afternoon Break (10 minutes)

- 10 Minute break – you have to exit the room.
- When the door near the TV is open, you are welcome to come back in.
1:20 Afternoon Production

- DH30
- In folder called “DH30Eye”
- Week 30 Agency
- “(lastName)Agency_1.jpg”
- “(lastName)Agency_2.jpg”
- “(lastName)Agency_3.jpg”
- … or if an animation …
- “(lastNAme)Agency.mp4”
1:55 Dailies

- DH30
- In folder called “DH30Eye”
- Week 30 Agency
- “(lastName)Agency_1.jpg”
- “(lastName)Agency_2.jpg”
- “(lastName)Agency_3.jpg”
- … or if an animation …
- “(lastNAme)Agency.mp4”
2:00 Dismissal
