Class Hours: 10:05 – 2:40
Mr. Cronin
Notes
- Welcome to Week 27! Let’s all make our folders.
- 2 Weeks until April Vacation!
- 1.5 Weeks until our SkillsUSA Presentations.
10:05 Attendance and Article
10:10 Last Looks

Web History/Copyright/Browsers in WordPress
- Nothing to upload, we will just go to your spot on the GAWD Dev Server.
DH26: Final Still Life
- lastNameDH_26.jpg
Remember we are comparing the before and after to your DH 19, which was your Baseline Still Life.
Week 26 Agency
- lastNameAgency_1.jpg through lastNameAgency_3.jpg
10:30 Web Review for this week

- HTML + CSS + JS
- Setting up and using
- Preparing for this week
10:50 Morning Break

11:00 Critiques

Each week we will upload our work on Monday. I will then present your work to the class. Each project I will pick a student to practice giving constructive criticism. Constructive criticism is a type of feedback that offers specific and actionable advice to help employees to improve. In the professional setting we need to be to talk professionally about the work, even if you don’t “love” the person who created it.
If selected, you will pick 1 thing that works, and 1 thing to improve upon next time. Remember we are separating the Design from the Designer. We are looking for actionable input.
11:30 Quarter 4 Design Homework Focus – Portraits
As part of our traditional art curriculum in GAWD we use Champlain Colleges’s Game Art & Animation Portfolio requirements as our guidepost to practice traditional art that has logical utility. Champlain is the most popular local option for GAWD students over the last 10 years, and what they are looking for in their Portfolios is common to other schools like SCAD, RISD, MECA, etc.
Quarter 1 – Introduction. Using the tools, learning about the scanner, getting comfortable with a sketchbook, art supplies, etc.
Quarter 2 – Perspective. 1, 2 and 3 point perspective. Taught in a traditional stand and deliver teaching environment. I lead with lessons in front of the class.
Quarter 3 – Still Life’s. What goes into a classic still life? Taught through online YouTube resources. The ability to learn while outside traditional education environments (on your own, or to extend class material) is incredibly important. I curate the videos in Q3.
Quarter 4 – Portraits. Weekly I give you the topics and it is up to you learn and apply the topic. The most likely way is self selecting your own YouTube resources, but you could talk to an artist, go get extra help from an art teacher, jump in their Discord, whatever you need to do to learn on your own, and create a project demonstrating your new skills. Learning how to learn will be very important to you in your career.
We are looking for an hour of work on your Sketch Effort is easily apparent, and your work is presented each and every week.
DH27: Baseline Portrait

Just as with everything else we do in our sketching units, we want to see a before and after transition to show growth.
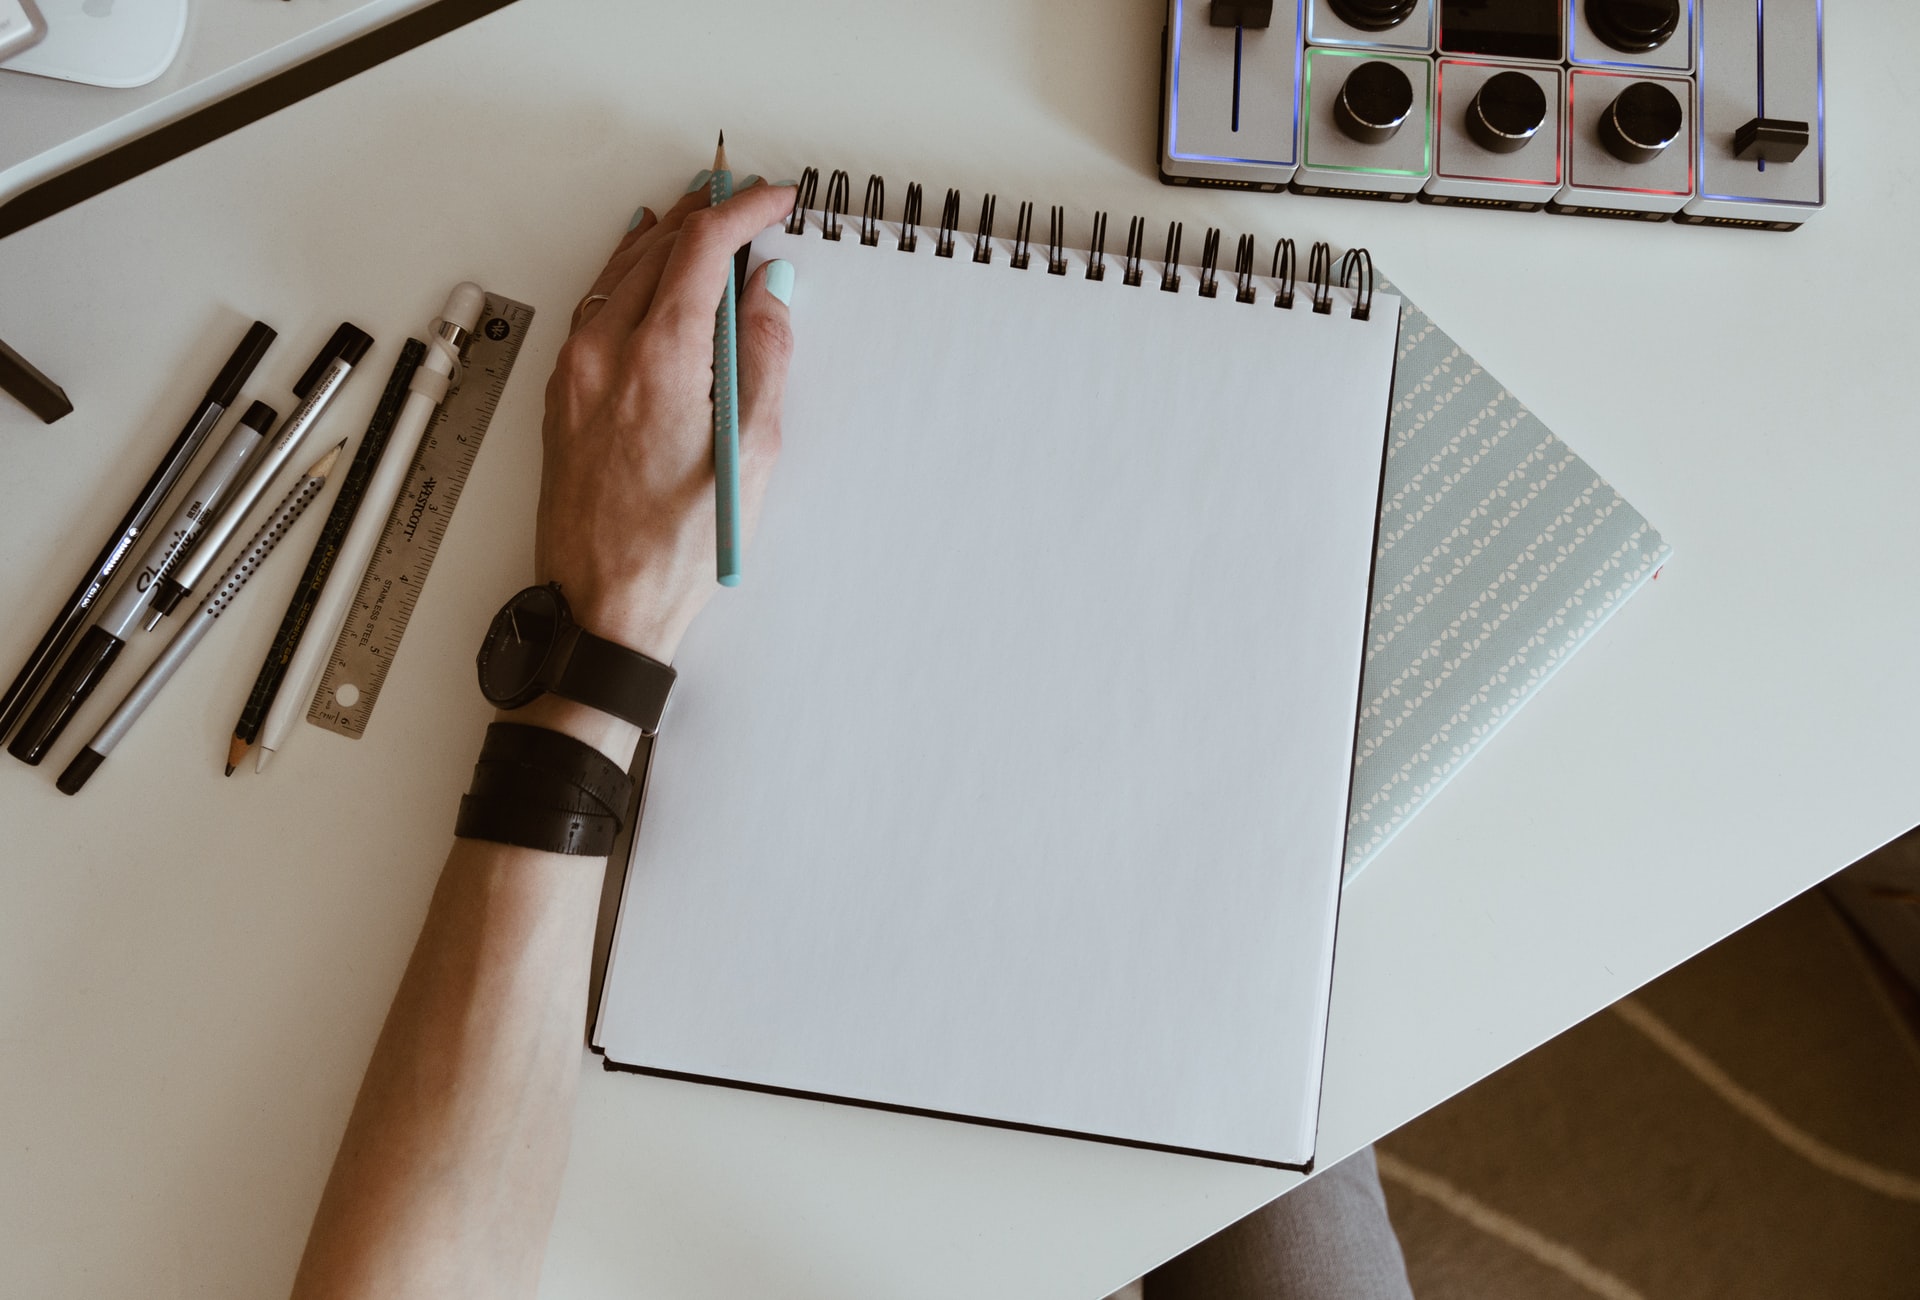
This week we want you to draw a portrait, as good as you can. What is a portrait?
A portrait is an image (drawing, painting, photograph, or sculpture) that focuses on a person—usually showing their face and expression.
We want you to sketch from the shoulders up, as seen above.
We are also going to go with human realism for this unit. We are not going to go for anime, or anything stylized or unrealistic. Human Realism for all of our 4th quarter works. (Again we say this as many colleges, universities, studios, specifically don’t want to see fan art, anime, manga, or spaceships. Everyone and their little sister draws that. That won’t get or let you retain employment – the market is flooded people copying that style already. What is YOUR style?)
Fill the page – save your file as lastNameDH_27.jpg.
11:55 Lunch

- No food in the room / eat in the Cafe.
- You are welcome to return to the room when you have finished eating and work / hang out.
12:25 Attendance and Article
12:30 AI and Maple Syrup

Let’s get some practice with AI in preparation for tomorrow.
- What is Maple Syrup?
- How is it made?
- What regions of the world make Maple Syrup?
- What is the process of making Maple Syrup?
- What types of weather conditions are optional?
- How does Maple Syrup production connect to our regions agriculture?
- How could Maple Syrup production be impacted by Climate Change? What areas could be most negatively and positively impacted?
- Act as a Maple Syrup ambassador and ask me 10 questions based off of this chat regarding Maple Syrup as a knowledge check. If I get the answer wrong please reinforce the correct answer.
12:50 1984
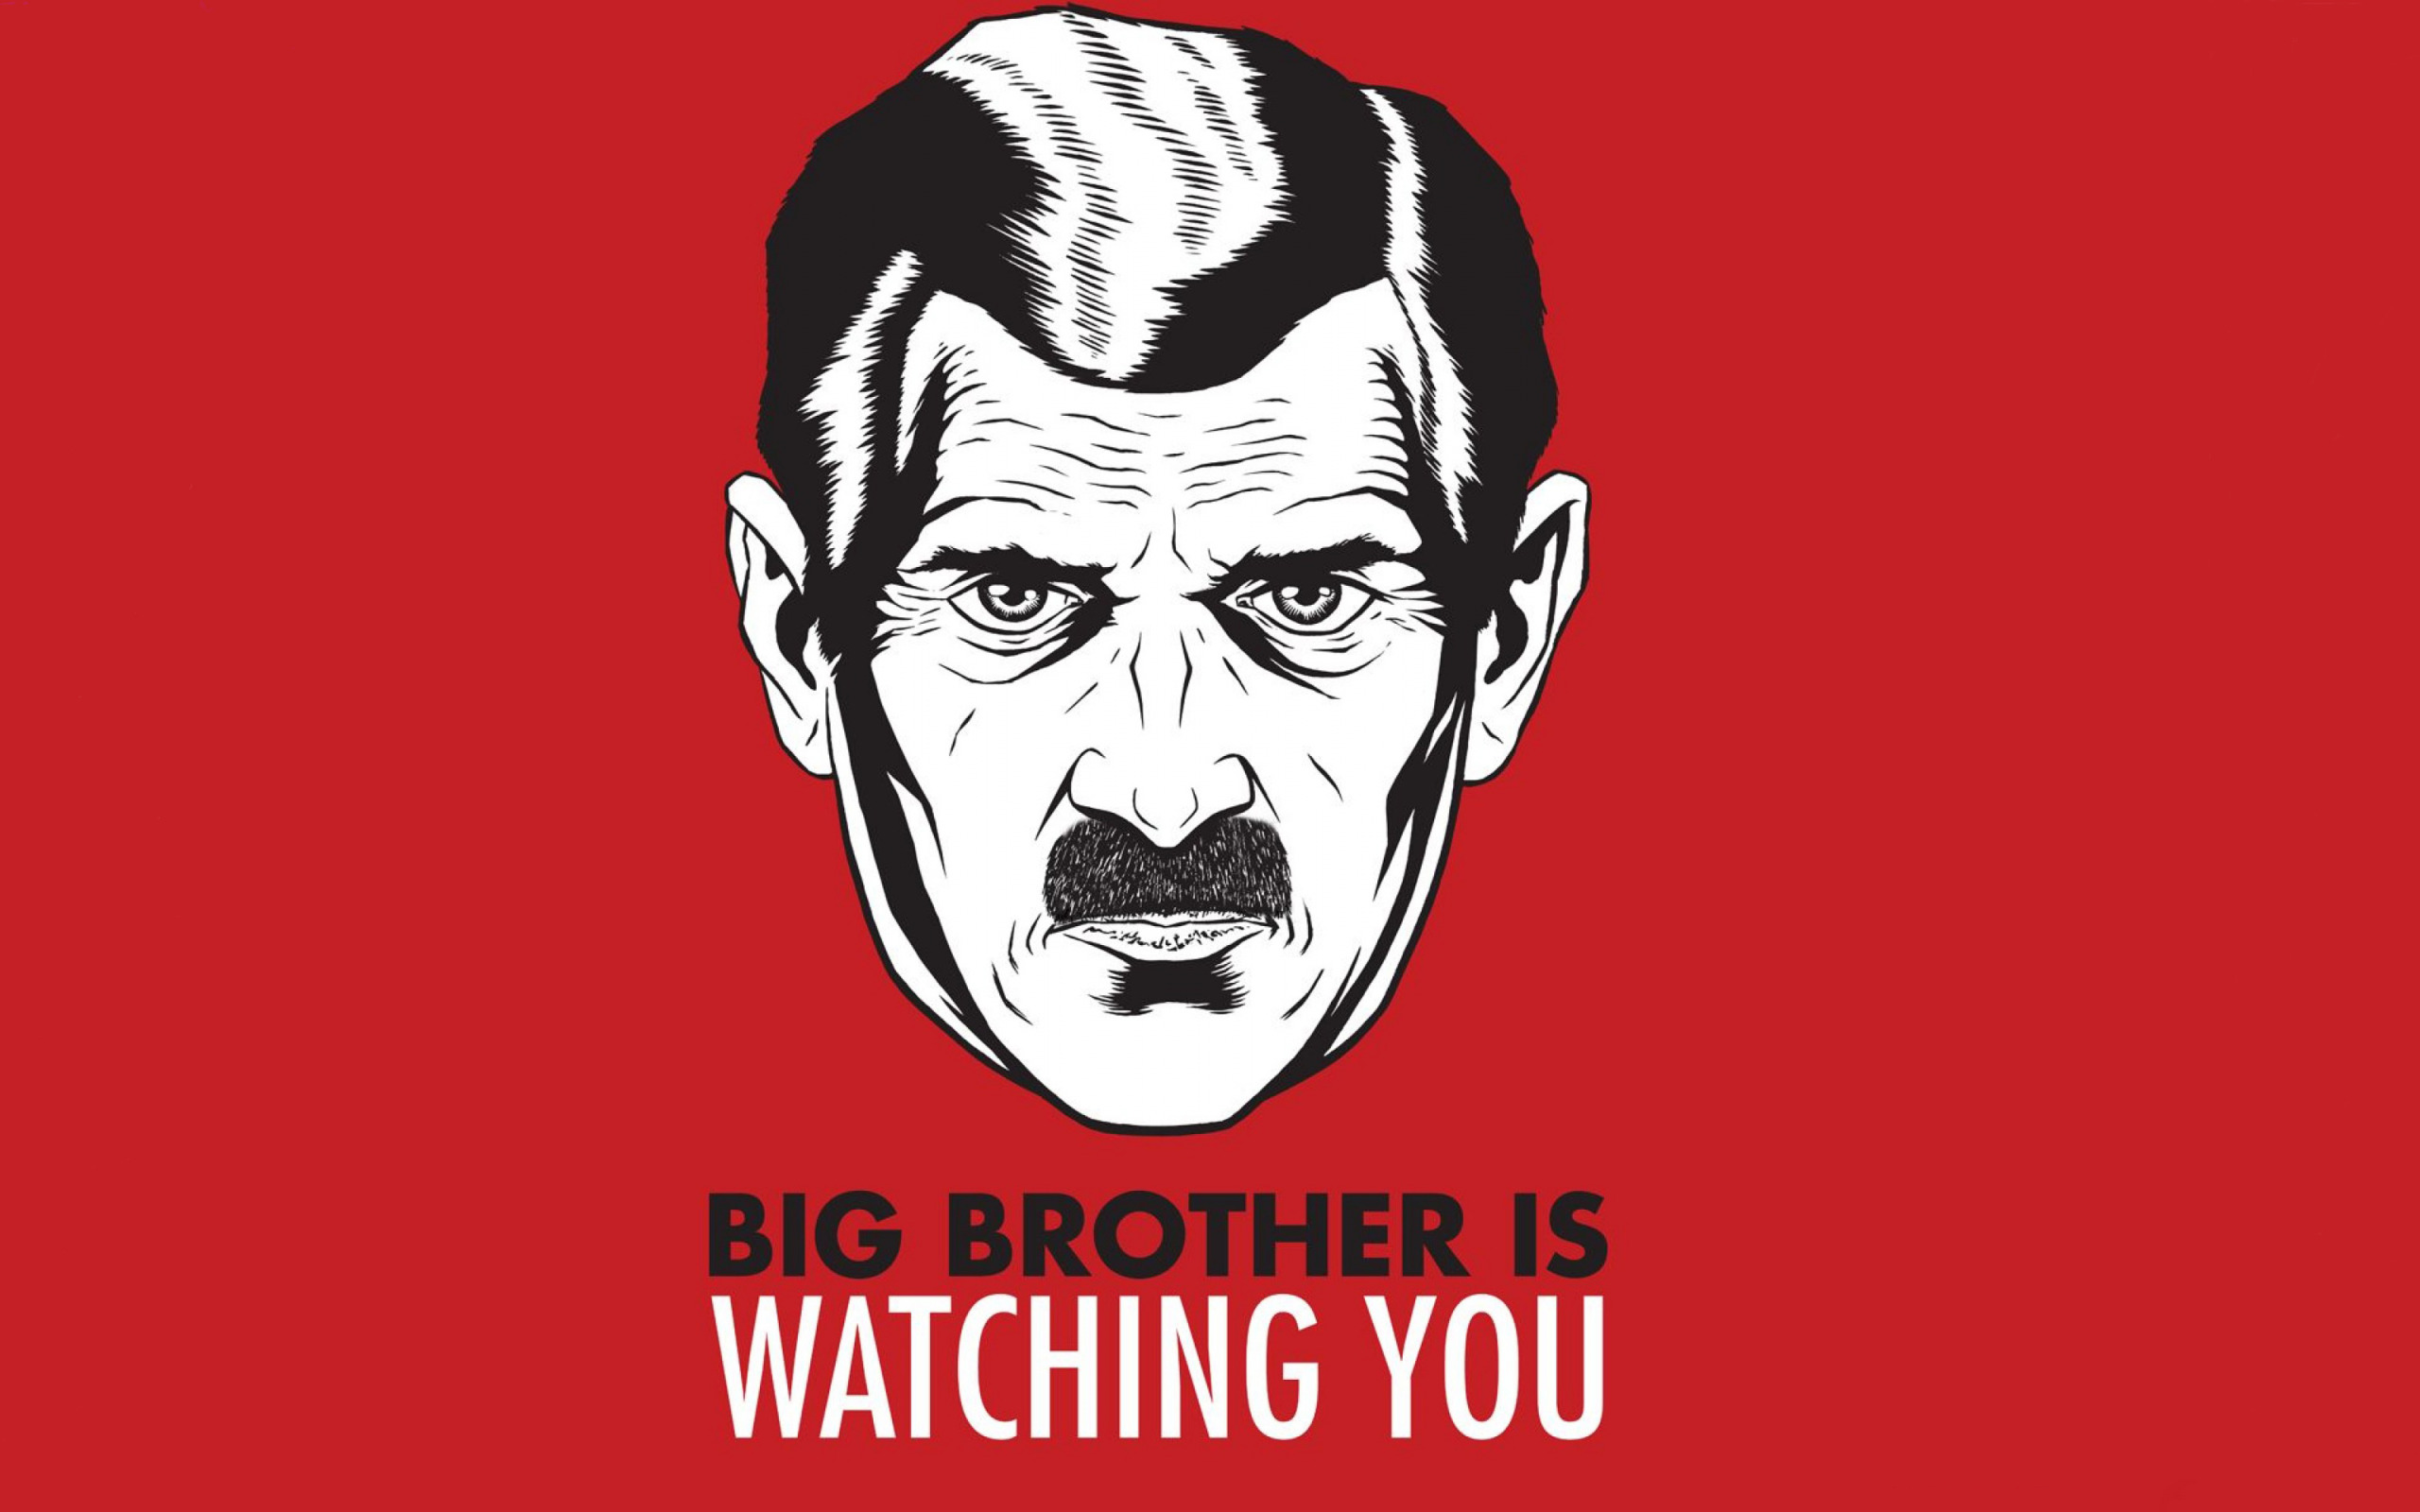
Nineteen Eighty-Four (1984) is a dystopian novel by George Orwell that explores totalitarianism, mass surveillance, and the manipulation of truth through the story of Winston Smith in the superstate of Oceania, ruled by the omnipresent Party and its figurehead, Big Brother.
Read along with Mr. Cronin. Improve literacy, word decoding, enjoy a nice story, and unplug from the world.
1:10 Afternoon Break
1:25 Speed Design

Speed Designs are 10 minute sprints in CAWD where we practice. It could be any medium – 3D, 2D, video, programming, etc.
1:40 Afternoon Practice & Production

DH27: Baseline Portrait
- lastNameDH_27.jpg
Week 27 Agency
- lastNameAgency_1.jpg through lastNameAgency_3.jpg
2:15 Dailies

2:20 “19 Minutes”
Every day in GAWD will end with “19 Minutes” of silent reading. Closing down our day with silent reading provides many benefits:
- Improve Literacy Skills / Reading Stamina
- Create space for a small reading meditation where we can disconnect from the world and get lost in a story
- Unplug
At the end I will 3 students and ask for a 1 sentence explanation of what happened.
2:40 Dismissal