Class Hours: 10:05 – 2:40
Mr. Bohmann | wbohmann@ewsd.org
10:05 Today’s Notes & Attendance
- We are in Week 21
- FireDrill today at 2pm
- Let’s go!
- SLC is having a whole-group meeting tomorrow during lunch in M117
10:10 Animation Project and Public Service Announcement
The Vermont Highway Safety Alliance
Vermont Highway Safety Alliance’s Annual PSA Video Contest is open to high-school students with the goal of encouraging you, your friends and classmates to avoid distracted driving.
Let’s look at a couple clips and analyze.
What specific visual storytelling methods and production techniques made this piece effective?
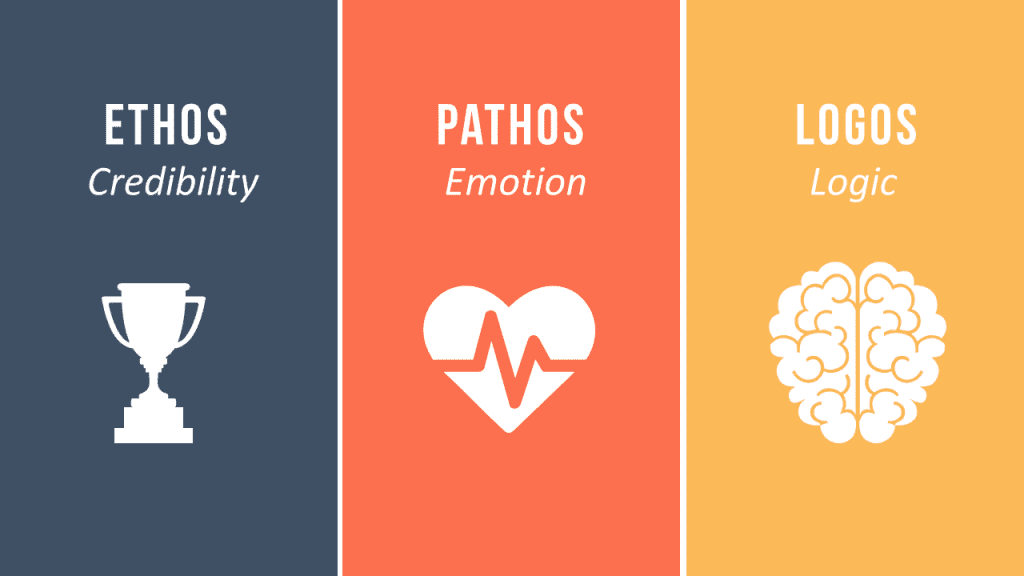
Persuasive techniques:
- – Pathos: Emotional appeal (tapping into feelings like fear, empathy, guilt, or hope to create lasting impact)
- – Ethos: Professional credibility (an ethos PSA establishes trust by featuring experts, reputable organizations, or trusted individuals who embody the message’s moral integrity.
- – Logos: Fact or data driven appeal (PSA is focused on facts to drive message)
Judging Criteria (from contest):
- Ability to capture the attention of others, specifically, the attention of your peers.
- Ability to persuade peers. Your film must resonate with teens and young adults and move
- Clarity of message – it must be understandable and well-structured.
- Creative expression – put your personal stamp on it.
- Production quality
Planning / Worksheet – See Google Classroom for planning documents
Your PSA should include facts or statistics and you must cite one of the following:
- Vermont Agency of Transportation
- AAA Foundation for Traffic Safety
- National Highway Traffic Safety Administration (NHTSA)
- National Safety Council (NSC)
10:50 Morning Break (10 minutes)

11:00 The Grease Pencil – Continued… 2D Animation in Blender
Let’s look at a couple of other tools in the Blender 2D workspace – then do some animations.
A fun exercise in our 2D workspace is to explore the power of animation by bringing a simple dot to life. The advantage of using a simple dot is we don’t have to have good drawing skills, as we are just drawing a dot. A dot animation is a great way to practice spacing, timing, and motion and arcs. We can also experiment with depth by changing the size of the dot. We can even add smears to create motion blur.
Key Terms
Timing: Timing is the length of time it takes for an action to occur. The closer drawings are together, the slower the object is moving. Timing helps create believable movement. Here’s how timing works:
- Frames: Timing is determined by the number of frames between key poses or actions.
- Spacing: Spacing is the distance between each frame.
- Keyframes: Timing is implemented by setting keyframes and adjusting the spacing between them.
Arcs: arcs are the path that an object takes instead of moving in straight lines. Arcs make animations look more realistic and visually appealing. Most natural movements happen in arcs – from moving your head to throwing an object.
Onion Skinning show ghosts of the keyframes before and after the current frame allowing animators to make decisions in the animation sequence.
In contrast to the other types of animation we have done, this exercise is done straight ahead, meaning that each frame is drawn in sequence, without planning out the key poses (Pose to Pose). The result is very organic.
To get started, we’ll change the animation to 12 FPS (Frames per second). Start by animating on the twos, but don’t worry too much as the more frames between will create faster motion. To help use we can make sure onion skinning is turned on which will allow us to see the previous and next frames as reference.
Your Task: Create a Magic Dot(s) Animation
Framerate: 12FPS
Length: 120 Frames
Animate on the twos
Experiment with color, depth and movement. Feel free to add more dots, connect dots or build your dot out into something more (bee, bug, fly) and a background for your magic dot.
A workflow I am using is to start with one dot and create my animation. Then do a full copy and expand for a second animated sequence. By duplicating and creating multiple scenes, you can build on your animation.
When working in Blender, I’ll create one additional (new) scene called video editing. I’ll then go to the video editor and add my other scenes in for a render.
Render as .mp4 and attach you last name to the file.
Place in today’s dailies folder and we’ll view before lunch today.
11:55 Lunch
12:25 Afternoon Programming in Unity
Yesterday we worked with Colliderss / Rigidbodies and Cinemachine. Today, let’s look at adding some assets to the project. I have some for you that you can add in Public Folders. We’ll also focus on:
- Importing Assets
- Adjusting Sizes / Scale
- Sprites and Pixels
- Look at Orientation and Parenting
- Layering
- Build a Level
1:10 Afternoon Break
1:25 – 2:10 PSA Modeling Session & Independent Production & Guided Support
- Paper 5 Pack of Community Assets – Today, End of Day
- Moods Demonstration – Wednesday
- Jump with Mise en Scene – Wednesday
- Asset Modeling – Friday, February 20th
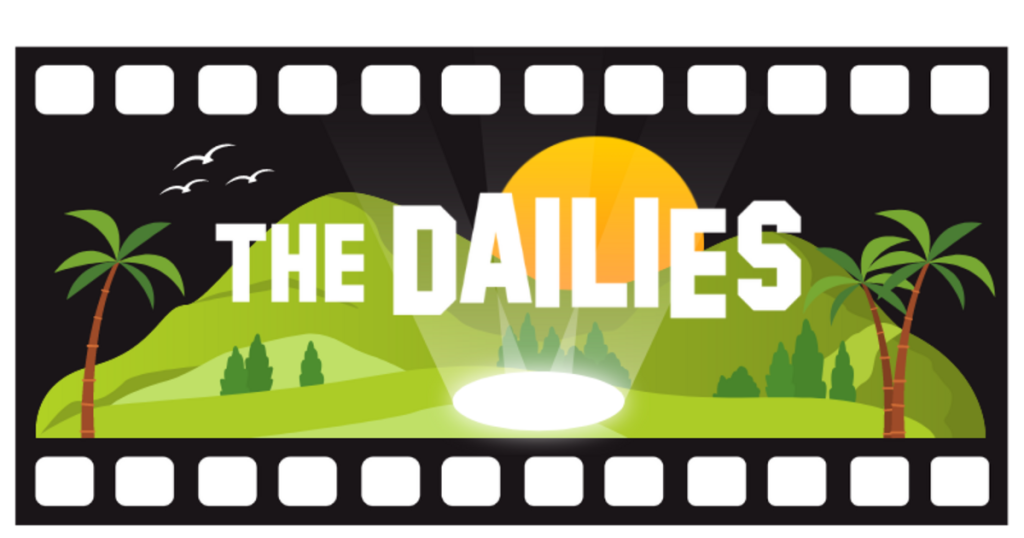
2:10 Dailies
2:15 Independent Reading

2:40 Dismissal