Class Hours: 10:05 – 2:40
Mr. Bohmann | wbohmann@ewsd.org
10:05 Today’s Notes & Attendance
- Week 30 – We made it to the thirties!
- Cinco de Mayo
- Hope you all had a good day yesterday
- I was in DC – Walked the National Mall and saw many Memorials (MLK, Lincoln, WWII, Vietnam) and had an outstanding lunch in NW corner of Washington DC – San Salvadorian foot (tacos!)
- Flashback too – Dulles Airport at Midnight last year after Skills…..
- May 7th: ASVAB Armed Services Vocational Aptitude Battery – If interested sign up with your CTE School Counselor!
10:10 Monday Mail – make a check
10:12 Breakout Update
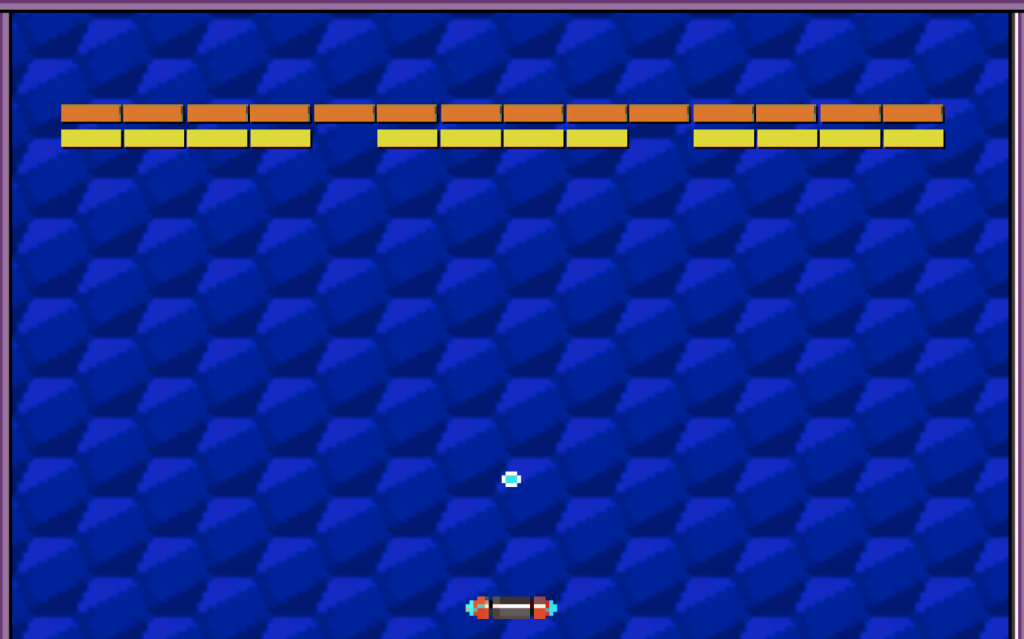
Your Breakout Game is due on Friday, May 8th – that’s the end of the week!
Thank you for all of the video – I had a chance to see your game. On to your whiteboards…What are three things you’d like to add to your game?
Some tips to make your ball move better and not lose momentum:
- Turn off gravity
- Zero out linear and angular drag
- Freeze rotation (try it and see if things work well for your game)
- On your bouncy material, turn off friction and make the bouncy to 1
- Invoke or Instanitiate something – so I have a demo for you here for your killbox
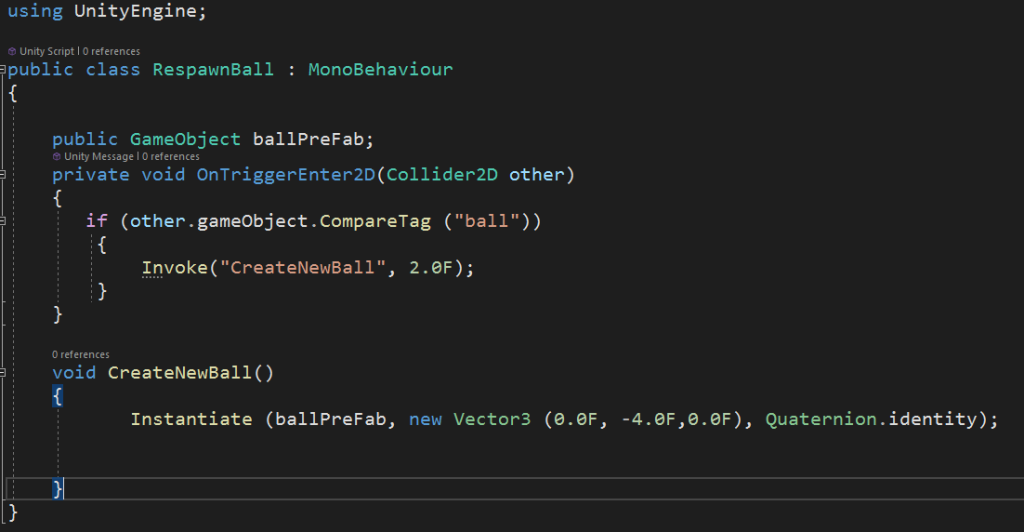
Notice in the code above, are respawning the ball after 2 seconds. This give the player a moment to prepare. The function CreateNewBall has a spawn location set up using a location on x and y. This is a nice approach that does not require a spawn point to be declared.
10:20 Pro Grids and ProBuilder
Let’s create a new project – called ProBuilder.
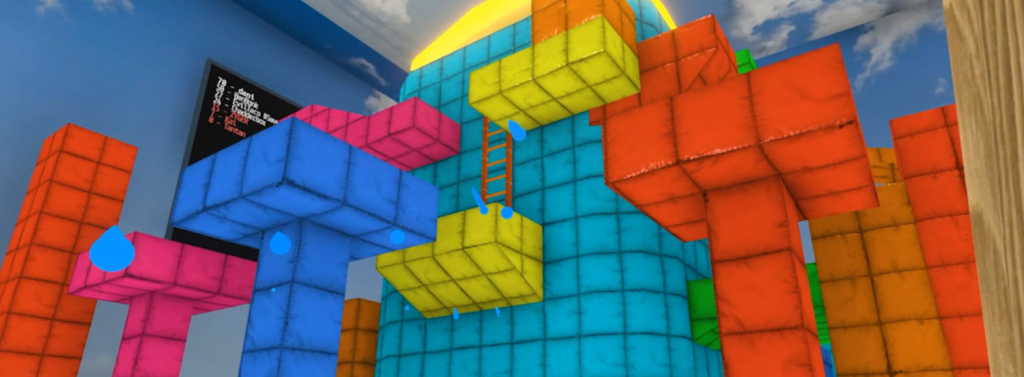
Build, edit, and texture custom geometry in Unity using ProBuilder for in-scene level design, prototyping, blocking and setting up game environments. Many game devs also use the ProBuilder tools for production games. You’ve seen it in Crab Game from a couple years back.
Let’s take a spin through the tool.
Tools Used:
- Starter Assets – First Person Updates Controller
- ProBuilder – Go to Package Manager and Search Unity Registry for ProBuilder
10:50 Morning Break (10 minutes)

11:00 Lighting in Unity
Lighting is a nice way to give your level, scene, interaction some more personality. There are several light types, let’s explore a few.
FIRST: Let’s Create a New Scene together, add the Modular Character Controller and a small 3 sided room with ProBuilder Tools or regular 3D objects. In the Middle of your room, add three boxes (we’ll pretend they are crates)
The Skybox is a a lighting option for your scene. Skyboxes can be made from an HDRI or Procedural. Both options require using the Skybox shader. Let’s customize our lightbox options.
Directional Light is most like the Sun. You can change direction and rotation but it is always shining and illuminates everything in one direction only. This is a Realtime Light.
Realtime lighting is lighting that shows up during game time, interacts with other objects in the game and is dynamic. Realtime lighting is resource heavy. Good for times when you want to show the environment changing over time (like night and day cycle) and how objects interact with it.
Baked Lighting is lighting that does that is used to create mood and ambiance. The light is pre calculated before game run time – so it does not use a lot of resources. In order for light data to be captured, objects must be set to Static (or accept global illumination)
Mixed Lighting is a combination of both. Lights data can be baked, however the light can also interact with other game objects during run time, allowing for more intractability (shadows, etc…)
- Point and Spot lights control the location, direction and rotation of lights. Let’s look at each.
- Point Lights emits light in all directions
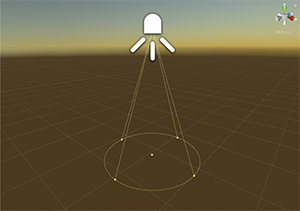
- Spot Lights include a falloff value and emits light in a cone shape
- Both of these lights can be set to Realtime, baked or Mixed. However, Unity limits how many realtime lights you can have. Checkout Windows/Light Explorer for a summary
Area Lights are defined by a rectangle or disc shape and emits light in all directions uniformly from its surface but only from one side of the mesh. Area Lights require baking to be able to view. Also, we must set objects to static if we want the light to impact them.
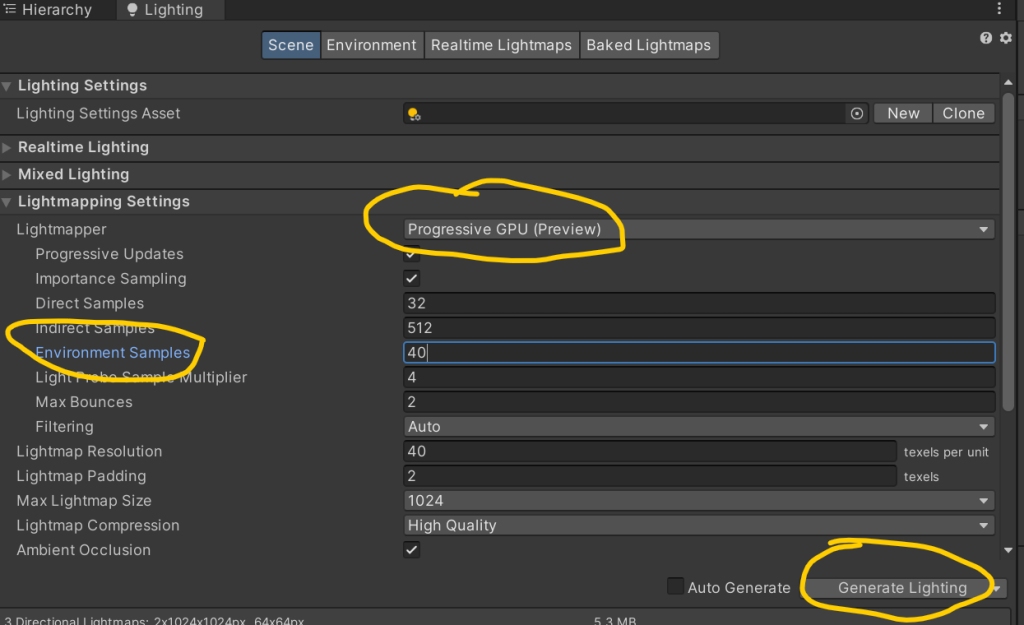
ProTip: When baking lighting, change to GPU and set the environment samples down for faster bake times – which is good for testing
We can also make lights out of gameObject by making them emissive. An emissive material will emit light on to other game objects if (and only if) those game objects are static. To make an emissive material work, we have to bake (render the lightmaps) to the scene. Let’s try.
Volumes are a great way to add nice effects to your scene. We can create post processing effects globally or locally. In order to render the post-processing effects, we’ll need to enable post processing on our camera. Then we’ll create some volume effects either locally or globally depending on what your scene demands. Let’s look at some features. there too.
To add Post Processing, we’ll need to head over to the package manager and install. We’ll add a Post-Processing Layer to the Camera and add a Post Processing Volume game object to our scene. The camera will see the post processing.
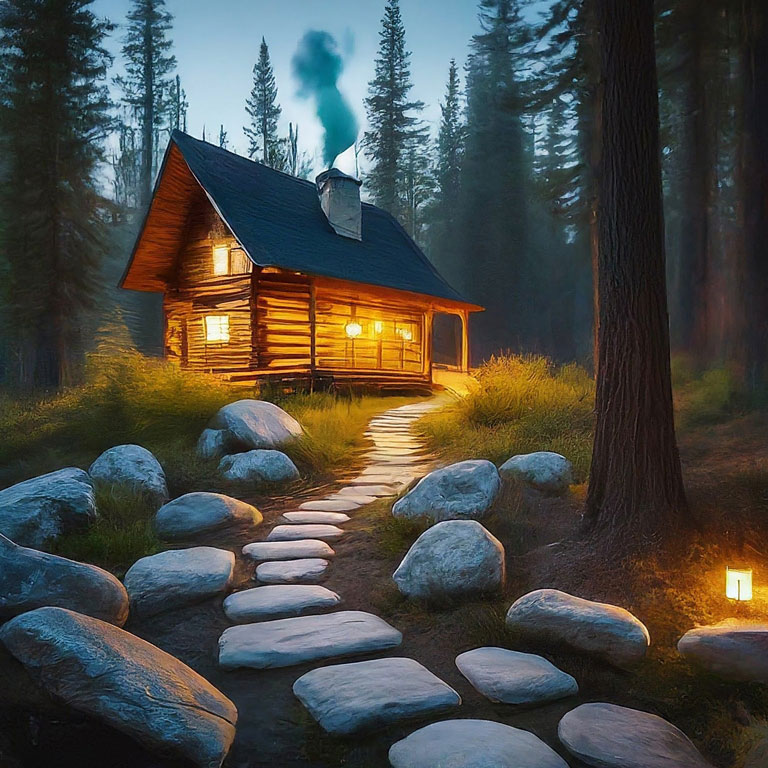
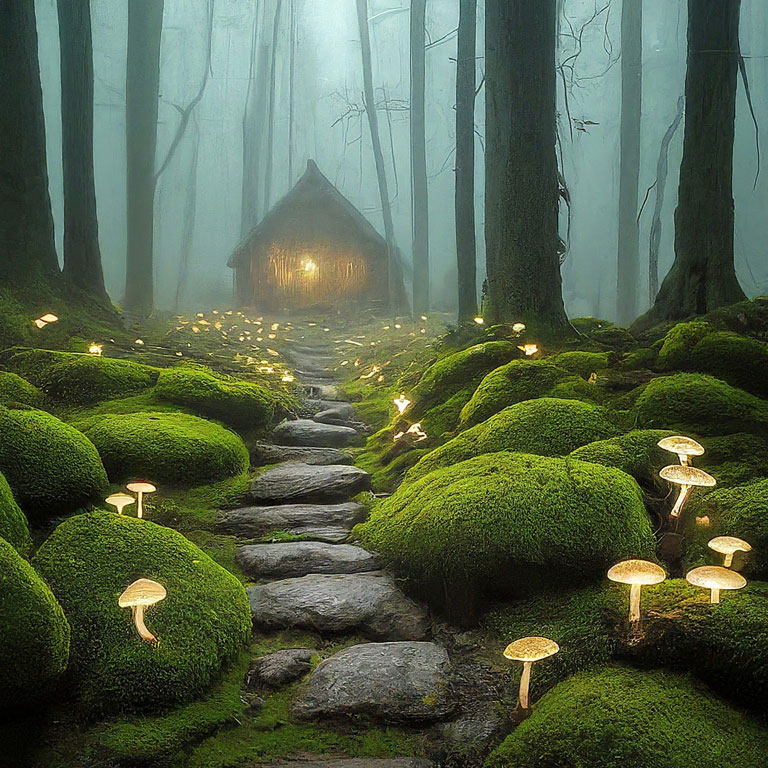
Assignment: Using your Modeling skillsets with Blender or ProBuilder Tools, set up a static scene in Unity and create a nice rocky path illuminated. Use materials and lighting in Unity for your scene. Don’t forget the work we did with terrain tools. Remember those? You’ll have to add from the package manager. Render as a nice .jpg. Assignment is due on Friday, May 15th.
Light Flicker Code
using UnityEngine;
using System.Collections.Generic;

// Written by Steve Streeting 2017
// License: CC0 Public Domain http://creativecommons.org/publicdomain/zero/1.0/

/// <summary>
/// Component which will flicker a linked light while active by changing its
/// intensity between the min and max values given. The flickering can be
/// sharp or smoothed depending on the value of the smoothing parameter.
///
/// Just activate / deactivate this component as usual to pause / resume flicker
/// </summary>
public class LightFlickerEffect : MonoBehaviour
{
    [Tooltip("External light to flicker; you can leave this null if you attach script to a light")]
    public Light light;
    [Tooltip("Minimum random light intensity")]
    public float minIntensity = 0f;
    [Tooltip("Maximum random light intensity")]
    public float maxIntensity = 1f;
    [Tooltip("How much to smooth out the randomness; lower values = sparks, higher = lantern")]
    [Range(1, 50)]
    public int smoothing = 5;

    // Continuous average calculation via FIFO queue
    // Saves us iterating every time we update, we just change by the delta
    Queue<float> smoothQueue;
    float lastSum = 0;


    /// <summary>
    /// Reset the randomness and start again. You usually don't need to call
    /// this, deactivating/reactivating is usually fine but if you want a strict
    /// restart you can do.
    /// </summary>
    public void Reset()
    {
        smoothQueue.Clear();
        lastSum = 0;
    }

    void Start()
    {
        smoothQueue = new Queue<float>(smoothing);
        // External or internal light?
        if (light == null)
        {
            light = GetComponent<Light>();
        }
    }

    void Update()
    {
        if (light == null)
            return;

        // pop off an item if too big
        while (smoothQueue.Count >= smoothing)
        {
            lastSum -= smoothQueue.Dequeue();
        }

        // Generate random new item, calculate new average
        float newVal = Random.Range(minIntensity, maxIntensity);
        smoothQueue.Enqueue(newVal);
        lastSum += newVal;

        // Calculate new smoothed average
        light.intensity = lastSum / (float)smoothQueue.Count;
    }

}
11:55 Lunch

12:25 Breakout WorkSession
1:25 Speed Design

2:20 Independent Reading

2:40 Dismissal