Class Hours: 9:40 – 1:45
Mr. Cronin
Notes
Put it all back!
- Welcome to Week 28!
- Early release Wednesday! Callbacks:
- Will go here if we have any.
- We ARE having all these projects this week as Skills is over! Gold medal teams are expected to use their Agency work to continue to prepare for Nationals using Mr. Bohmann’s deadlines.
- Skills Awards Ceremony on Friday! We will leave for the luncheon and the ceremony at say 10:30-11, Mr. B will be taking students going, I will stay back with the students not attending and we will have English. If you aren’t going to awards, we have English and afternoon classes as normal.
10:05 Attendance
10:10 Put it all back!

When complete you have the remainder of the time leading to break for Last Looks.
I am copying the folder down at break.

Ethics and Usage Rights
- Live WordPress site
DH27: Final Still Life
- lastNameDH_27.jpg
10:50 Morning Break (10 minutes)

11:00 Critiques

Each week we will upload our work on Monday as a class. I will then present your work to the class. Every week we will pick a new student to proactive giving constructive criticism. Constructive criticism is a type of feedback that offers specific and actionable advice to help employees to improve. In the professional setting we need to be to talk professionally about the work, even if you don’t “love” the person who created it.
If selected, you will pick 1 thing that works, and 1 thing to improve upon next time. Remember we are separating the Design from the Designer. We are looking for actionable input.
11:25 DH 28 Baseline Portrait
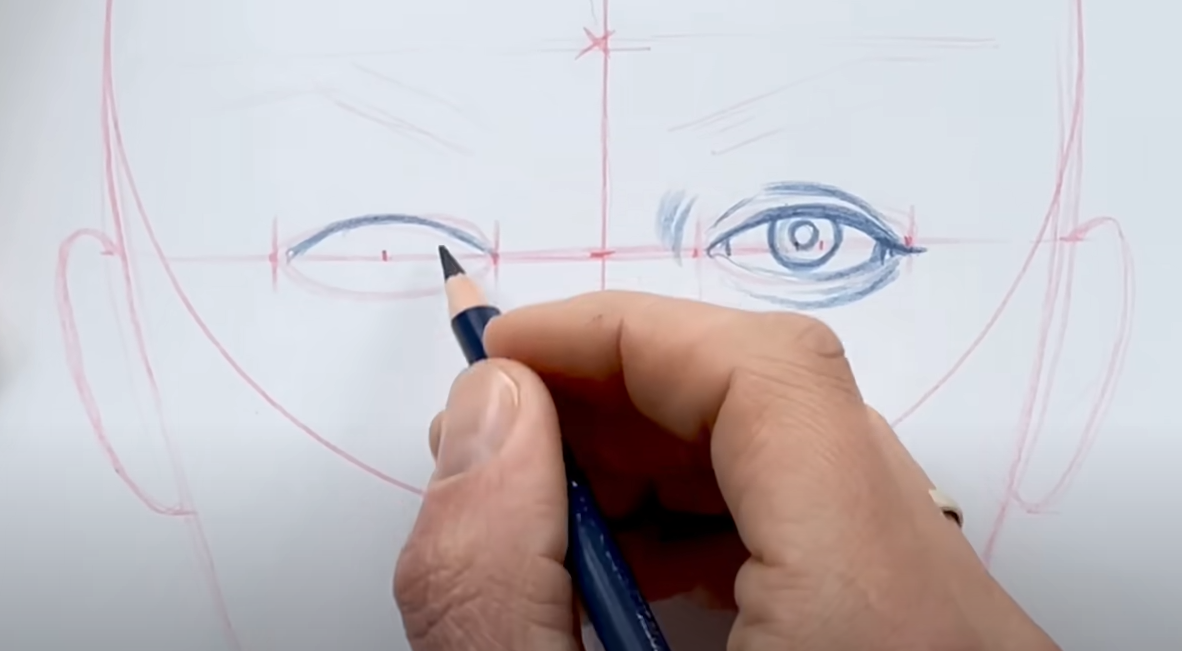
As you know our fourth quarter focus is on Portraits. Not only is this a classic sketch topic, but it is often requested by schools and employers to gage your mettle as a designer.
We are going to use the 4th Quarter to:
- Get a baseline Portrait – the red Before on the left, DH28.
- DH’s, work on individual elements and learn the basic ratios and proportions (nose, eye, laying out a face, etc)
- Create a final Portrait – the green on the right, our final DH.

There is zero chance you go from the before to the after above – but if you work hard and apply youself you will get better. So much of this is practice. Non-rushed practice.
So rotate your paper to PORTRAIT orientation and draw a human, realistic, portrait from the shoulders up – as in the Taylor Swift example above. Don’t spend time on torso or even neck, the face is the focus.
Notice I said human, realistic. We have heard from colleges that they do not want to see anime, or other character design styles. Full human realism.
Save your file as lastNameDH28.jpg.
11:30 Web Design

- WordPress Review
- Themes (remember that this may destroy everything)
- Changing site identity for our next project
11:55 Lunch

- No food in the room / eat in the Cafe.
- You are welcome to return to the room when you have finished eating and work / hang out.
12:25 Attendance and Article
12:30 Steve Jobs
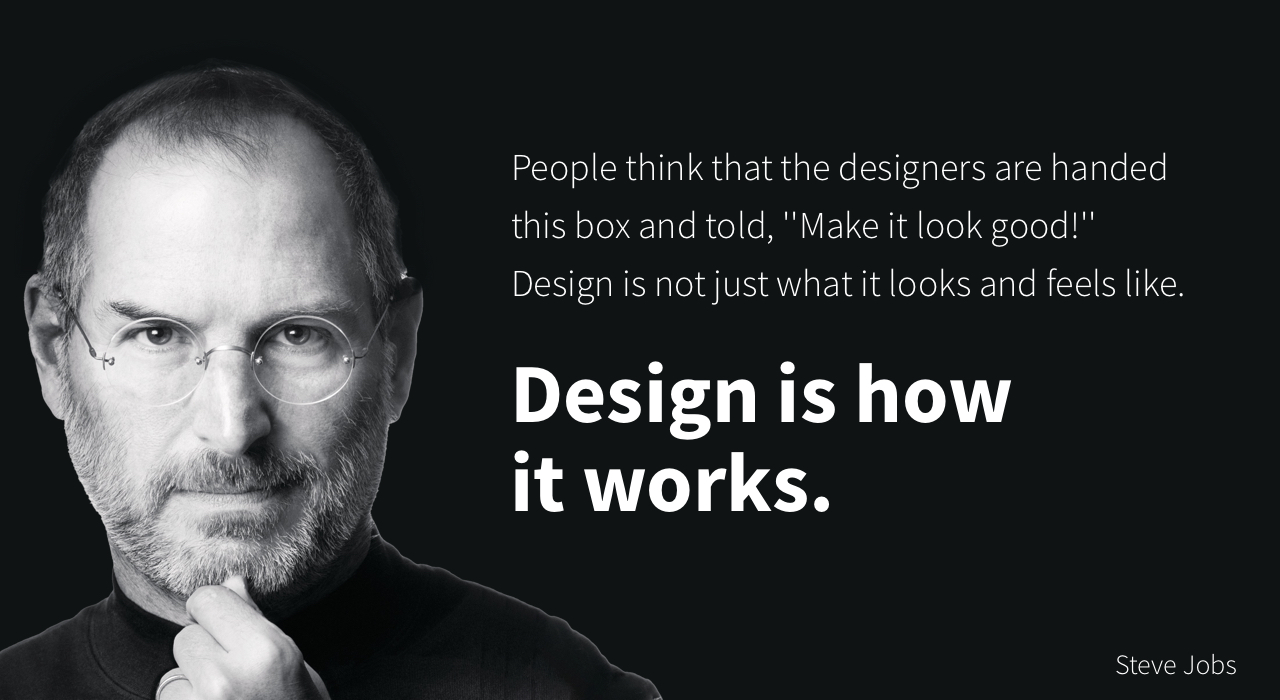
Based on more than forty interviews with Steve Jobs conducted over two years–as well as interviews with more than 100 family members, friends, adversaries, competitors, and colleagues–Walter Isaacson has written a riveting story of the roller-coaster life and searingly intense personality of a creative entrepreneur
Read along with Mr. Cronin. Improve literacy, word decoding, enjoy a nice story, and unplug from the world.
12:45 Afternoon Practice & Production

DH28: Baseline Portrait
- lastNameDH_28.jpg
Week 28 Agency
- lastNameAgency_1.jpg through lastNameAgency_3.jpg
1:20 Afternoon Break (10 minutes)
1:30 Afternoon Practice & Production
1:40 Dailies

1:45 Dismissal