Class Hours: 10:05 – 2:40
Mr. Bohmann | wbohmann@ewsd.org
10:05 Today’s Notes & Attendance
- Friday – it was a quick week. 24 days if you are counting
- Did you finish a book and you’d like the cover printed – let me know – We are up to 49 official book covers on the wall.
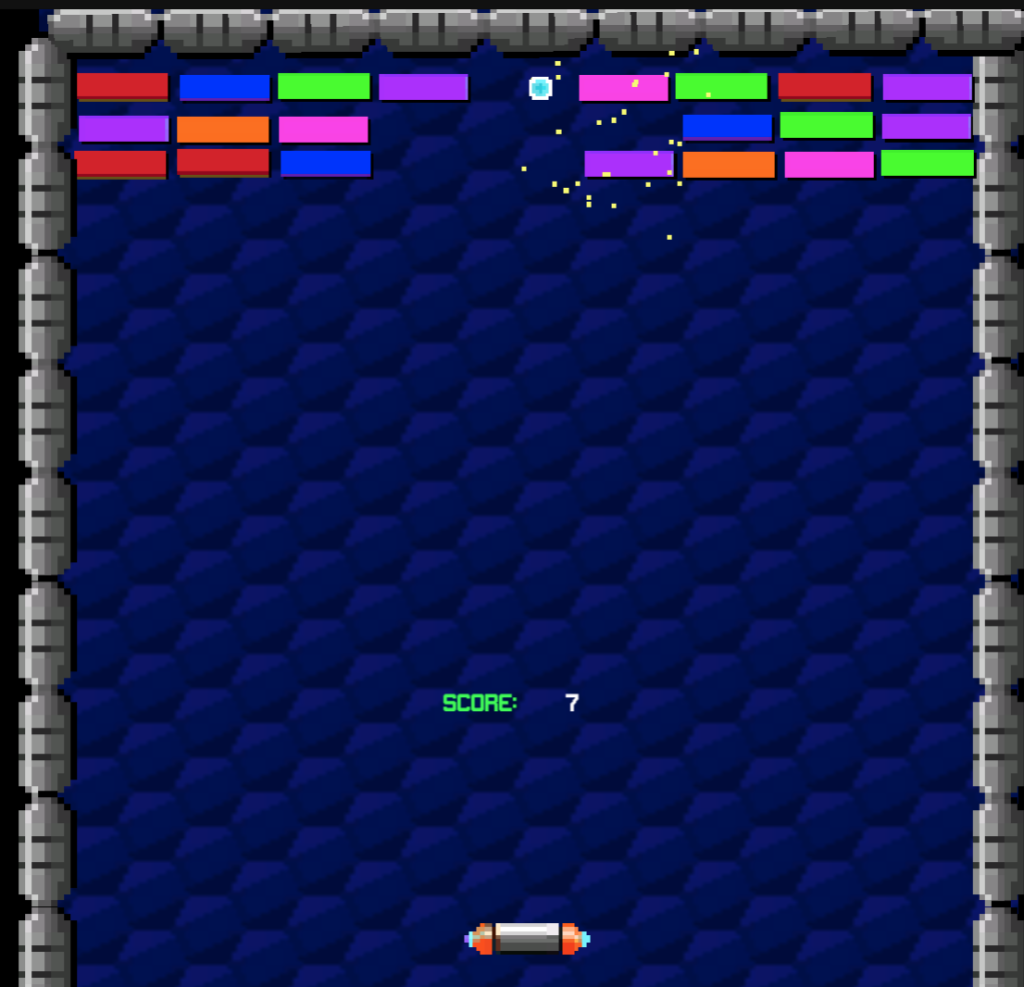
- Today you will publish a playable breakout game.
10:10 Breakout Sprint Session and Adding a UI

When you arrive to class, I encourage you to jump in and finish your breakout game. Your deliverables are in Google Classroom. We’ll publish together around the 11:30 hour. After publishing, you’ll have a link to put in Google Classroom – as your project will be live on the web.
Respawn – I put some notes up in yesterday’s dayplan. I’ve opted to build mine a little different, I am using a Game Manager – almost exactly like I did with you for the pinball build.
My Game Manager handles player lives, sound, score and win conditions.
using UnityEngine;
using TMPro;
using UnityEngine.SceneManagement;

public class GameManager : MonoBehaviour
{
    // --- Configuration & References ---
    public Respawn spawner;
    [SerializeField] private TMP_Text scoreTxt;
    [SerializeField] private TMP_Text livesTxt;
    [SerializeField] private TMP_Text gameoverTxt;

    // --- Stats & State ---
    public int lives = 3;
    public int score;
    private int bricksDestoryed = 0;
    [SerializeField] int bricksToWin = 24;
    public static GameManager gmInstance { get; private set; }

    // --- Audio Settings ---
    [Header("Speaker/Sound")]
    [SerializeField] private AudioSource sfxSource;
    public AudioClip ballBrick;
    public AudioClip startGame;

    // --- Initialization ---
    private void Awake()
    {
        if (gmInstance != null && gmInstance != this)
        {
            Destroy(gameObject);
            return;
        }
        gmInstance = this;
        DontDestroyOnLoad(gameObject);
    }

    private void Start()
    {
        scoreTxt.text = score.ToString();
        livesTxt.text = lives.ToString();
    }

    // --- Gameplay Logic ---
    public void UpdateScore(int points)
    {
        score += points;
        scoreTxt.text = score.ToString();

        // Check brick count
        bricksDestoryed++;
        if (bricksDestoryed >= bricksToWin)
        {
            WinGame();
        }
    }

    public void LoseLives()
    {
        lives = lives - 1;
        livesTxt.text = lives.ToString();

        if (lives > 0)
        {
            spawner.BallDead();
        }
        else
        {
            Destroy(spawner.gameObject);
            gameoverTxt.text = "Game Over";
        }
    }

    private void WinGame()
    {
        sfxSource.PlayOneShot(startGame);
        gameoverTxt.text = "You Win!";

        // Stop the ball from spawning/moving
        if (spawner != null)
        {
            spawner.enabled = false;
        }
    }

    // --- Sound Effects ---
    public void PlayBallHitBrick()
    {
        sfxSource.PlayOneShot(ballBrick);
    }
}- Link to dayplan on Scene Management
- Link to dayplan on adding sound to your game
- Link to dayplan on Invoke/Instantiate
Adding a new Scene and a Button
The Unity Canvas allows you to add buttons to your scenes very easily. To add a new button, just select “GameObject” from the top menu, then choose “UI” and then “Button“. This will place a basic gray button on your scene with the text “Button”
Let’s create a Home Screen (Scene) for our PinBall Game. This will also allow us to review how to set up buttons. We’ll need to create some methods in our GameManager script. We’ll then use our buttons to call those functions/methods when a button is clicked.
When a button is clicked, Unity can call one or more functions in response. To link your script functions to a button, click on the Button object in the Hierarchy. You will see an “OnClick” section in the Inspector panel. Initially, the list is empty, so your button won’t do anything.
Remember that you can attach a script to any GameObject, so your script function that handles a button click could be attached to the Button object itself, any other sprite on the screen, an empty controller object could work too. We’ll an empty game object, name is SceneLoader a make a new script.
using UnityEngine.SceneManagement;


public void LoadGame(int buildIndex)
{
    SceneManager.LoadScene(buildIndex);
}

public void Credits(int buildIndex)
{
    SceneManager.LoadScene(buildIndex);
}
10:50 Morning Break (10 minutes)

11:00 Breakout Game Publishing
One of the strengths of the Unity game engine ease of publishing your games and the number of platforms you can publish to. The most important thing to know for successful publishing is that your game needs to be free of errors!
The default platform for publishing is Windows. So the first thing we’ll need to do is change the build type to Web. Then we’ll double check to make sure we have the Web module installed with the editor.
When it is time to build, we Select Build from the Build Profiles menu (found under the File menu). We’ll make a folder called Build so the final build has a home.
Play.unity.com is a location for your game builds. It is a perfect place to do testing and gather feedback on your game. Publishing can be public or private. We’ll make ours Public. The link will be placed in Google Classroom to your published game.

11:55 Lunch

12:25 English with Mx. Yopp

1:10 Afternoon Break
1:25 Speed Design

1:45 Independent Production / Passion Project
- Rocky Path Illuminated – due Friday, May 15th
- Breakout Game – due Today
- Past due work
2:10 Dailies

2:15 Independent Reading

2:40 Dismissal